How to make a burnt edges effect with a fire negative
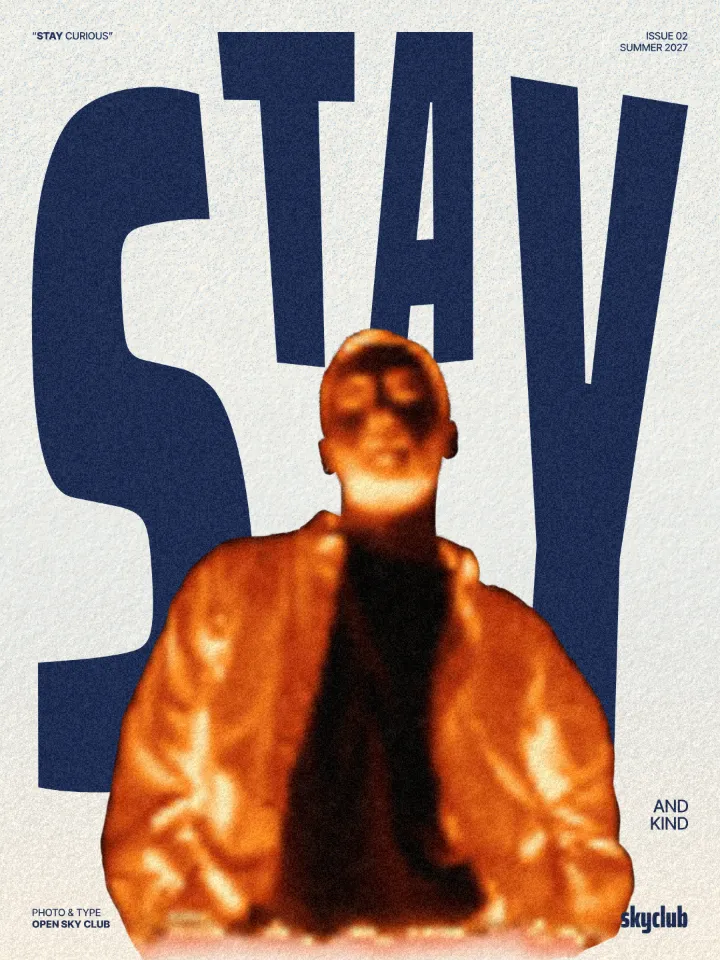
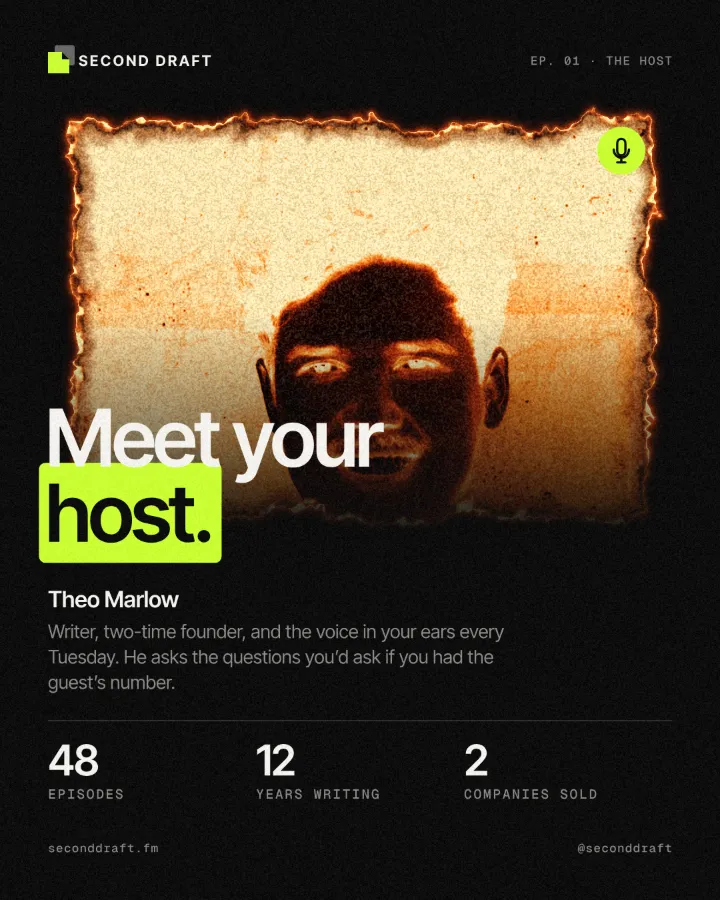
A fire negative with charred, glowing edges.
What it is
The burnt edges look does two things at once. It turns the picture into a negative and colours it like fire — the darkest areas black, then deep ember red, orange and a white-hot cream in the brightest places. Then it burns the border away: the edge of the picture is bitten in unevenly, a band of black char runs inside it, and a thin orange rim glows where the fire is still alive, its light spilling a little past the edge.
Designers use it when an image should feel dangerous, dramatic or nocturnal: a poster that looks pulled from a fire, a cover with heat in it. Because the burn follows the object’s own outline, it works on a full-bleed photo, on a cut-out person and even on a word.
Where it is used
It suits horror and thriller posters, night events, metal and techno releases, campfire and survival stories, editorial covers about crisis or heat, and Halloween posts. As a quieter move, use only the burn step on an ordinary photo for a scorched polaroid or a charred letter.
Made in Paletoo with this mix:

How to make it, step by step
Open your design and select the photo. A high-contrast picture with a strong light source works best; here it is a night poster, “Who keeps the light on when we are gone?”, with a full-bleed photo.
Open the Effects tab and find Mixes; press All if Burnt edges is not in the first row.
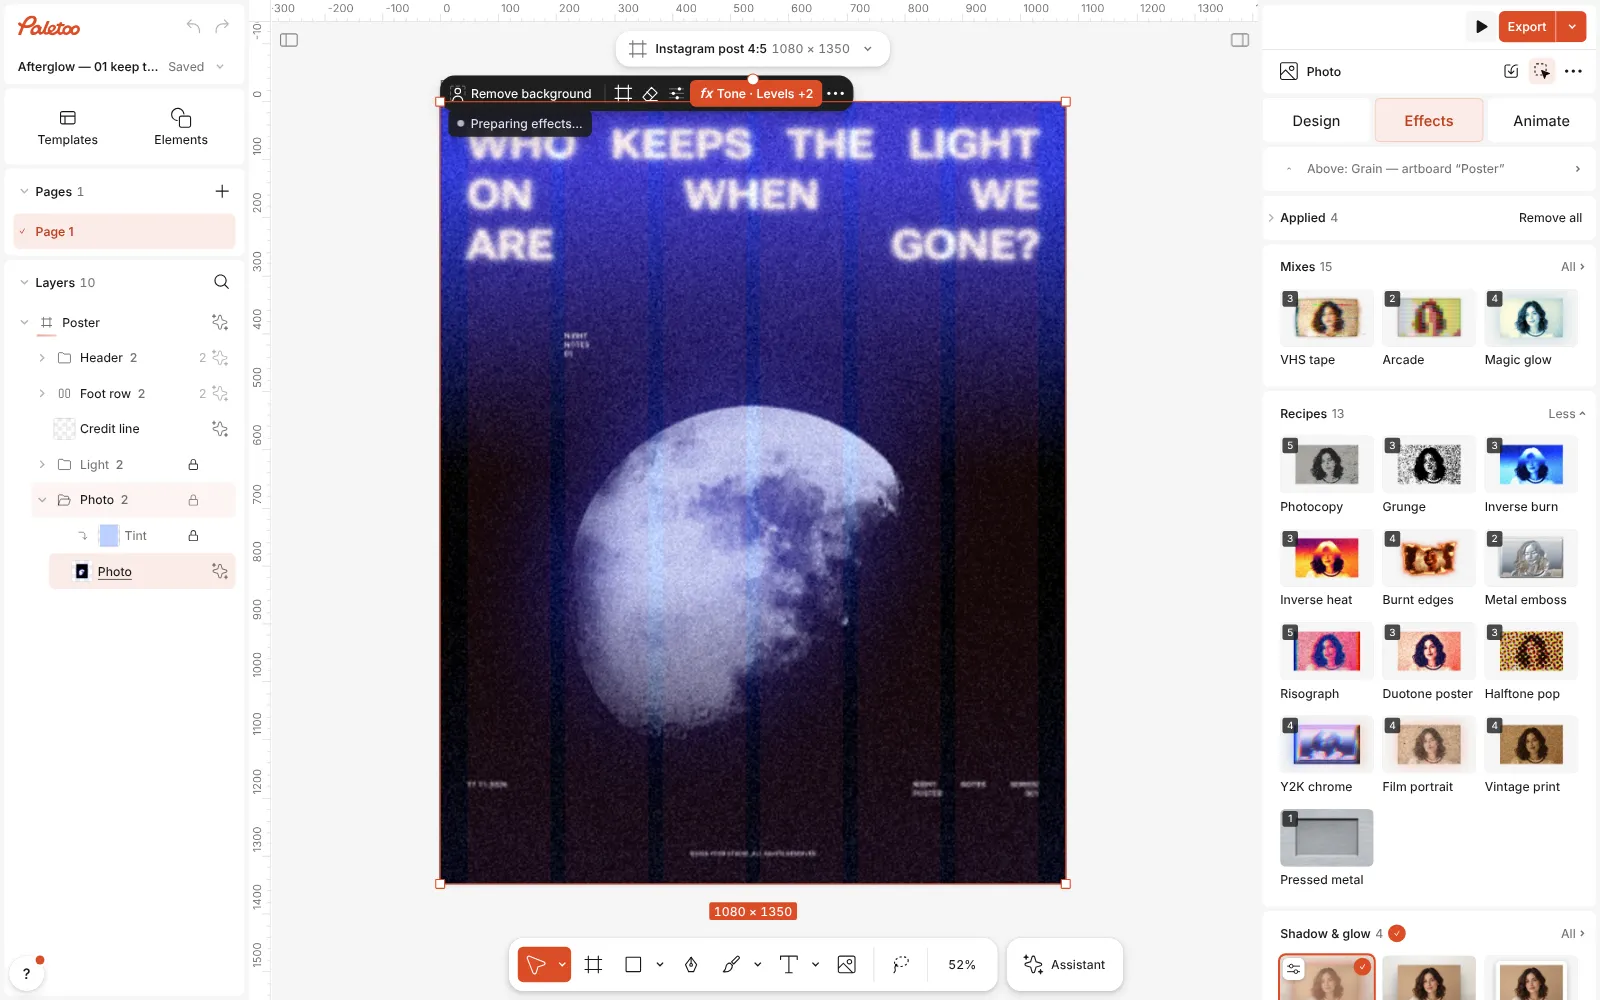
The night poster open in Paletoo, the photo selected and the Mixes open Press Burnt edges. Four steps go on under Applied: Invert turns the whole picture negative, a Gradient map maps it from black through ember red and orange to white-hot, a step also called Burnt edges chars the border with a glowing rim, and Grain adds a fine film texture.
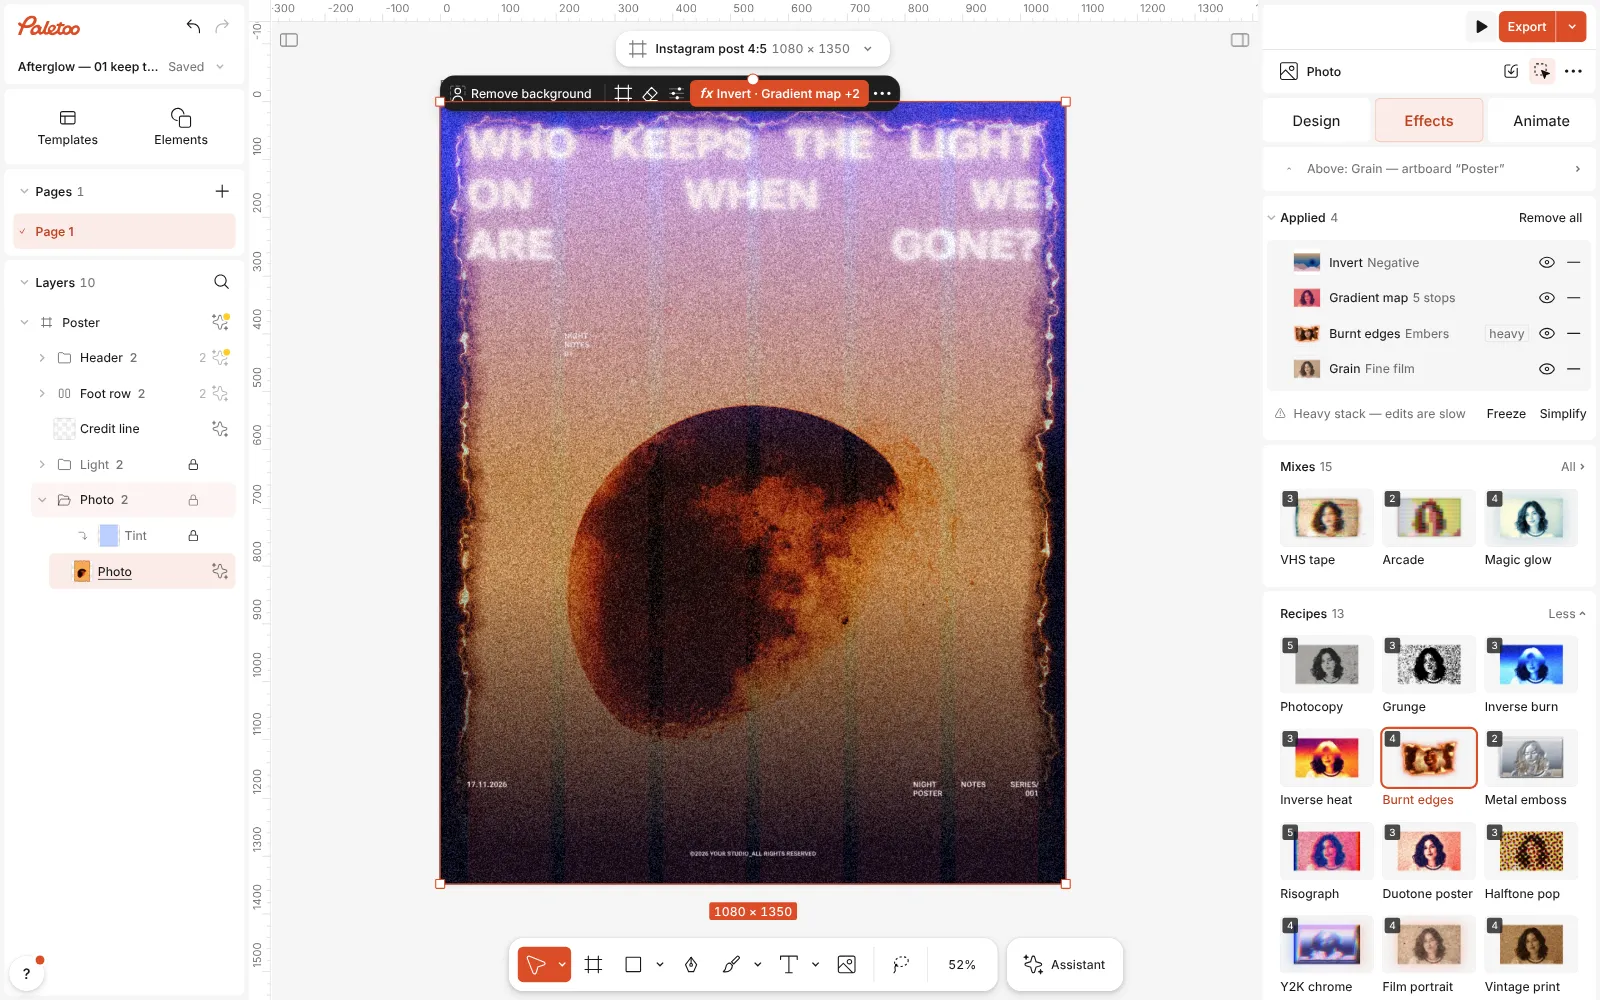
Burnt edges pressed: Invert, Gradient map, Burnt edges and Grain under Applied, the photo a fire negative with charred, glowing edges Click the Burnt edges row — the step, not the mix card — to open it. Its presets are at the top: Charred, Embers (the one the mix uses), Scorched, Ash and Wildfire. Under them, Burn sets how deep the edge is eaten, Roughness how ragged it is, and Char the width of the black band.
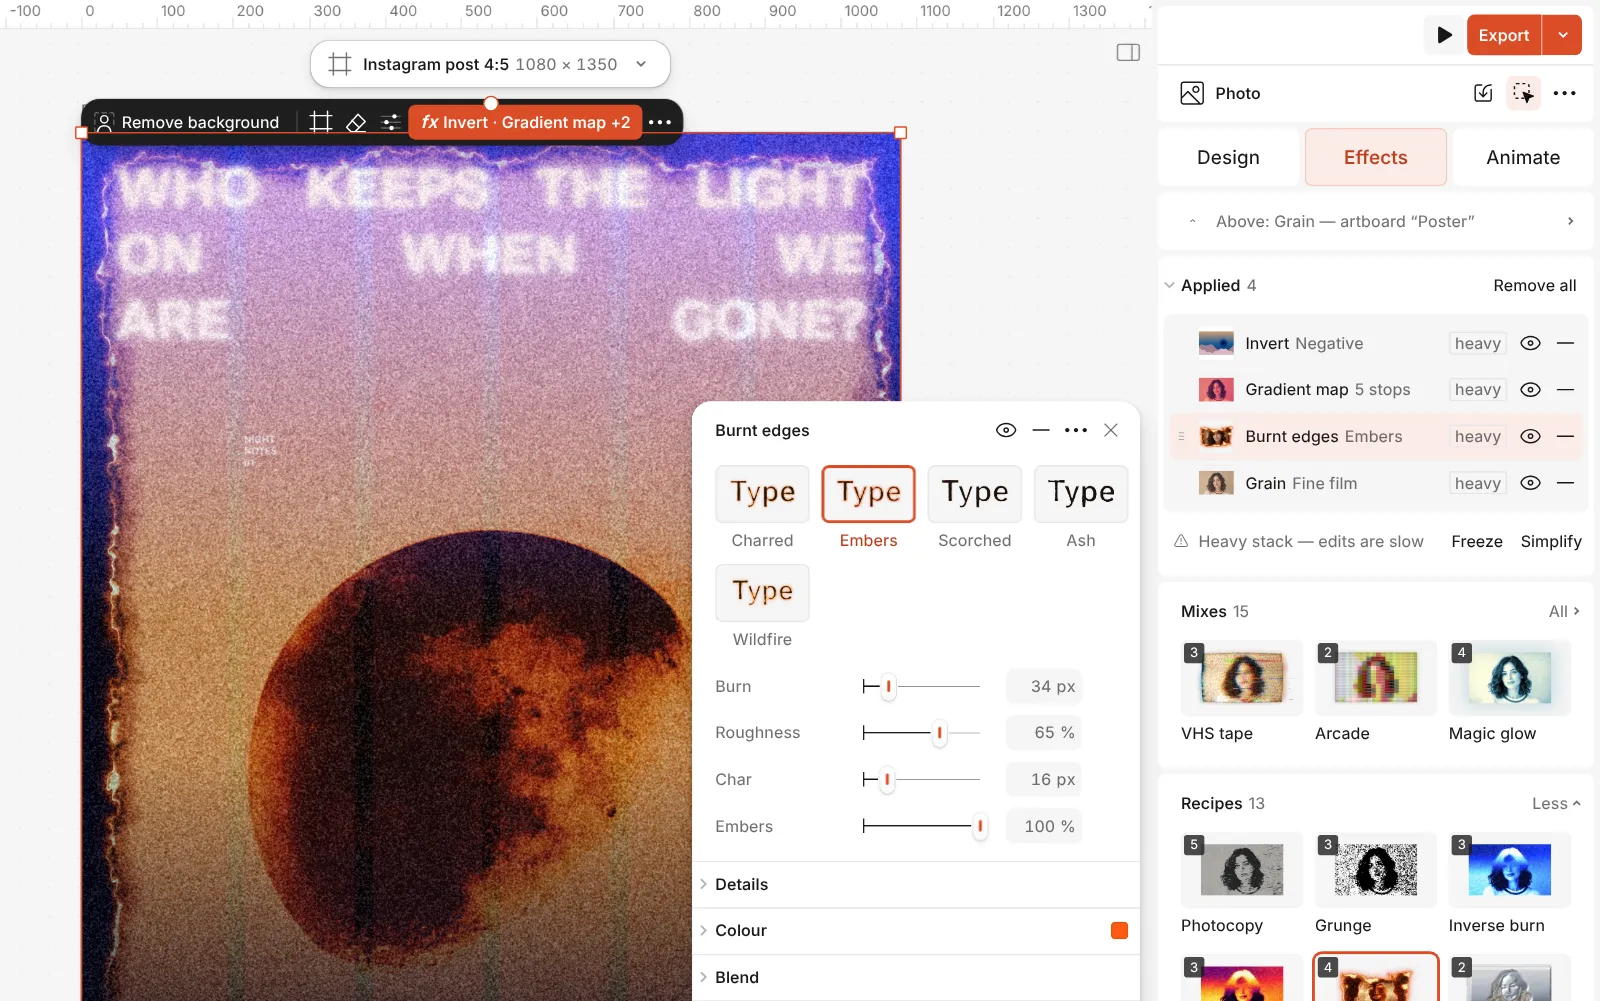
The Burnt edges step open: the Charred, Embers, Scorched, Ash and Wildfire presets and its controls Then the fire itself: the Embers slider sets how brightly the rim and the char glow, Ember colour their hue, Bite size how big the burnt bites are, and Seed gives a different burn with the same settings.
Press Export. The burn is measured in document pixels and drawn at the export’s resolution, so the char stays crisp in a large PNG or a PDF.
Watch it
The one-click mix
In Paletoo the whole stack is one mix, Burnt edges. One click puts every step on the selected object, one undo takes them all off, and each step stays an ordinary effect you can change, reorder or remove.
Its steps: Invert Gradient map · black, ember red, orange, white-hot Burnt edges · Embers Grain · Fine film
Open this mix in PaletooMake it your own
Pick the kind of burn with a preset first, then refine. Scorched barely touches the edge — brown and black, almost no glow — and suits a page that only got too close to a candle. Ash is the burn gone cold: char and no ember. Wildfire takes big ragged bites with a fierce rim; save it for large posters, where the bites have room.
Burn goes up to 160 px and is measured on the document, not the screen, so judge it at the size you will export. On a word or a thin shape the burn is held to a share of the stroke, so letters are charred rather than eaten. If the fire bites into the subject, lower Burn or change Seed until the deepest bite lands on the background.
The fire colours come from the Gradient map: drag its stops to make more of the picture ember red or more of it white-hot, and match Ember colour to the gradient’s orange so the rim belongs to the same fire. For a burnt photo without the negative, turn off or remove the Invert and Gradient map steps and keep only the burn.
Questions
Why do the mix and the step have the same name?
The mix is named for what you see, and its key step is the one that burns the edge. The card in Mixes puts on all four steps; the Burnt edges card in Retro & print adds only the burn, to any picture, shape or text.
How is it different from Inverse burn and Inverse heat?
Those invert only the top of the picture through a soft band and leave the edge clean. Burnt edges inverts everything, maps it to fire and burns the border.
Can I burn text?
Yes. The burn follows the letters’ outlines and is held to a share of the stroke, so even thin type stays readable.
The negative came out too dark. What can I do?
A bright photo turns dark when inverted. Drag the lighter stops of the Gradient map to the left so more of the picture reaches orange and white-hot, or raise Contrast in the same step.
More effects
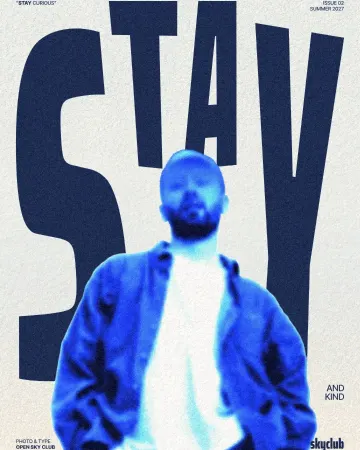
How to make an inverse burn effect
Half negative, half positive, in electric blue.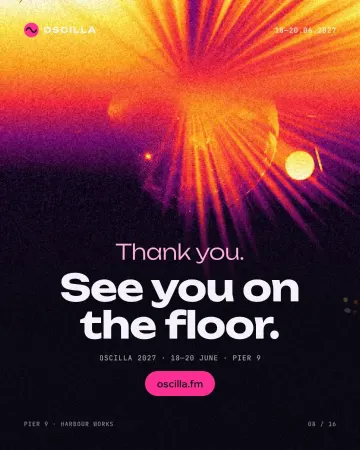
How to make an inverse heat effect
Half negative, half positive, in purple, magenta, orange and yellow.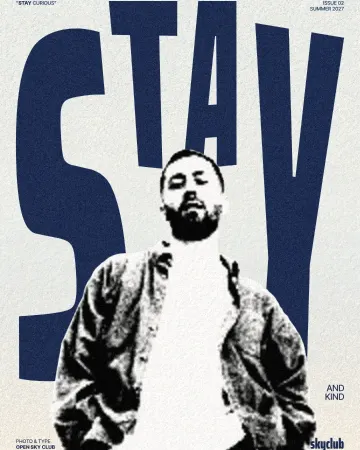
How to make a torn edges effect, like Photoshop’s Torn Edges
Ink and paper, split at a ragged, grainy edge.
Read the overview: graphic design trends 2026
Make it online: All tools
Try it on your own design
Paletoo opens in your browser, with no sign-up. Every effect here is live: change the picture or the words and the effect follows.
Open in Paletoo