How to make an inverse burn effect
Half negative, half positive, in electric blue.
What it is
Inverse burn turns only part of a photo — usually a portrait — into its own negative. The top of the frame is inverted and the inversion fades out across the eyes, so the face slides from negative to positive in one smooth band. Then the whole picture is mapped to a single cold palette — navy shadows, electric blue mid-tones, cyan and white light — and a fine grain holds it together. Darks glow, lights sink, and where the two halves meet the face looks lit from inside.
It became a staple of short videos, cover art and club visuals because it reads at thumbnail size: one hard colour, a strange light and a face that is clearly the subject. It is also forgiving — almost any photo with a clear head and shoulders works, and the band can be moved to sit wherever the picture needs it.
Where it is used
Use it for electronic music and club posters, podcast and video covers, tech and AI launches, sport and fashion portraits, and any post that should stop the scroll with one cold colour. It is strongest on portraits with clear features and a plain background, and on night photos, where lights turn into dark, glowing shapes.
Made in Paletoo with this mix:
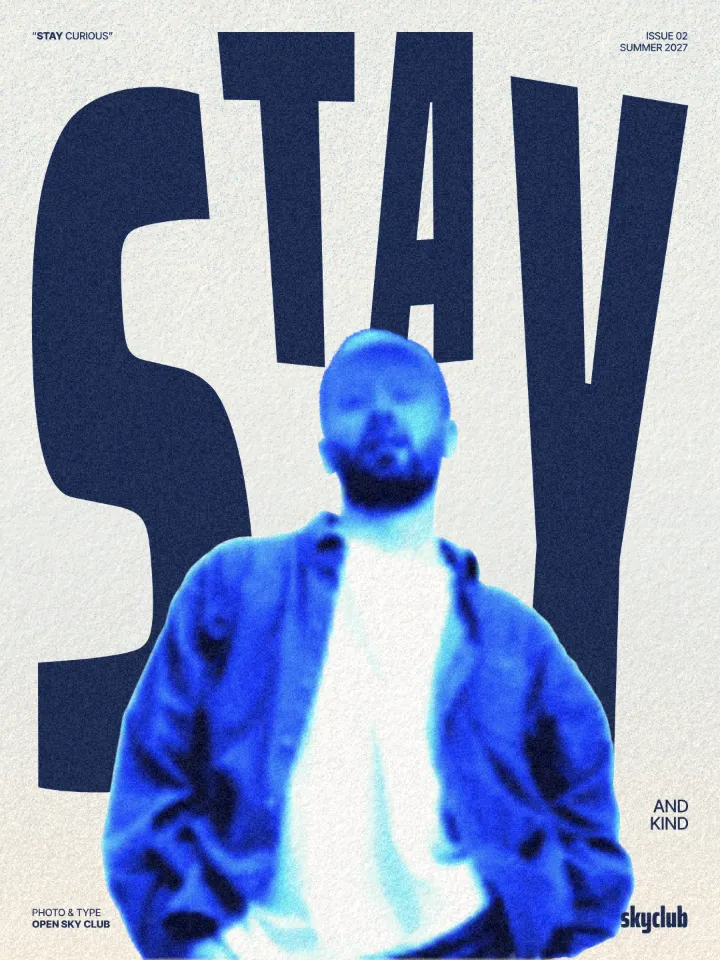
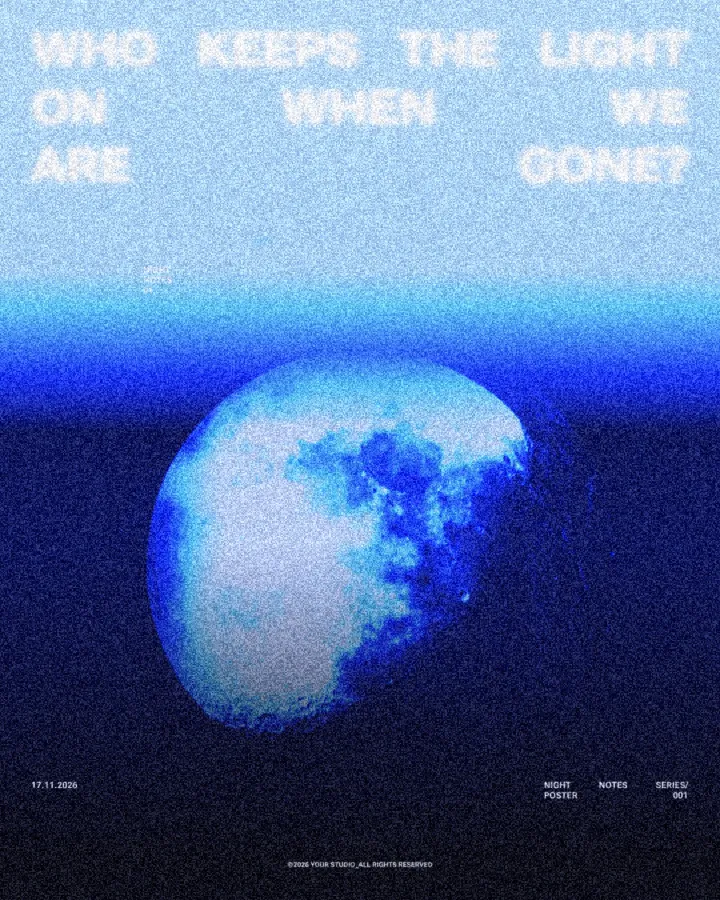
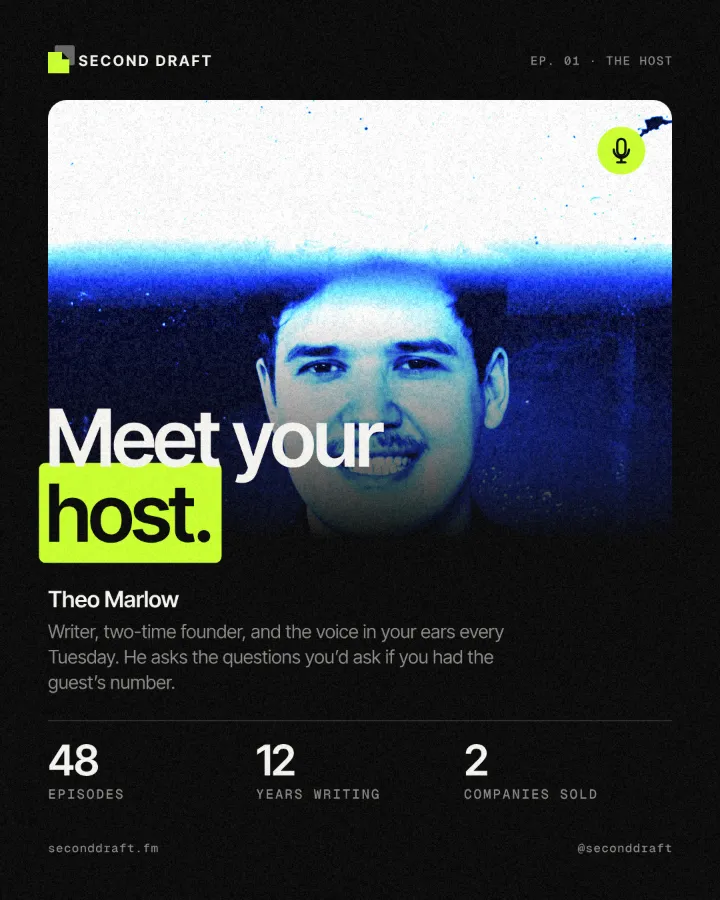
How to make it, step by step
Open your design and choose a photo with a clear subject — a face, head and shoulders, or a strong silhouette. The effect is built around the eyes, so portraits work best.
Select the photo, open the Effects tab and look under Mixes.
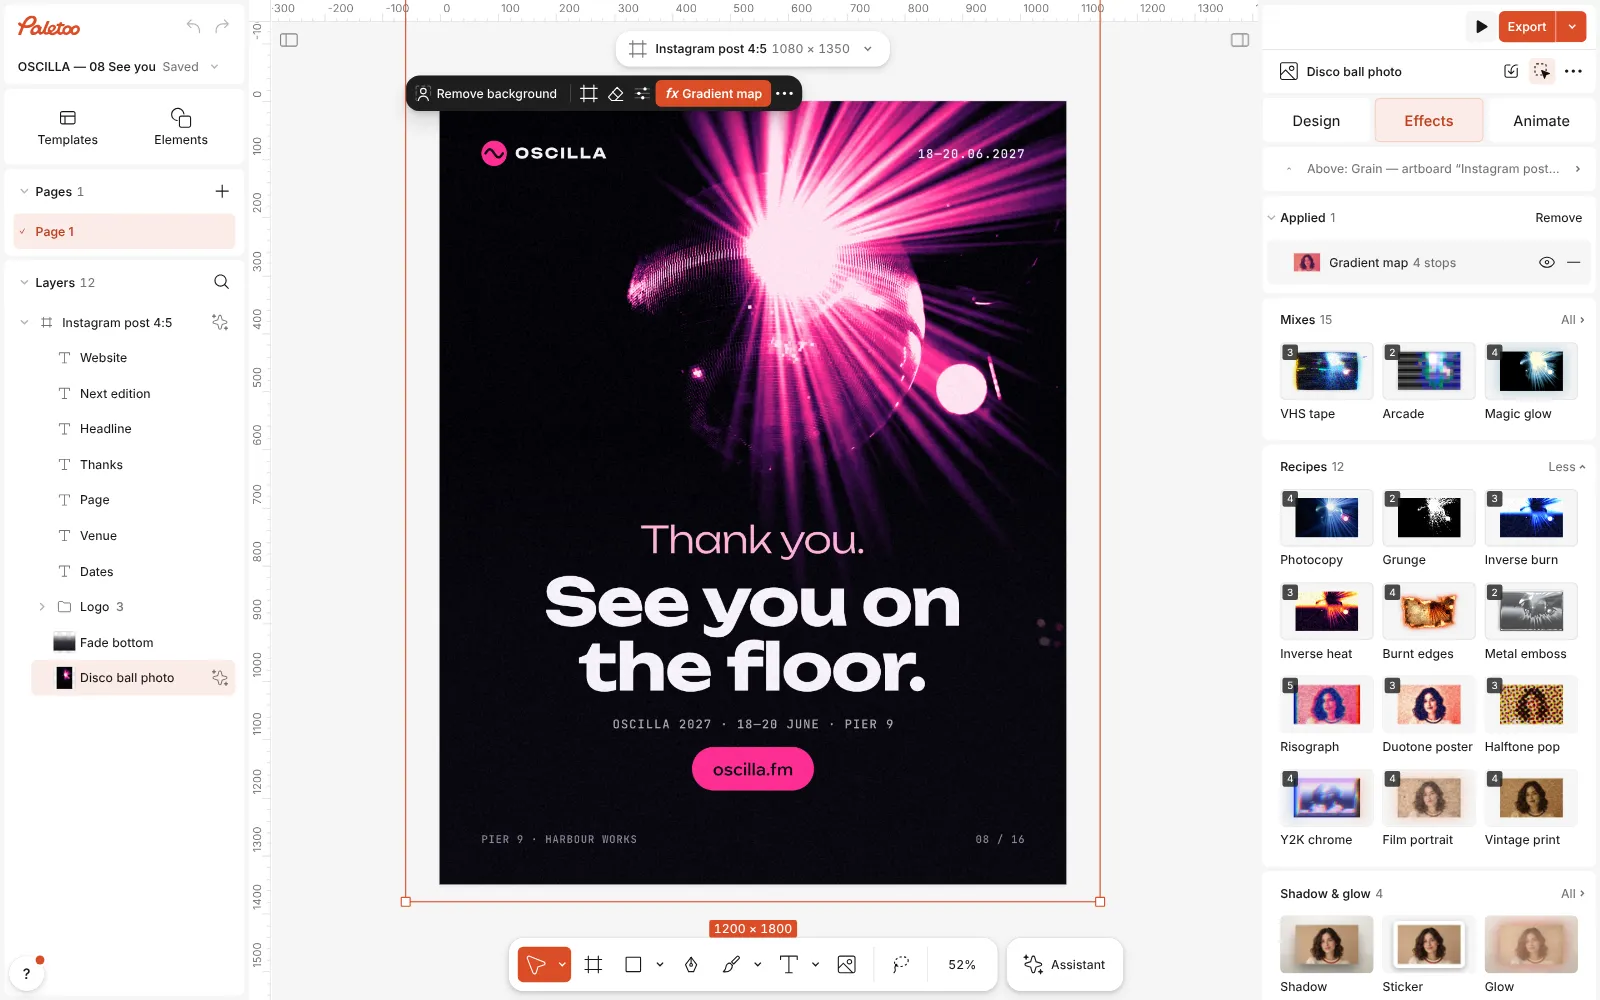
A poster open in Paletoo, the photo selected and the Mixes open Press Inverse burn. Three steps go on under Applied: Invert turns the top of the photo negative through a gradient mask that fades out across the eyes, a Gradient map recolours everything from navy through blue and cyan to white, and Grain adds a fine film texture.
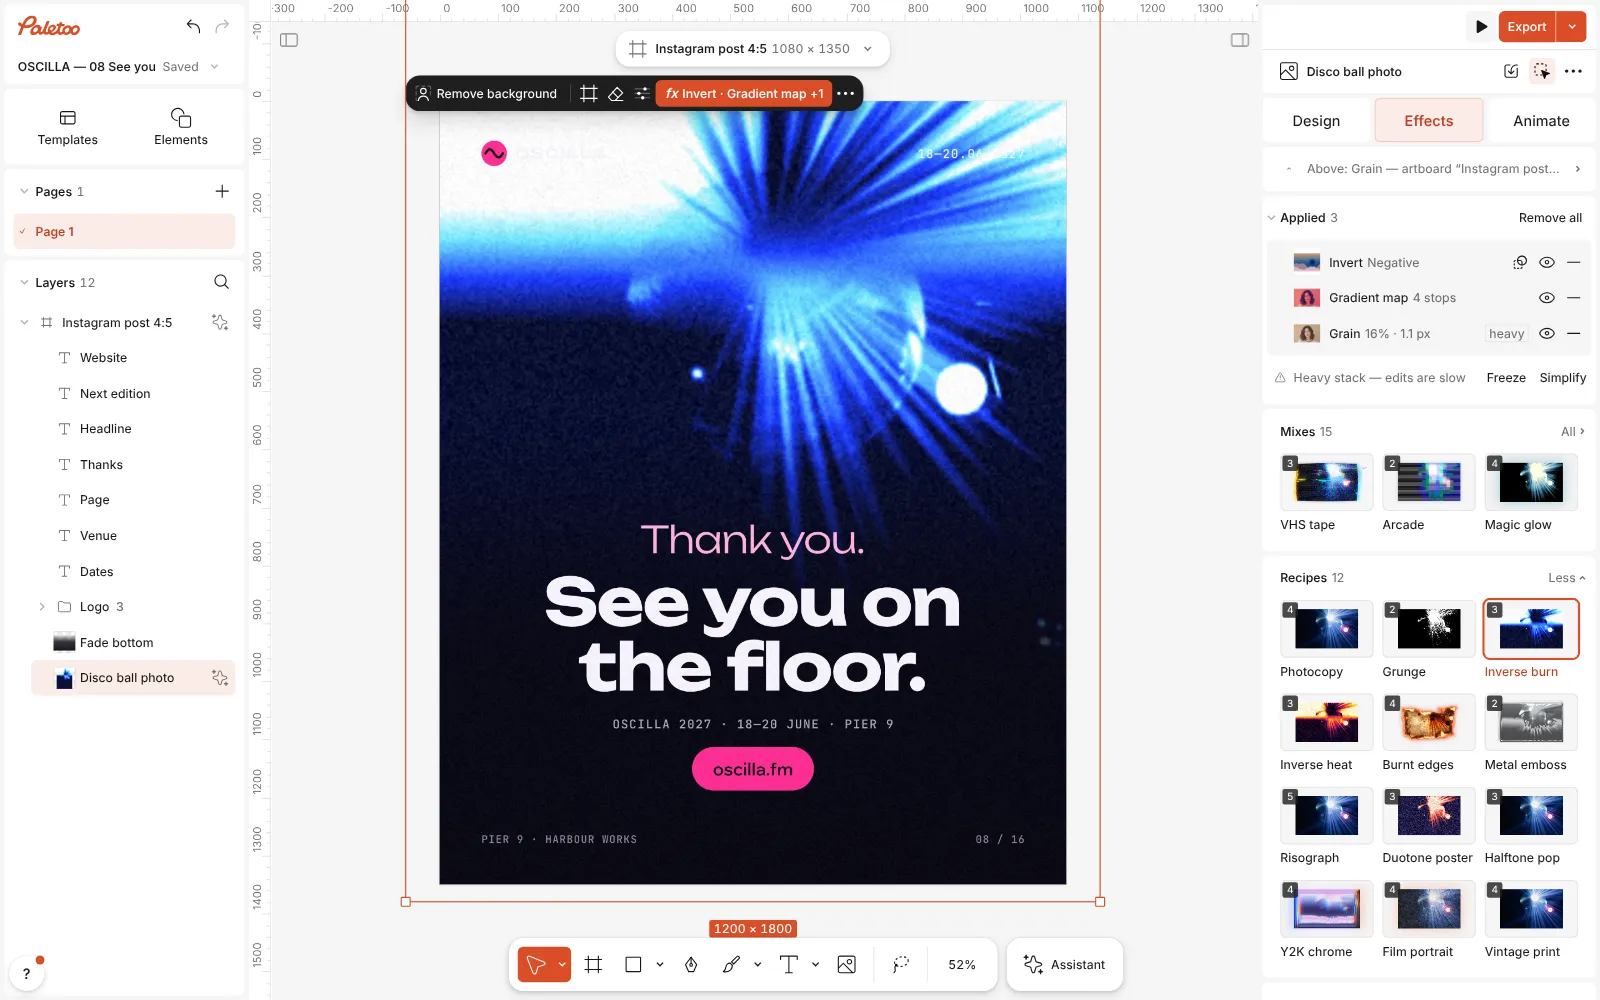
Inverse burn pressed: Invert, Gradient map and Grain under Applied, the top of the photo negative and the whole picture blue Open the Gradient map step to change the palette: drag the stops along the Gradient to decide how much of the picture is deep navy and how much bright cyan, and raise Contrast for a harder light.
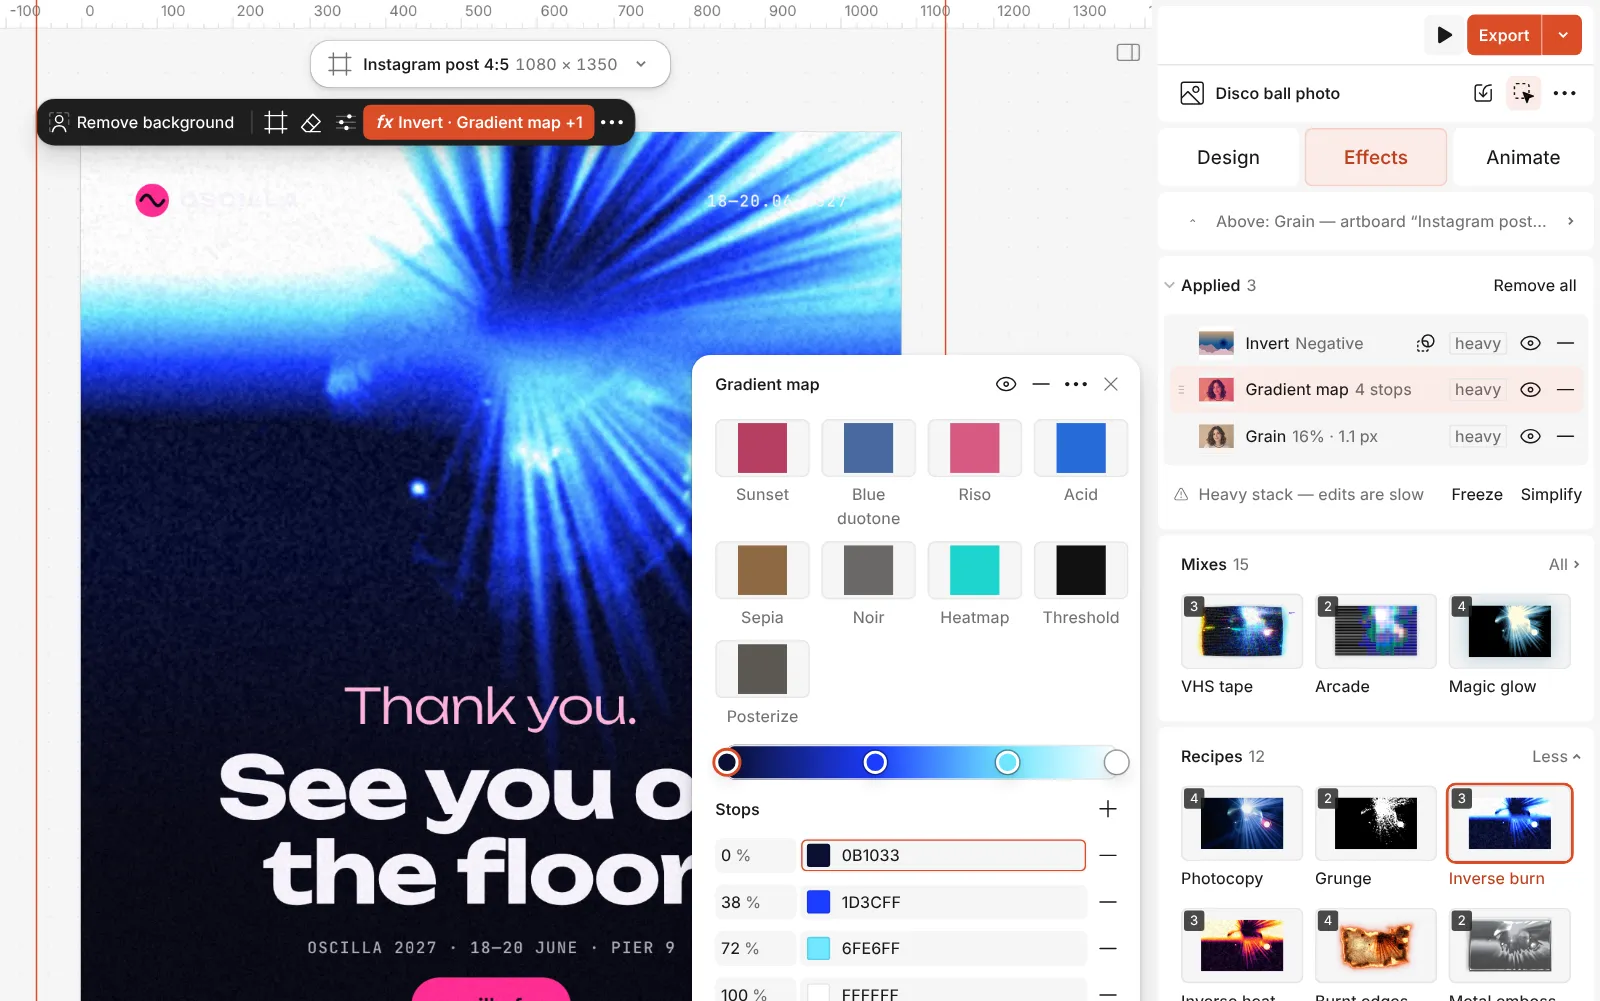
The Gradient map step open: its presets and the navy-to-white gradient with its stops To move the band, open the Invert step and its Masks: drag the mask’s handles on the canvas until the fade sits across the eyes. For a hot version, press Inverse heat instead — the same band in purple, magenta, orange and yellow.
Press Export. For a moving version, the steps can be animated in the Animate tab like any other effect.
Watch it
The one-click mix
In Paletoo the whole stack is one mix, Inverse burn. One click puts every step on the selected object, one undo takes them all off, and each step stays an ordinary effect you can change, reorder or remove.
Its steps: Invert Gradient map · navy, blue, cyan Grain
Open this mix in PaletooMake it your own
The colour lives in the Gradient map. Its stops run from navy to white; drag the middle ones to decide how much of the picture is deep blue and how much glowing cyan. Turn on Reverse and the light and dark swap places — worth a try when the face goes too dark.
The band is what makes it inverse burn rather than a plain negative. Keep the fade across the eyes: higher and the face reads as an ordinary blue portrait, lower and the whole face becomes a negative. On a photo without a face, put the band where the brightest part of the subject meets the background.
For warmth, press Inverse heat; for the classic fire negative, press Burnt edges — it inverts the whole picture, maps it to fire and chars the border. Whichever you pick, keep the headline in white or the palette’s lightest colour: the effect is strong enough without a second accent.
Questions
Why does the top of my photo look washed out?
A negative of a low-contrast area is low contrast too. Add the Basic step before Invert and raise Contrast, or pick a photo with deep shadows and bright highlights.
Can I invert the whole picture, not only the top?
Yes. Open the Invert step and remove its mask: the whole photo becomes a negative, still in the blue palette.
Does it work on text?
It does: letters pick up the band and the palette. Use a heavy typeface so the gradient has room to show.
What is the difference between Inverse burn, Inverse heat and Burnt edges?
Inverse burn and Inverse heat are the same band in two palettes, cold and hot. Burnt edges is the fire look: the whole photo inverted, mapped from black through ember red to white-hot, its edges charred and glowing.
More effects
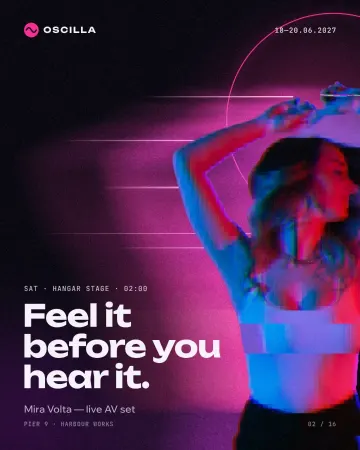
How to make a glitch effect
Blocky pixels, torn colour channels and a smeared trail.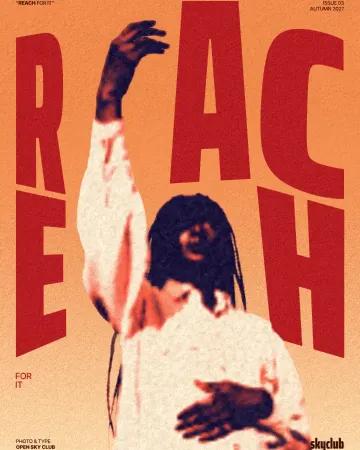
How to make a duotone effect
Two bold inks, punchy contrast and a fine poster grain.
How to make a grunge effect with torn edges
Pure black and white, a ragged torn edge and spatter in the shadows.
Read the overview: graphic design trends 2026
Make it online: All tools
Try it on your own design
Paletoo opens in your browser, with no sign-up. Every effect here is live: change the picture or the words and the effect follows.
Open in Paletoo