How to make a torn edges effect, like Photoshop’s Torn Edges
Ink and paper, split at a ragged, grainy edge.
What it is
Torn edges is a two-tone effect: it splits a picture into ink and paper at one threshold, but the border between them is not a clean line — it is ragged and grainy, like ink that bled into rough paper or a print torn from a sheet. Dark areas become solid ink, light areas bare paper, and the tones in between break into grit along the cut. It is the idea of the Torn Edges filter in Photoshop’s Filter Gallery, with the same three main controls on the same scales.
Designers use it because it takes the photograph out of a photo. Lighting, skin texture and busy backgrounds disappear; what survives is a strong shape with a rough, hand-made outline. Pictures from different sources start to look like one set, and the result pairs naturally with flat colour and clean type.
Where it is used
Torn edges suits gig and festival posters, zines and flyers, streetwear graphics, sport promos and any post that needs a printed, cut-out feel. It is the step the Photocopy and Grunge mixes are built on, and on its own it is the quickest way to turn a cut-out person, a product shot or a heavy headline into a two-colour print.
Made in Paletoo with this mix:
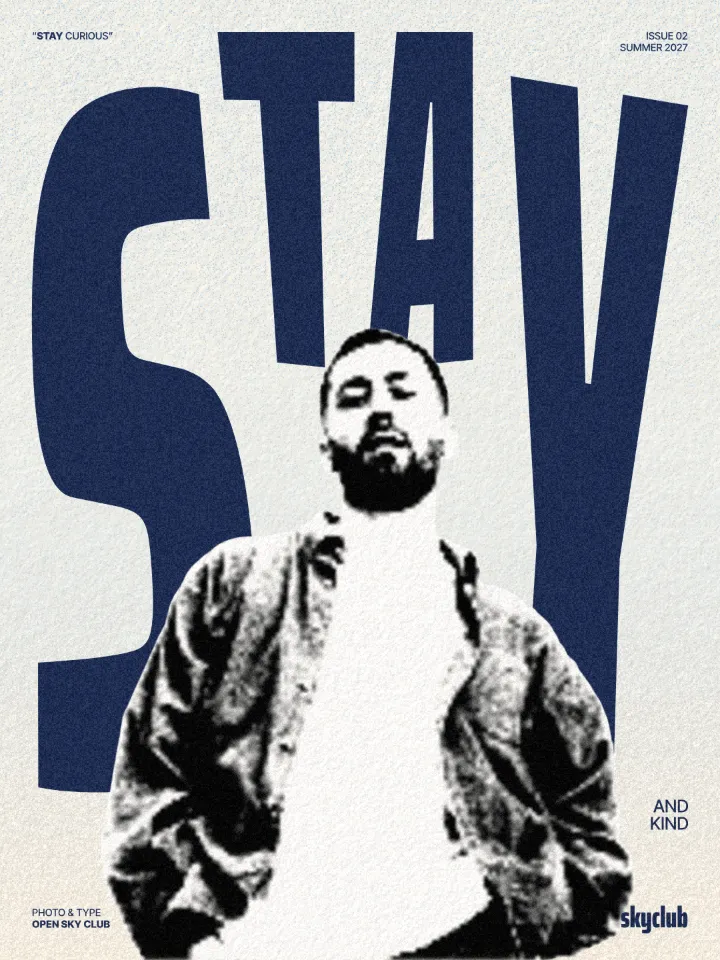
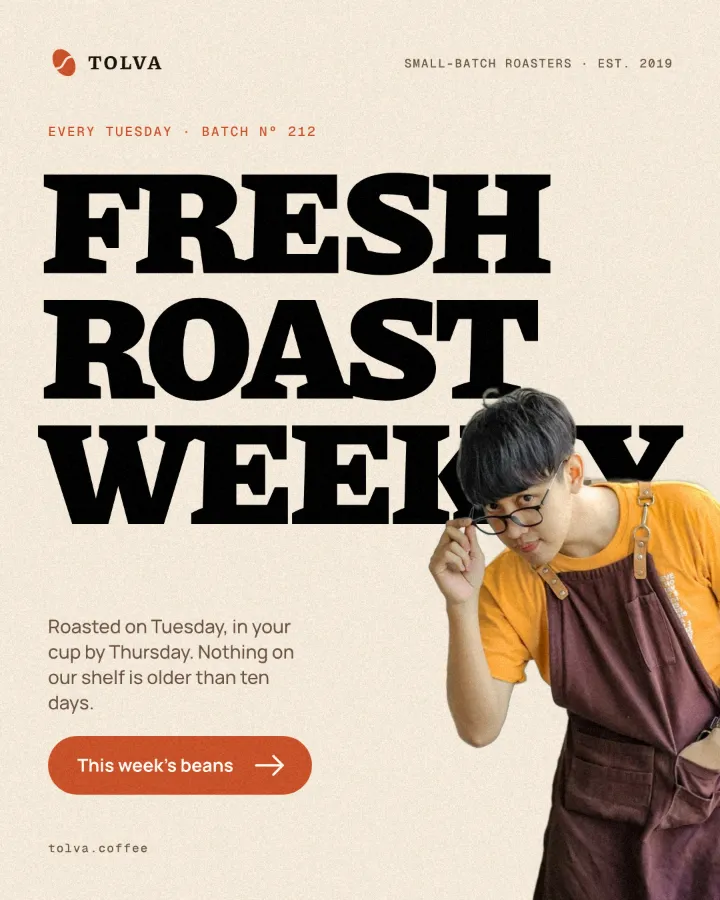
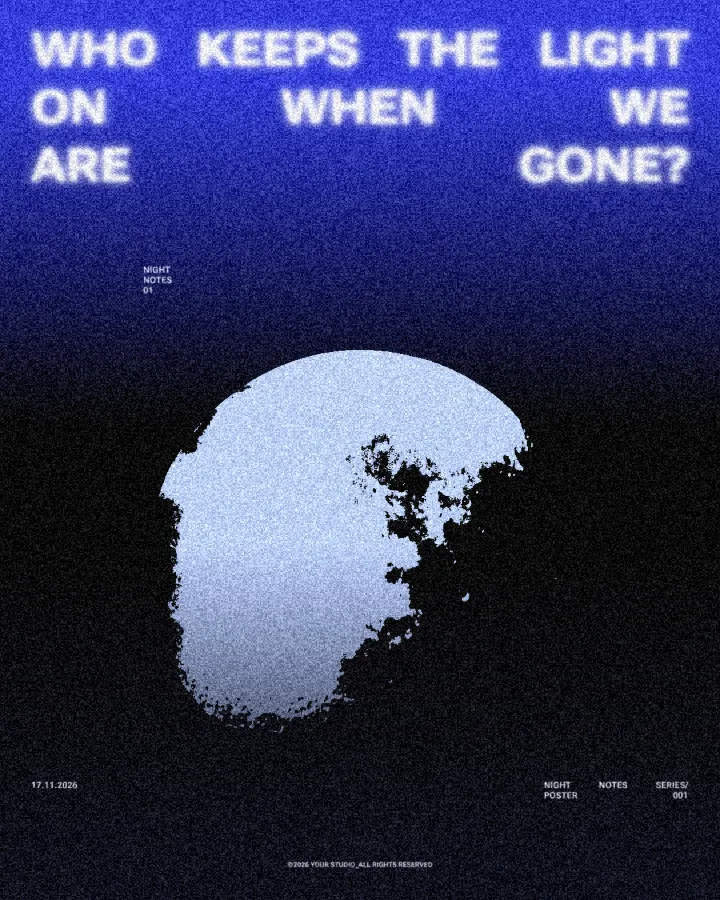
How to make it, step by step
Open your design in Paletoo and select what you want to cut: a photo, a cut-out person, a shape or a heavy headline. A subject with a clear silhouette gives the most readable tear — here, the cut-out dancer on a festival post.
With the object selected, open the Effects tab in the right panel and scroll to Retro & print. If the Torn edges card is not in the first row, press All to see the whole group.
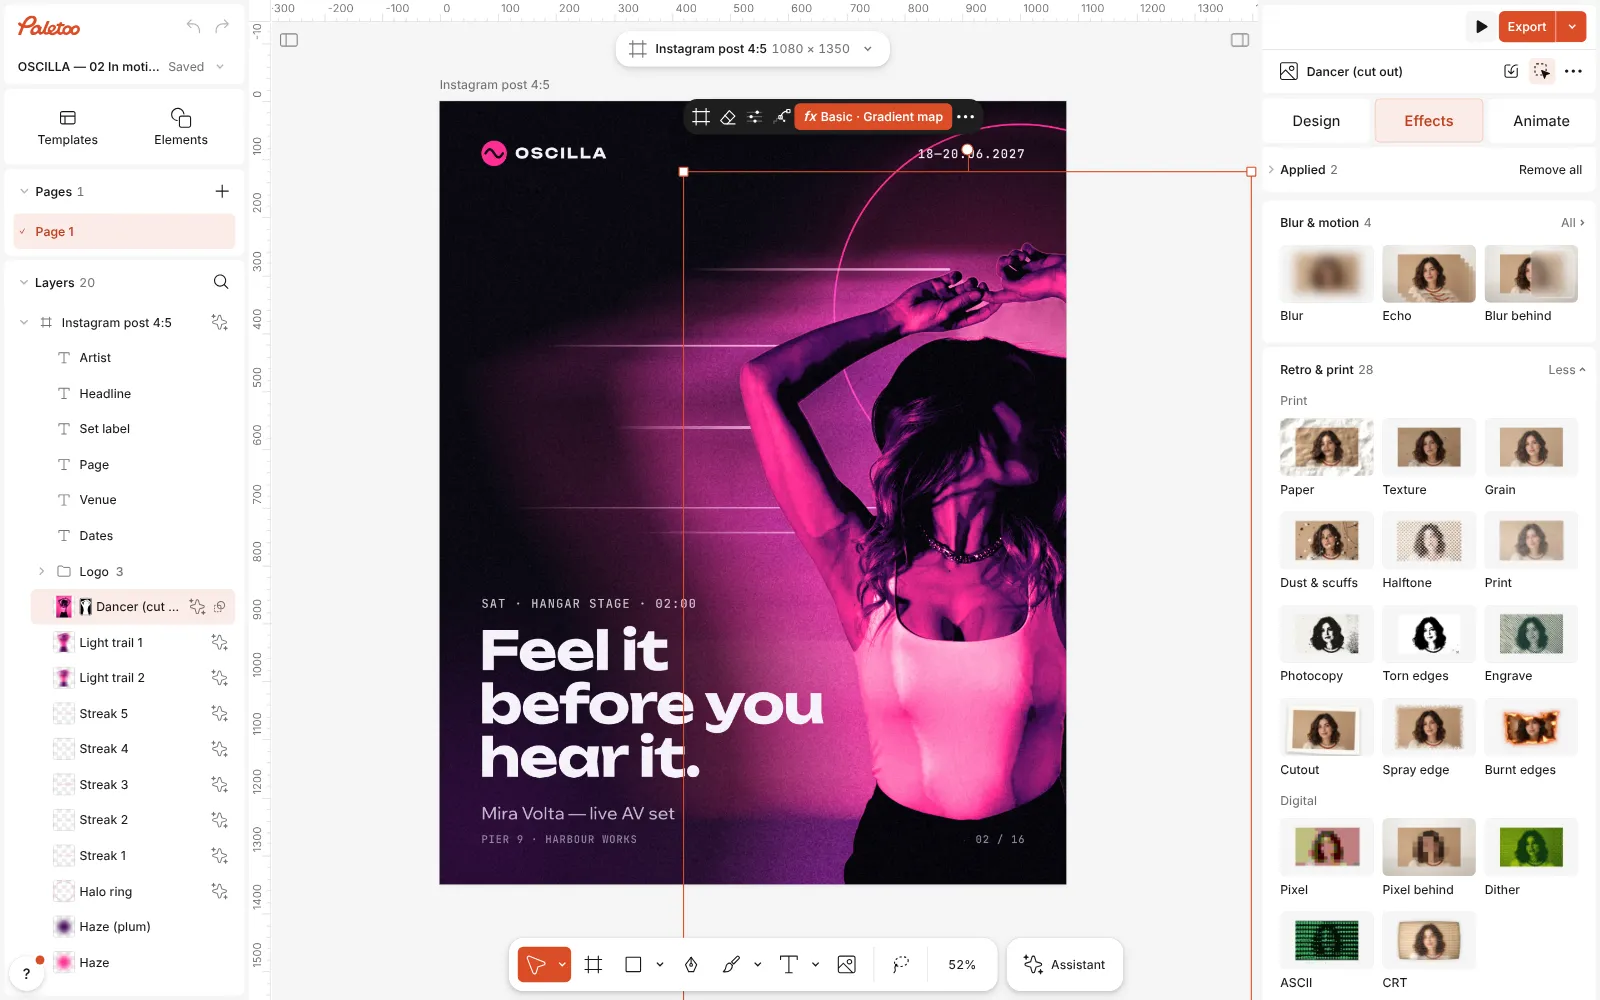
The festival post open in Paletoo, the dancer selected and the Effects tab’s Retro & print group showing the Torn edges card Press the Torn edges card. The step goes on at once with Photoshop’s own defaults and is listed under Applied: dark areas turn to solid ink, light ones to bare paper, and the border between them breaks into a ragged, grainy edge.
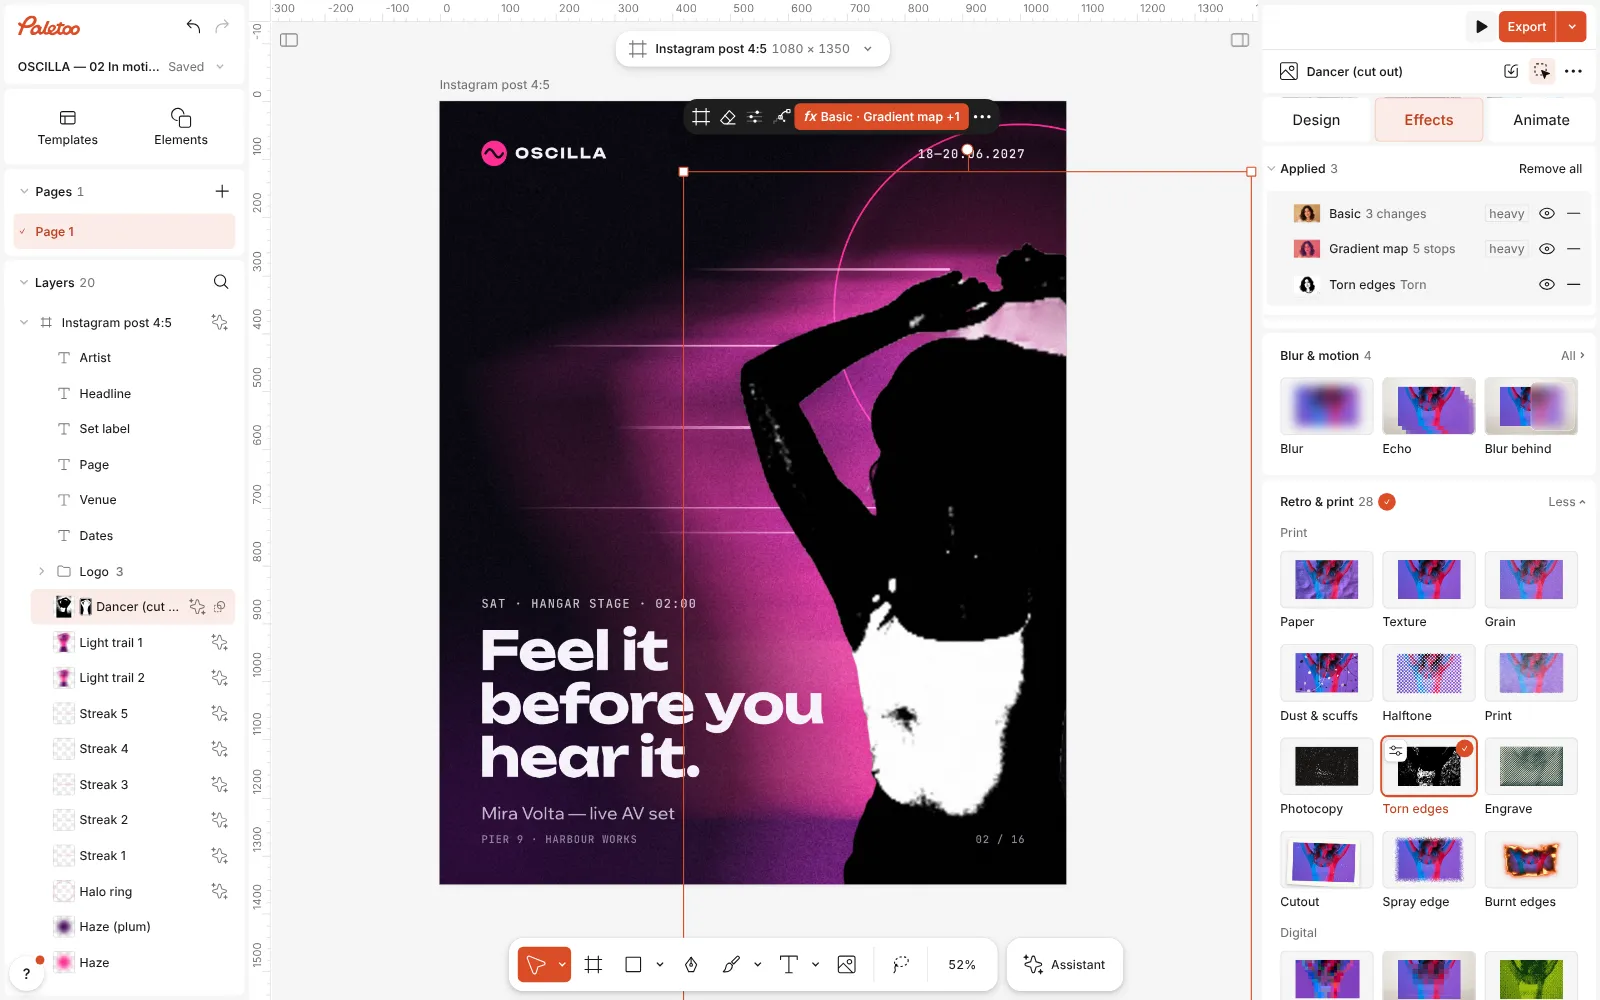
Torn edges on: the dancer cut to ink and paper at a ragged edge, the step listed under Applied Click the Torn edges row to open the step. The presets sit at the top — Torn, Photocopy and Grunge — and under them the four main controls: Image balance, Smoothness, Contrast and Grain.
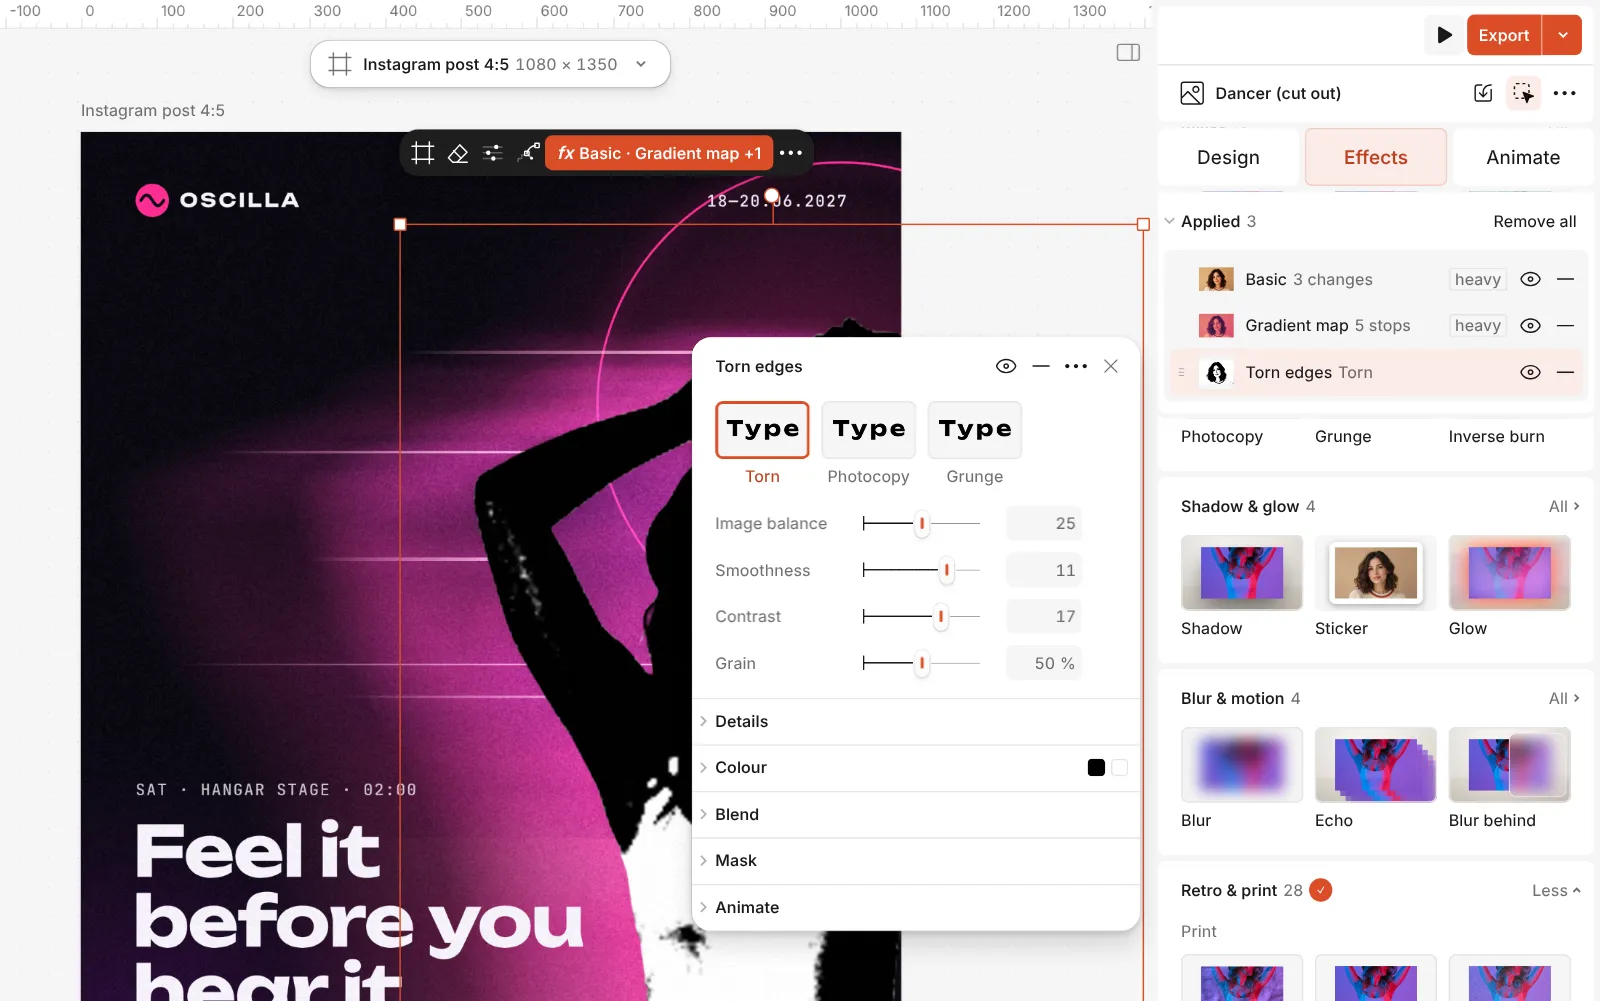
The Torn edges step open: the Torn, Photocopy and Grunge presets and its controls Further down the same step are the rest: Grain size, Scan lines, the Ink and Paper colours, and Seed, which draws a different tear with the same settings.
Press Export when it looks right. The step stays live: move or resize the object, or replace the photo, and the tear is redrawn for it.
Watch it
The one-click mix
In Paletoo the whole stack is one mix, Torn print. One click puts every step on the selected object, one undo takes them all off, and each step stays an ordinary effect you can change, reorder or remove.
Its steps: Torn edges · Torn
Open this mix in PaletooMake it your own
Start with Image balance, the cut itself. It runs from 0 to 50, as in Photoshop: higher turns more of the picture to ink. Set it while watching the face or the main shape, not the background. Then use Smoothness (1 to 15) for the character of the edge: high values give a soft, even rag, low values a bitten, torn one.
Contrast decides how wide the band of broken tones is. At the top of its range the cut is nearly clean; turned down, a broad strip of mid-tones dissolves into grit, which is where the look gets its texture. Grain sets how much of that edge is grit rather than rag, Grain size how coarse it is, and Scan lines drags the grit along the rows like a copier pass. Everything is measured in document pixels, so the tear looks the same at every zoom and in the export.
Colour comes from Ink and Paper. Black on white is Photoshop’s default; deep navy on cream feels printed, and one bright ink on black feels like a gig poster. If the tear slices through an eye or a letter you need, change Seed until the rag falls somewhere harmless.
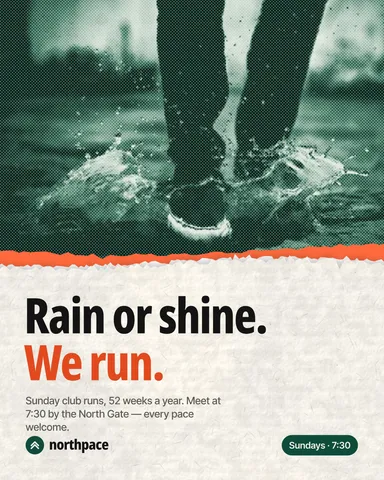
Templates with this look
Questions
Is this the same as Photoshop’s Torn Edges filter?
It follows it: the same idea and the same three main controls on the same ranges — Image balance 0–50, Smoothness 1–15, Contrast 1–25 — plus grain, scan lines, colours and a seed. Unlike a filter, it stays a live step you can change at any time.
How is it different from the Photocopy and Grunge mixes?
Both mixes are built on this one step. Photocopy uses its Photocopy preset over a grey base and adds grain, a copier texture and levels; Grunge uses its Grunge preset over a grit texture and adds a gradient map for the colours. Torn edges on its own is just the cut, with nothing around it.
Does it work on text?
Yes. Select a heading and press the same card: the letters keep their shapes, get a ragged, grainy edge, and the text stays editable.
Why did part of my photo turn into a solid black block?
Image balance is too high for that photo, or the background is dark. Lower it, or cut out the subject first so the background does not turn to ink.
Is there a one-click card for it in Mixes?
Yes: Torn print. It puts on the same Torn edges step with the cut fitted to your picture’s brightness, so a dark photo and a light one both start from a readable tear.
More effects

How to make a grunge effect with torn edges
Pure black and white, a ragged torn edge and spatter in the shadows.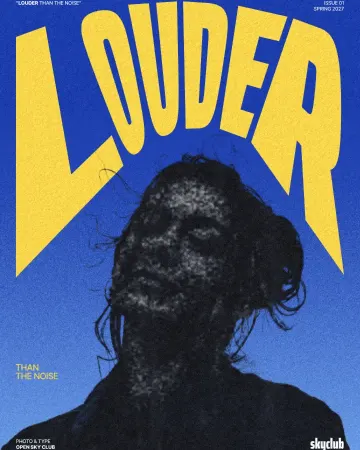
How to make a photocopy effect
Dense toner blacks, greys in scan lines and grey copier paper, from any photo.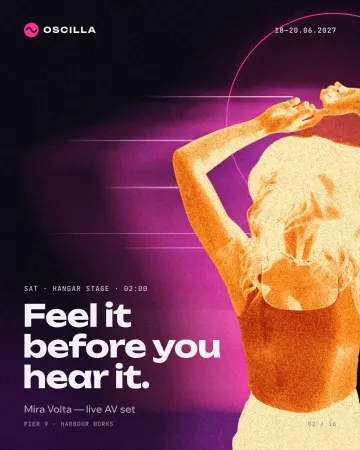
How to make a burnt edges effect with a fire negative
A fire negative with charred, glowing edges.
Read the overview: graphic design trends 2026
Make it online: Photo collage maker · Social media post templates
Try it on your own design
Paletoo opens in your browser, with no sign-up. Every effect here is live: change the picture or the words and the effect follows.
Open in Paletoo