How to make a grunge effect with torn edges
Pure black and white, a ragged torn edge and spatter in the shadows.
What it is
Grunge is the look of a print that has lived a hard life: cut down to flat ink and bare paper, its edges ragged, its shadows spattered, as if it had been photocopied, rubbed and torn off a wall. It borrows from 1990s skate and music graphics, where designers photocopied, cut and rescanned everything until the polish was gone.
A good grunge image is not just noise on top of a photo. The cut does the work: one hard split into ink and paper so the subject reads from across the street, an edge between them that is torn rather than clean, and grit that gathers where the ink runs thin — spatter in the shadows, speckle on the backdrop. Colour comes last, and two flat inks are all it needs.
Where it is used
Grunge works for sports and extreme-sport promos, music and festival posters, streetwear and skate brands, energy drinks and anything that sells adrenaline. It is also a good way to make a stock photo feel less like stock: once it is cut, spattered and torn, nobody recognises it.
Made in Paletoo with this mix:
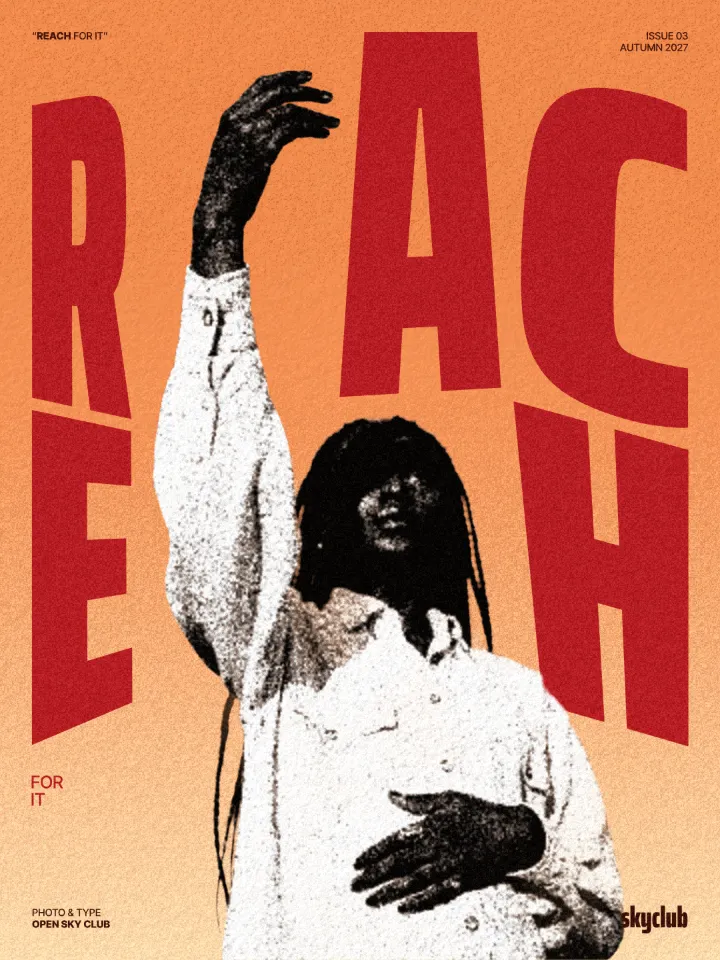
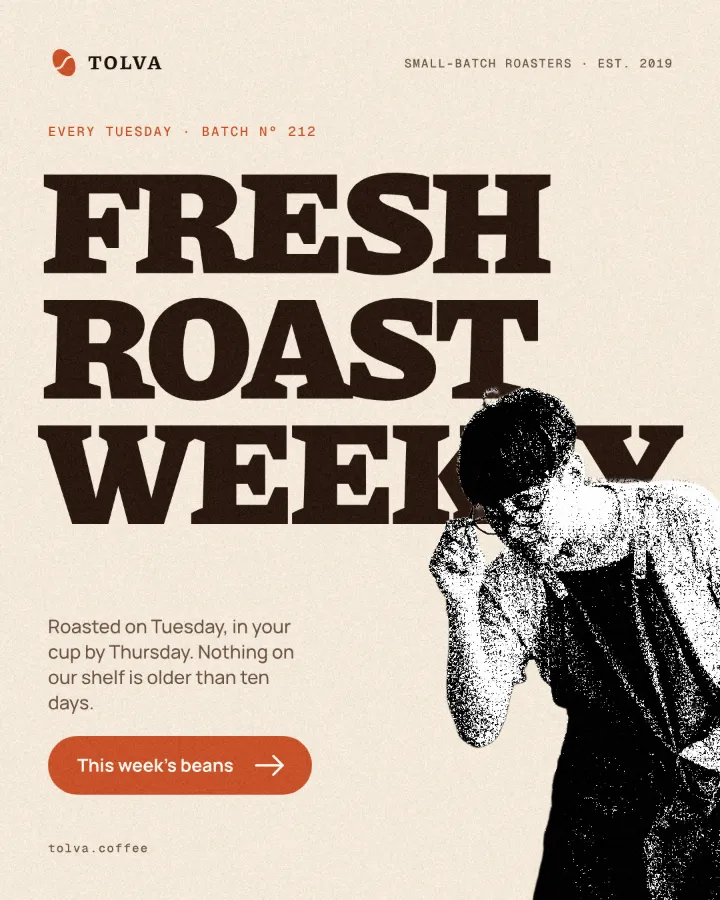
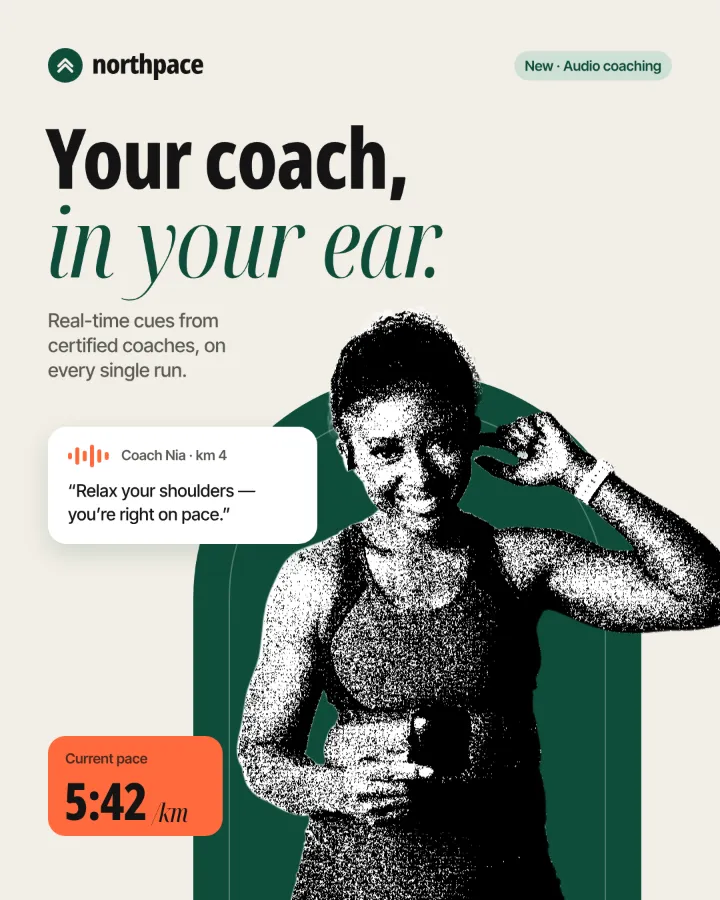
How to make it, step by step
Open your design and pick the photo you want to rough up. Action shots and portraits with a clear silhouette work best; a busy background turns to noise once it is cut to two tones.
Select the photo, open the Effects tab and find Mixes; press All if Grunge is not in the first row.
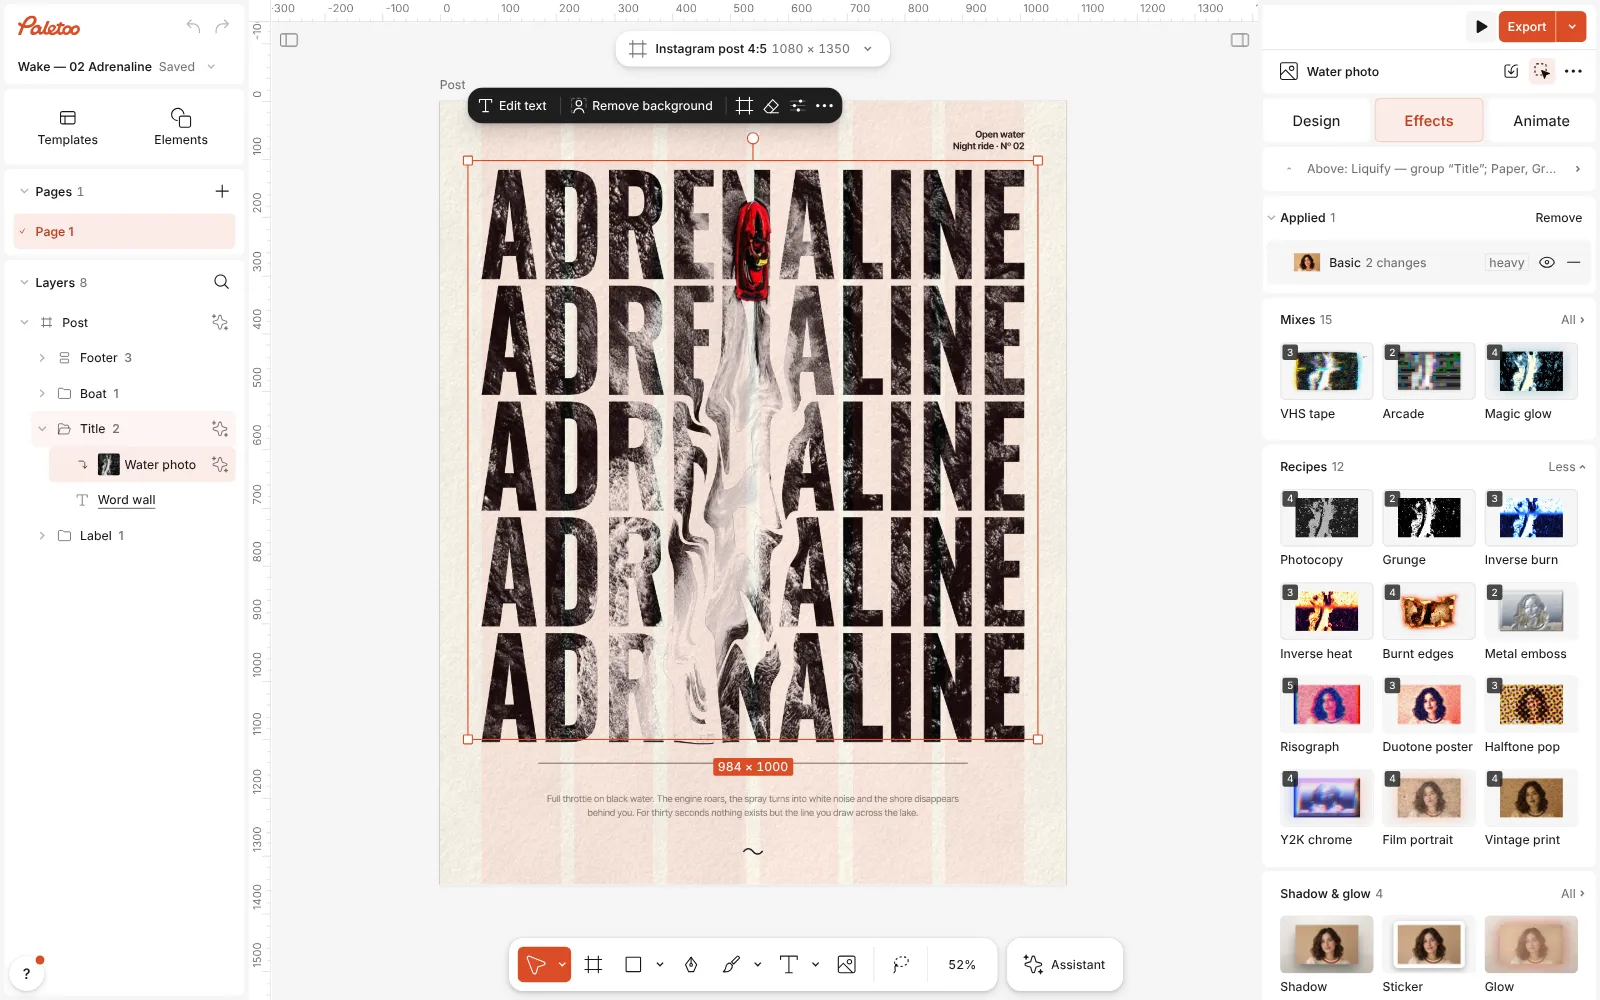
A jet-ski poster open in Paletoo, the water photo selected and the Mixes open Press Grunge. Two steps go on under Applied: Torn edges with its Grunge preset cuts the photo into ink and paper at a dark, rough, ragged edge, with spatter in the shadows and speckle on the backdrop, and a Gradient map sets the two colours — pure black and white to start with.
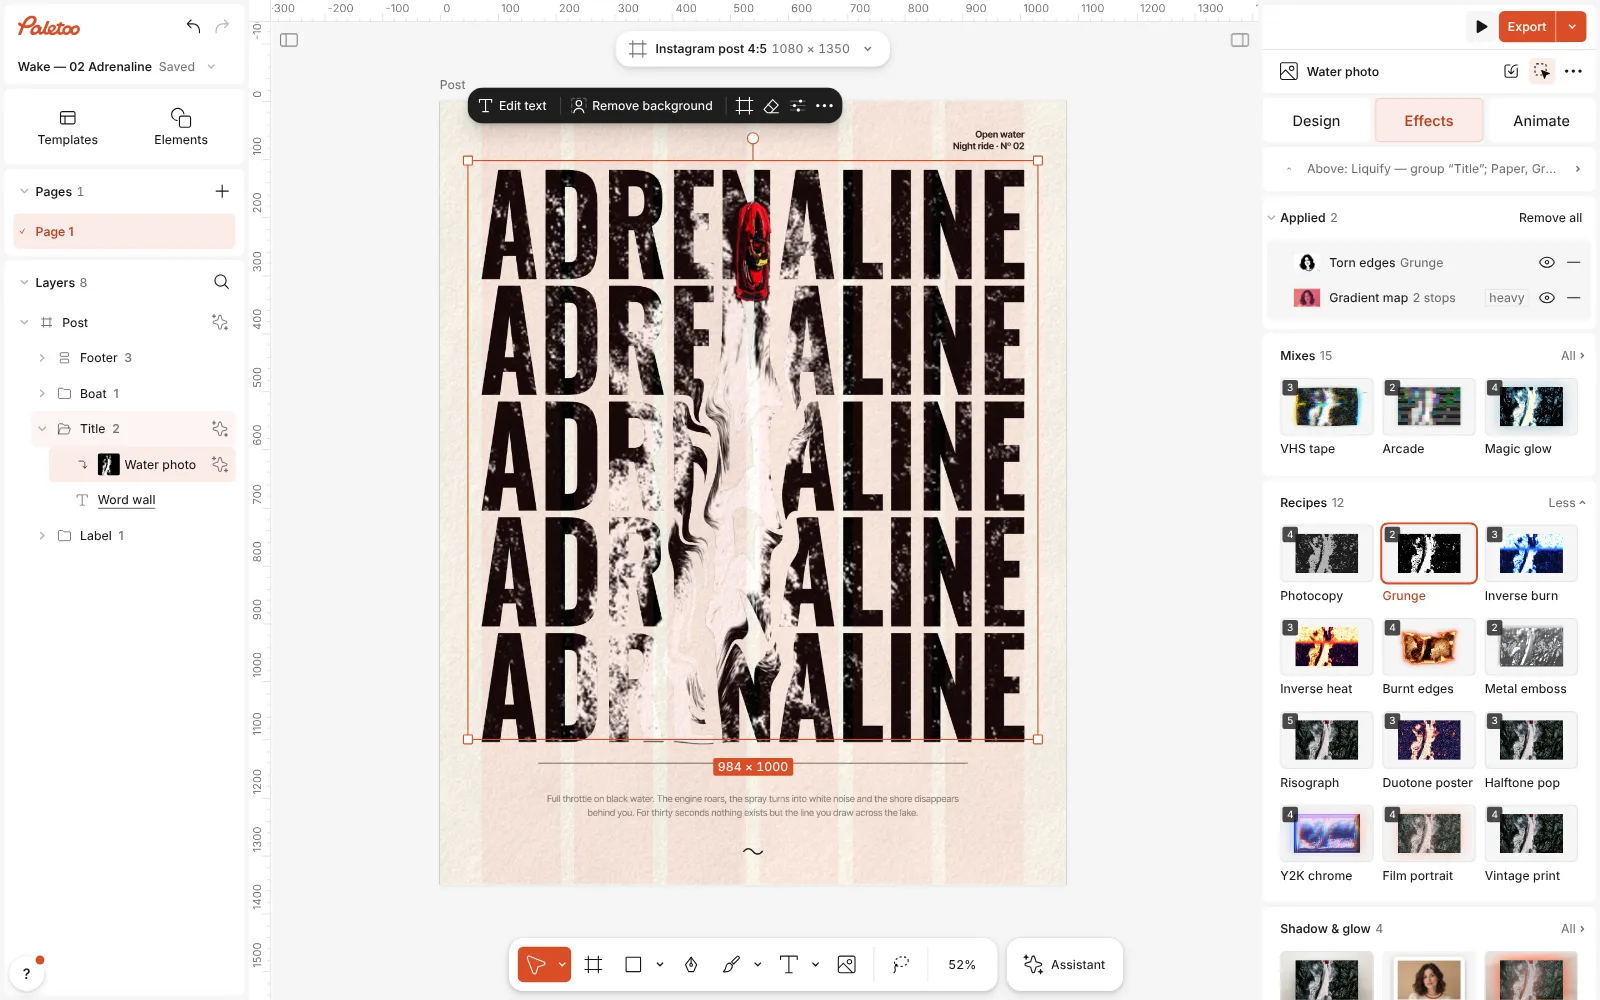
Grunge pressed: Torn edges and Gradient map listed under Applied, the photo cut to ragged black and white Click the Torn edges row to shape the tear: Image balance sets how much turns to ink, Smoothness how ragged the edge is (lower is rougher), Grain and Grain size how much spatter breaks it up. Seed gives a different tear when the first one cuts through something important.
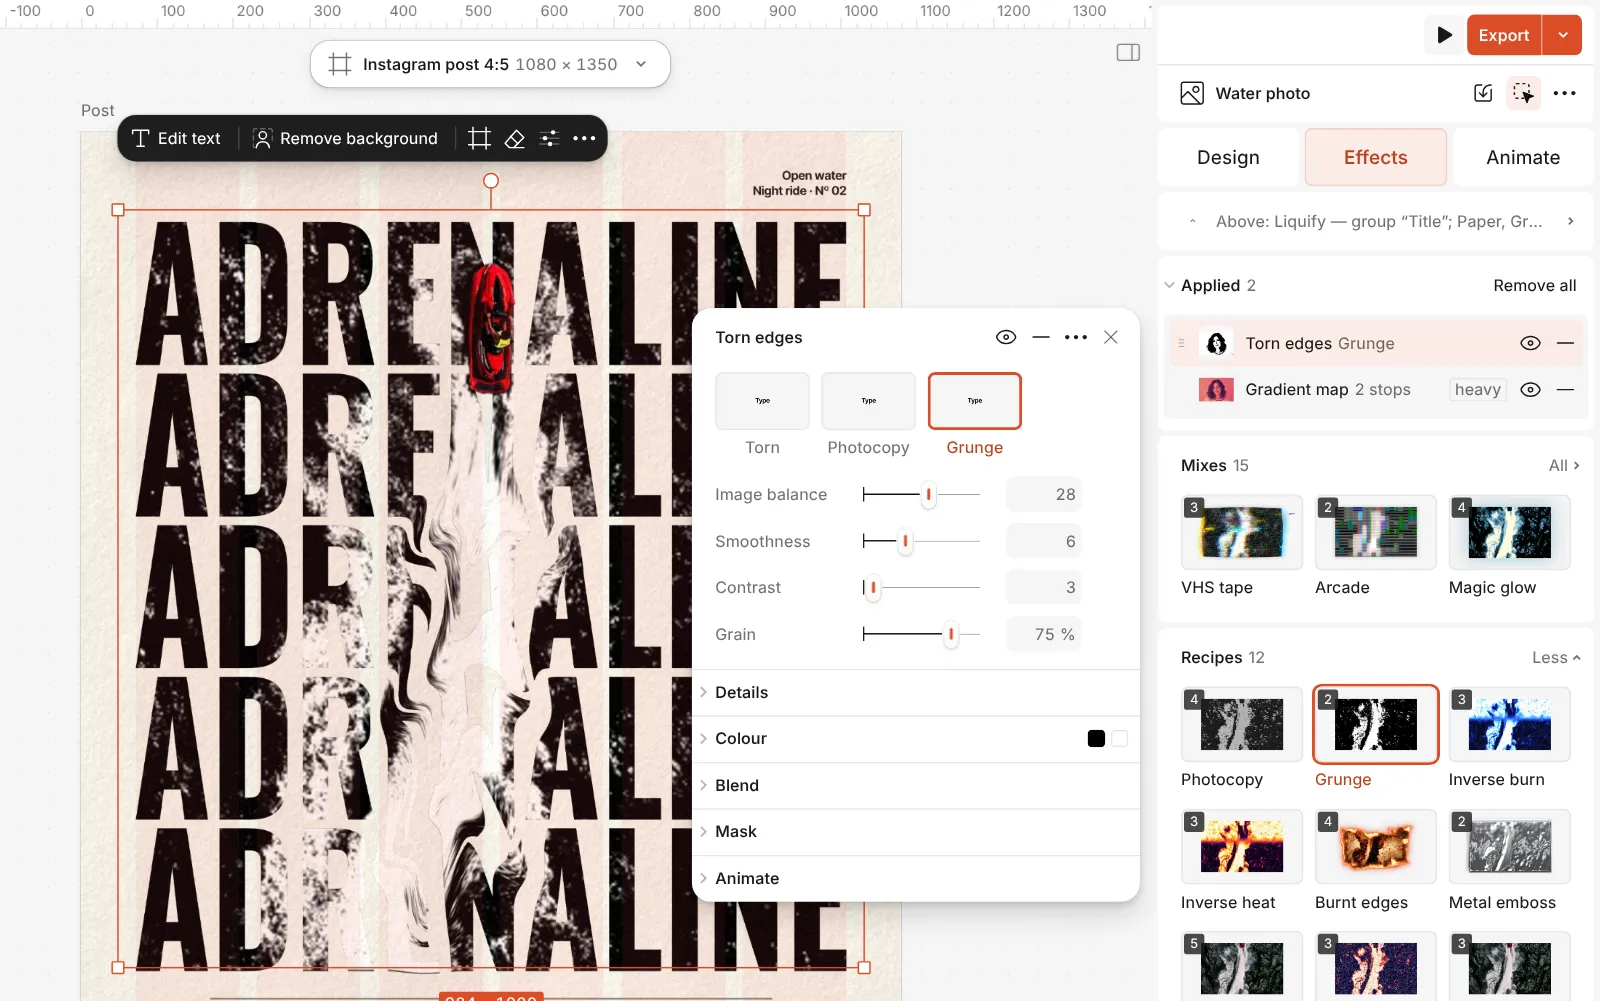
The Torn edges step open: its presets and the Image balance, Smoothness, Contrast and Grain controls Change the two colours in the Gradient map step: dark navy and off-white feel vintage, black and acid yellow feel loud. For extra wear, add a Texture step on top — the Grunge kit has concrete, worn ink, scratches and tape.
Press Export when you are happy. Swap the photo at any time: the cut, the tear and the colours stay where they are.
Watch it
The one-click mix
In Paletoo the whole stack is one mix, Grunge. One click puts every step on the selected object, one undo takes them all off, and each step stays an ordinary effect you can change, reorder or remove.
Its steps: Torn edges · Grunge Gradient map
Open this mix in PaletooMake it your own
Most grunge goes wrong in the first step. If the subject breaks into blotches, open Torn edges and move Image balance until the face or the main shape holds together, then raise Smoothness a little so more of its outline survives the cut. If the background takes over, crop tighter or remove the background first — a clean silhouette makes the spatter read as wear instead of mess.
Use texture like a designer, not a filter: the mix stays at two steps on purpose. If you want more wear, add one strong surface (concrete) or one accent (tape) as a Texture step at 60–80 %, not all of them at once. Every Texture step can be swapped for another tile from the same kit in one click.
The torn edge looks most convincing when it has something to sit on — a solid colour background or a second, clean layer under it. Change Seed in Torn edges to get a different tear if the first one cuts through an important part of the picture.
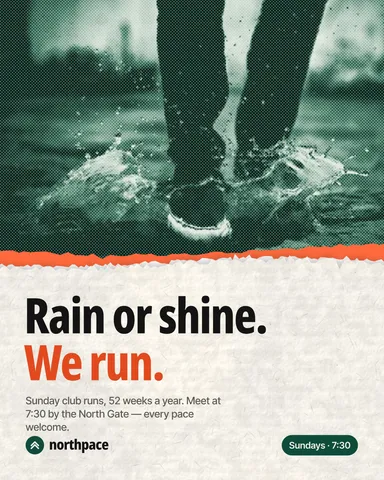
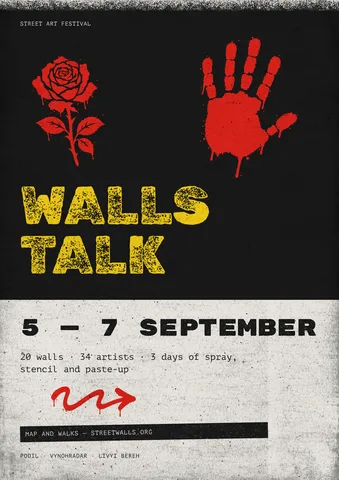
Templates with this look
Questions
Can I tear the edge of text or a shape?
Yes. Torn edges works on any object: press Grunge on a heavy headline or on a colour block behind the text — both are classic grunge moves.
Why are there two steps instead of one?
So the cut and the colours stay apart. Tune the tear in Torn edges and the inks in the Gradient map, each without touching the other, and remove the map if you only want black and white.
Are the textures free to use commercially?
The Grunge kit you can add on top is drawn for Paletoo and is part of the editor, so you can use it in client work and products you sell.
How do I get a coloured grunge look?
Change the two colours in the Gradient map step — for example a deep red and a cream. The spatter and the torn edge follow your colours.
More effects
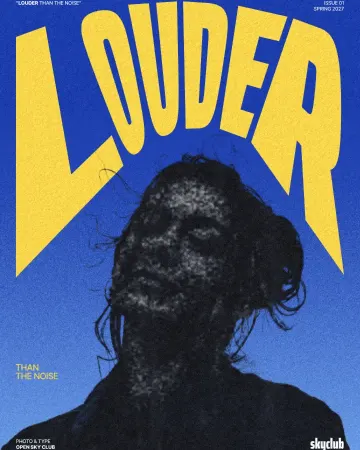
How to make a photocopy effect
Dense toner blacks, greys in scan lines and grey copier paper, from any photo.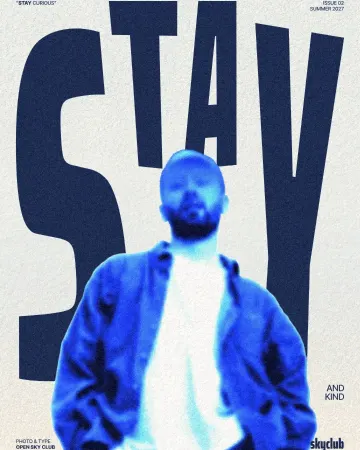
How to make an inverse burn effect
Half negative, half positive, in electric blue.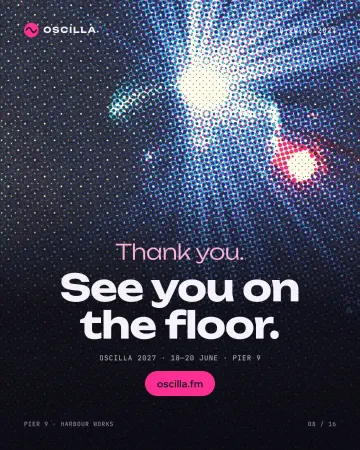
How to make a halftone effect
Comic-book CMYK dots, newspaper screens or one ink.
Read the overview: graphic design trends 2026
Make it online: All tools
Try it on your own design
Paletoo opens in your browser, with no sign-up. Every effect here is live: change the picture or the words and the effect follows.
Open in Paletoo