How to make a photocopy effect
Dense toner blacks, greys in scan lines and grey copier paper, from any photo.
What it is
A photocopy effect makes a photo look as if it went through an office copier, and then through it again. The machine can only print black toner or nothing, so the mid-tones fall away: shadows clog into solid black, highlights burn out to bare paper, and what is left in between breaks up into grit and the faint lines of the scanner. Each new copy of a copy loses a little more detail and picks up more dust, and the paper never comes out quite white.
It is the look of punk flyers, early zines, band posters taped to a lamp post and the fax that arrived half readable. Designers reach for it when a layout feels too polished: it adds urgency and a hand-made, low-budget honesty that clean photography does not have.
Where it is used
You see it on gig and club posters, zine covers, protest and community flyers, streetwear drops and album artwork — anywhere the message should feel loud, local and slightly rebellious. It also works as a texture layer in otherwise clean editorial layouts, where one copied portrait next to crisp type gives the page some grit.
Made in Paletoo with this mix:
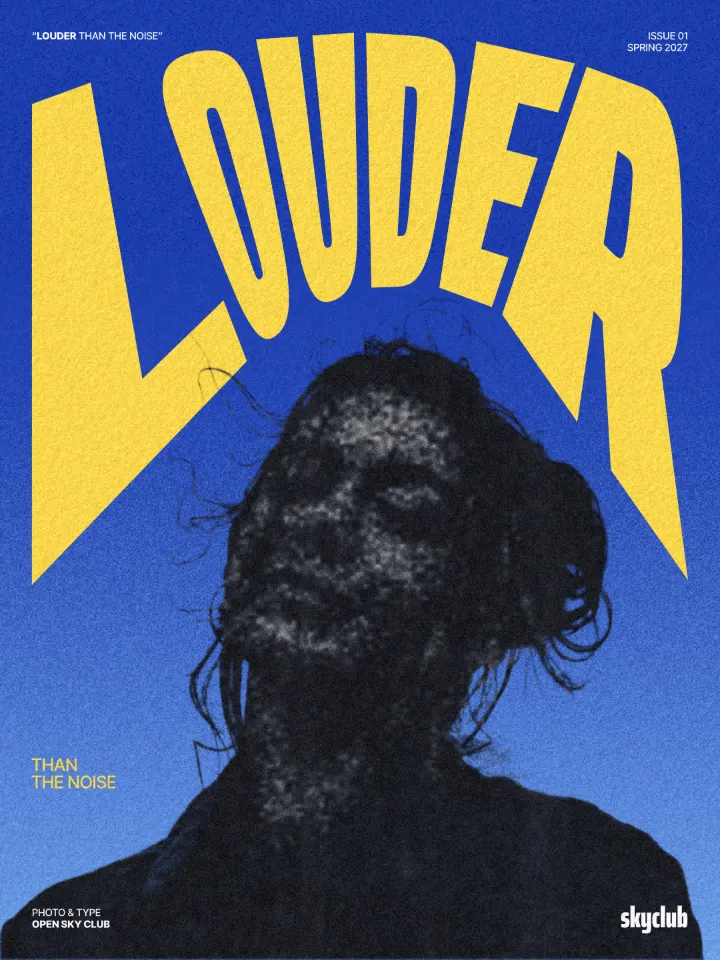
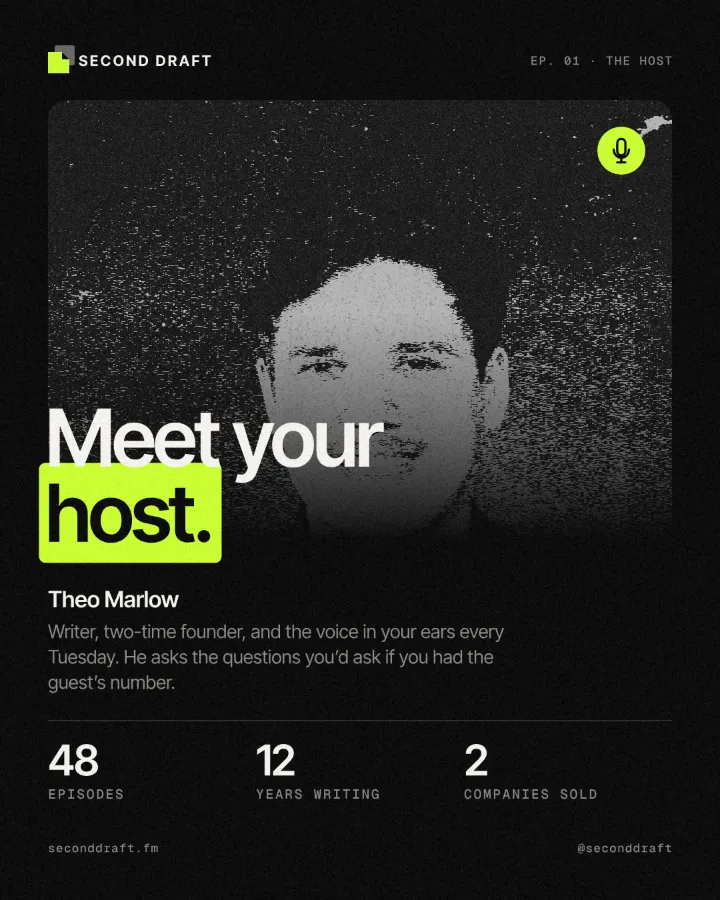

How to make it, step by step
Open your design in Paletoo, or start from a template with a strong portrait or a high-contrast object. Photos with a clear subject and a plain background copy best.
Select the photo and open the Effects tab in the right panel. In Mixes, press All to see every mix.
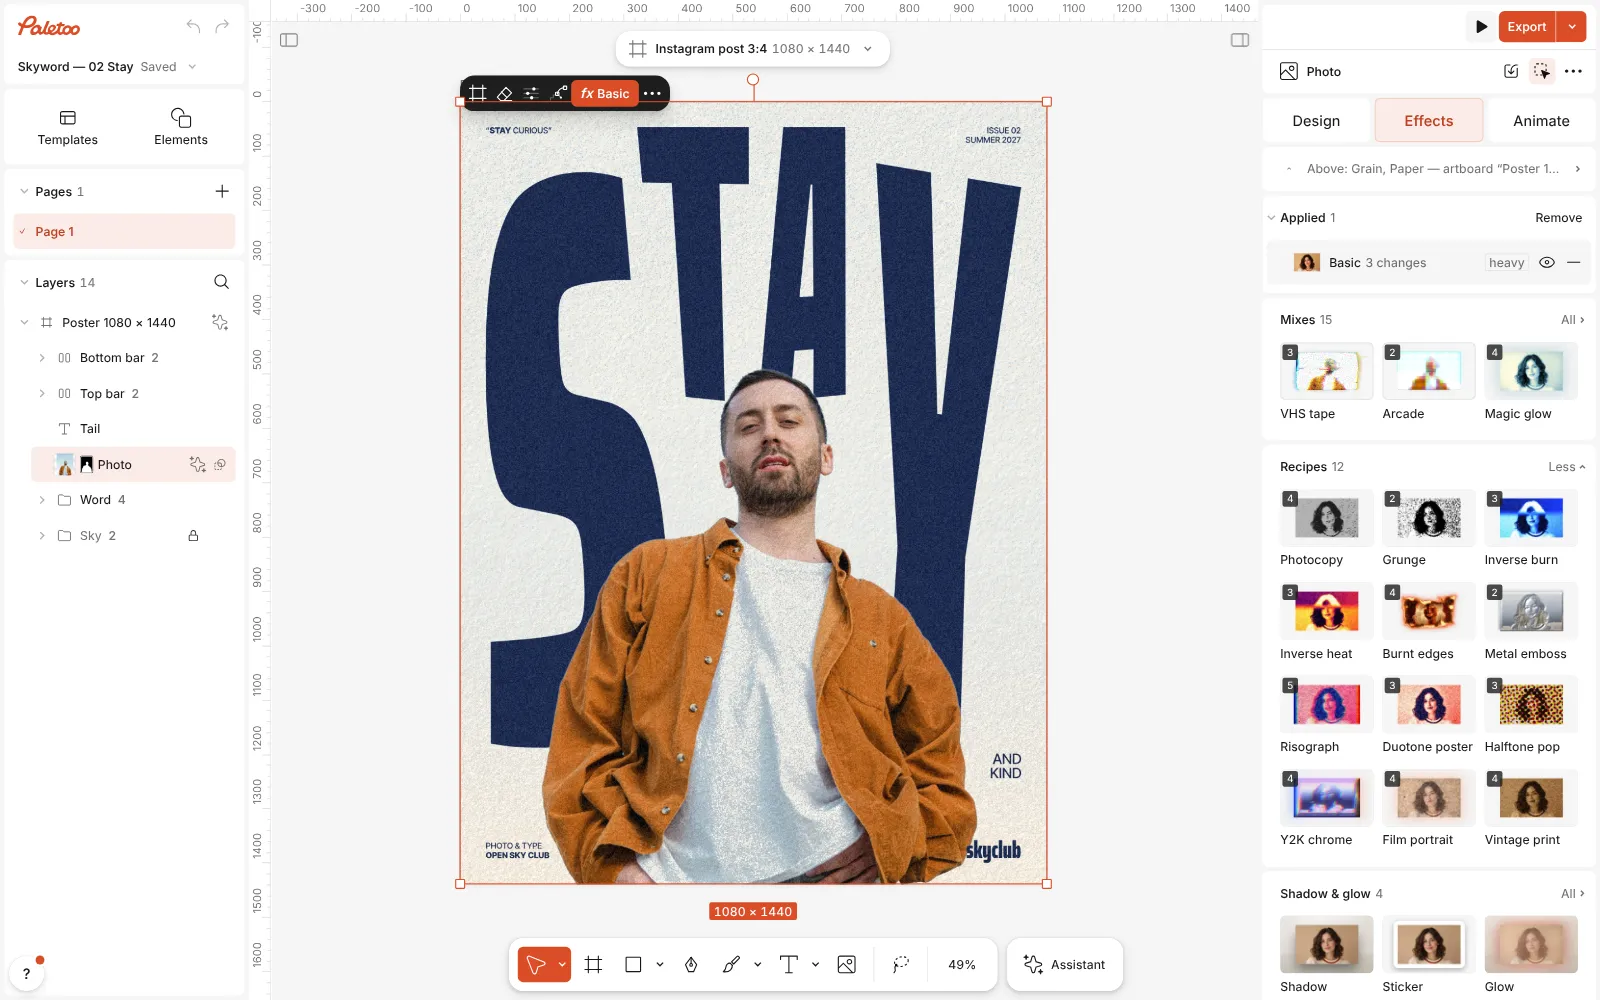
The poster open in Paletoo, the photo selected and the Mixes open in the Effects tab Press Photocopy. Five steps go on at once and are listed under Applied: Basic turns the photo grey, Torn edges with its Photocopy preset cuts the picture into toner and paper, Grain runs toner grit through the greys, a Texture lays a copier’s lines over the sheet, and Levels sets the copy’s tones — dense blacks, light grey paper.
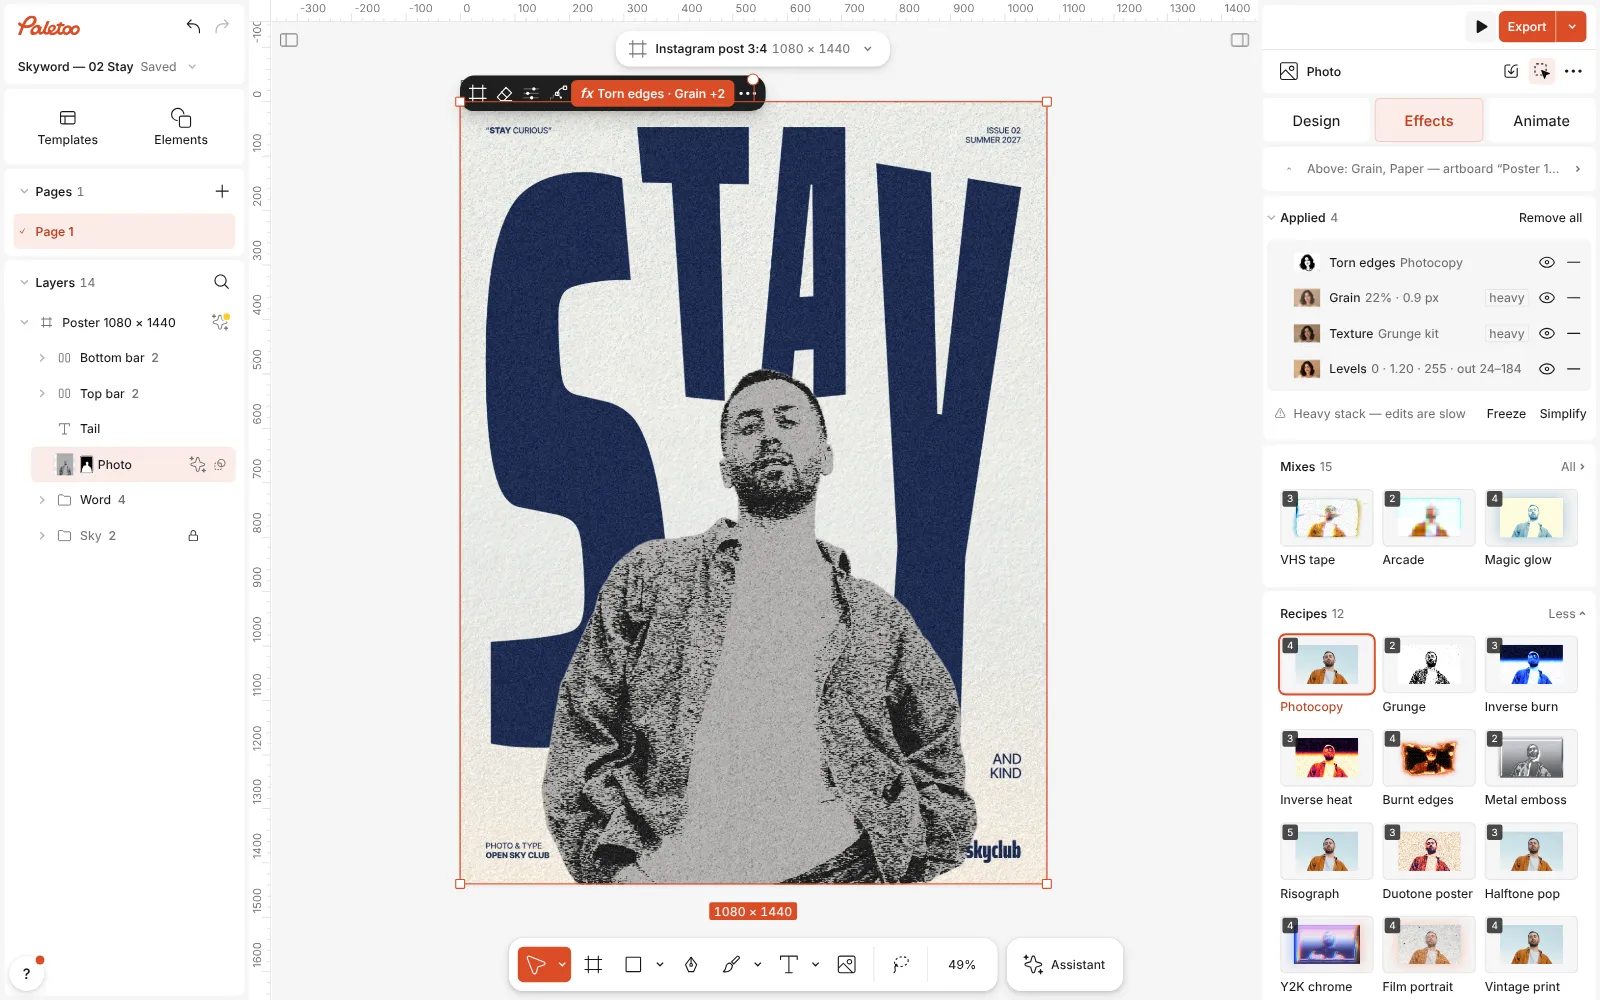
Photocopy pressed: Basic, Torn edges, Grain, Texture and Levels listed under Applied, the photo turned into toner Click the Torn edges row to open it. Image balance decides how much of the picture turns to toner; Smoothness rounds or roughens the edge of the cut; Contrast hardens it; Grain, Grain size and Scan lines set the grit a copier leaves in the greys.
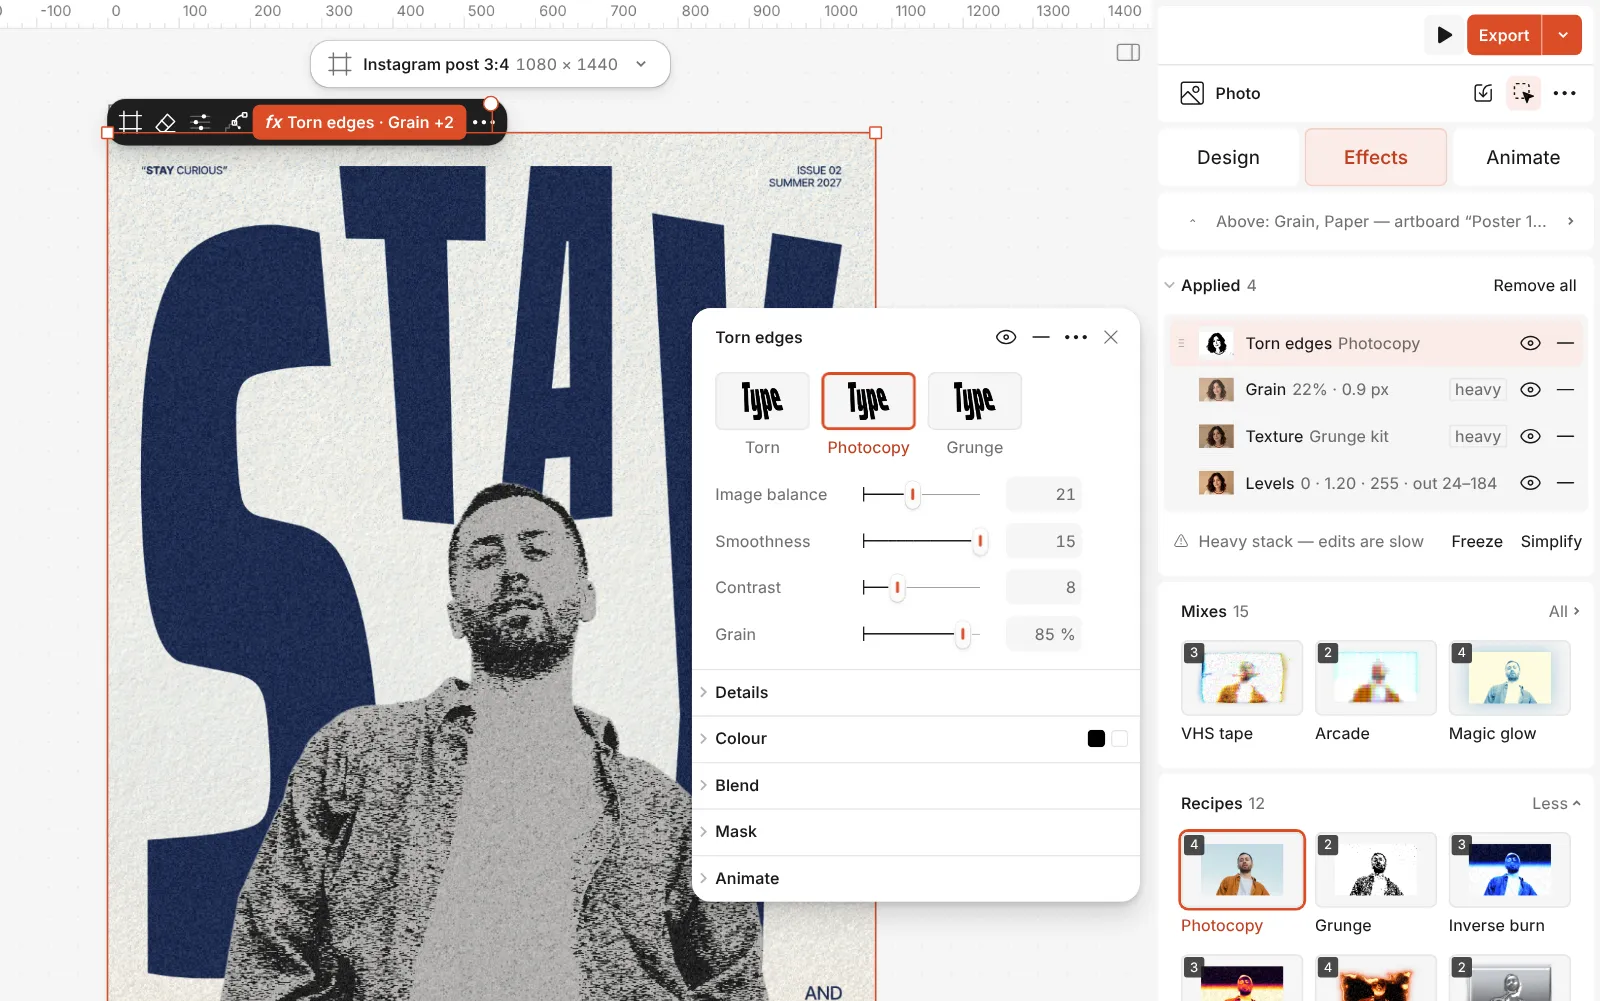
The Torn edges step open: its presets and the Image balance, Smoothness, Contrast and Grain controls Try the presets at the top of the step: Torn is a cleaner ragged cut, Grunge a darker, rougher one with spatter in the shadows. Ink and Paper recolour the toner and the sheet.
When it looks right, press Export. The effect is live, so you can still replace the photo later and the copy follows.
Watch it
The one-click mix
In Paletoo the whole stack is one mix, Photocopy. One click puts every step on the selected object, one undo takes them all off, and each step stays an ordinary effect you can change, reorder or remove.
Its steps: Basic · grey Torn edges · Photocopy Grain Texture · Copier lines Levels
Open this mix in PaletooMake it your own
The single most important control is Image balance in the Torn edges step. Lower it and only the darkest shadows print, which gives an airy, overexposed copy; raise it and the subject fills in like a cheap copier on its darkest setting. Set it while looking at the face or the main shape, not the background.
If the copy looks too clean, raise Grain and Scan lines in the same step: the grit gathers in the greys, where real toner breaks up. If the edges look jagged, raise Smoothness; for a harsh, cheap copy, raise Contrast. The Levels step at the bottom decides the final tones — lift its white output for brighter paper, or its black output for faded toner.
For colour, keep the toner black and change the paper instead: set Paper in Torn edges to a warm off-white for old office paper, a pale yellow or pink for a coloured flyer. Put clean, sharp type on top — the contrast between perfect letters and a rough image is what makes the look feel designed rather than broken.
Templates with this look
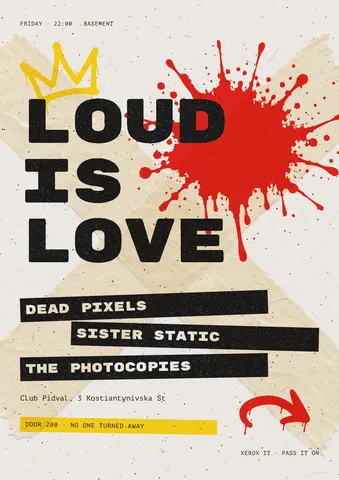
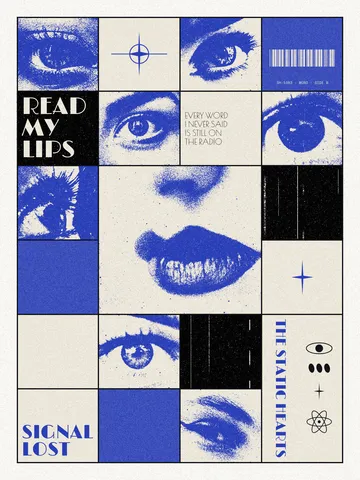
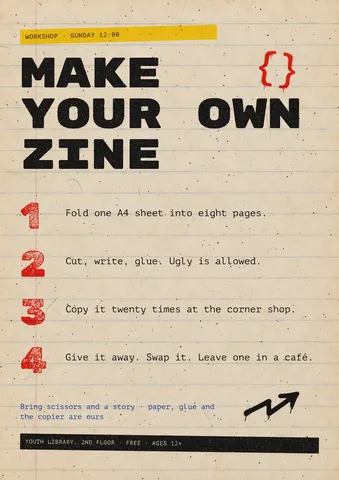
Questions
Does the photocopy effect change my original photo?
No. Every step is a live effect on top of the photo. Turn the eye off on a step to compare, remove it, or press undo once to take the whole mix off.
Can I use it on text and shapes, not only photos?
Yes. Select a heading or a shape and press the same mix: letters get the same rough toner edge, which works well for zine titles.
How do I make it look less dirty?
Lower Grain and Scan lines in the Torn edges step and turn the Texture step down or off. The toner cut stays; the dirt goes.
Will it print well?
Yes — export at the size you need; the effect is drawn at the export’s own resolution, so the grit and edges stay sharp in a PDF or a large PNG.
More effects
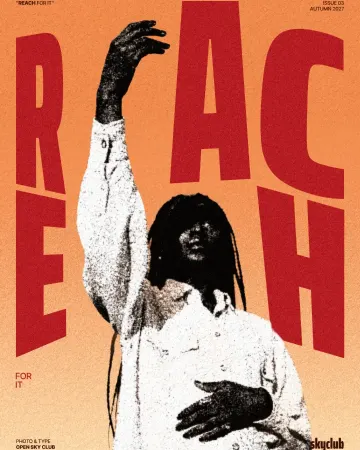
How to make a grunge effect with torn edges
Pure black and white, a ragged torn edge and spatter in the shadows.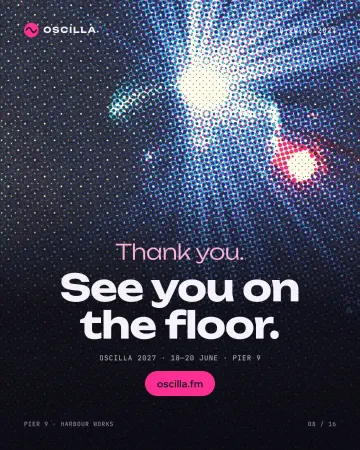
How to make a halftone effect
Comic-book CMYK dots, newspaper screens or one ink.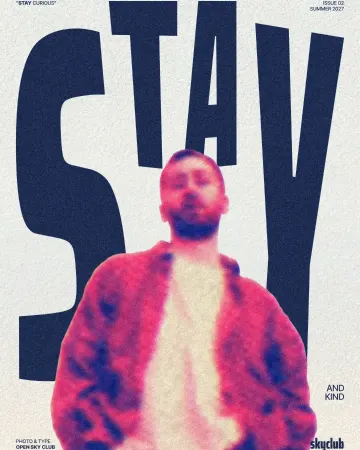
How to make a risograph effect
Two riso inks out of register, a coarse screen, riso paper.
Read the overview: graphic design trends 2026
Make it online: Poster maker · Flyer maker · Poster templates · Event and launch templates
Try it on your own design
Paletoo opens in your browser, with no sign-up. Every effect here is live: change the picture or the words and the effect follows.
Open in Paletoo