How to give a portrait an analog film look
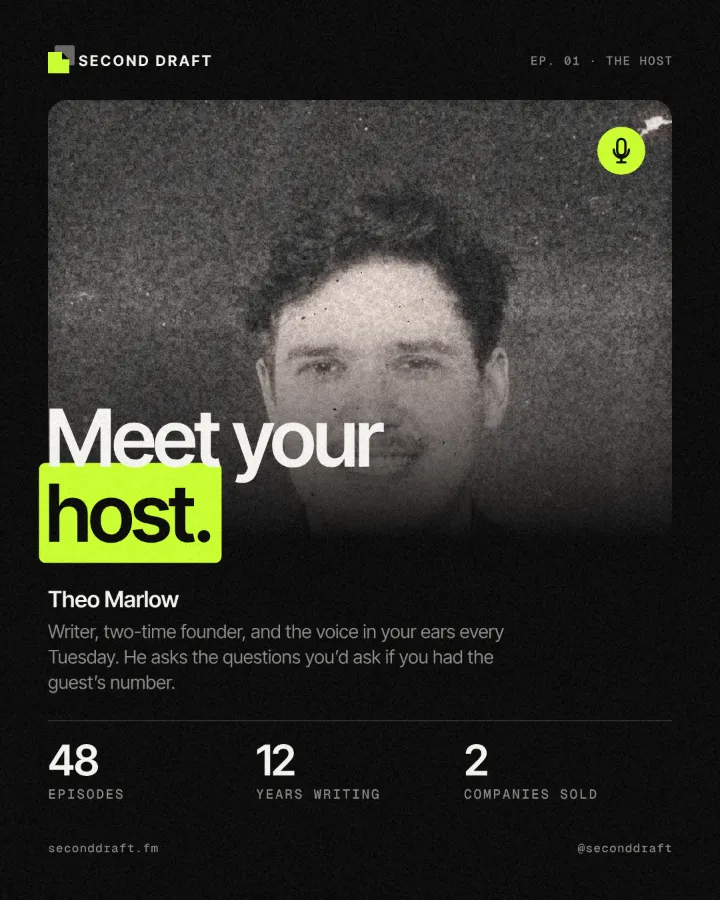
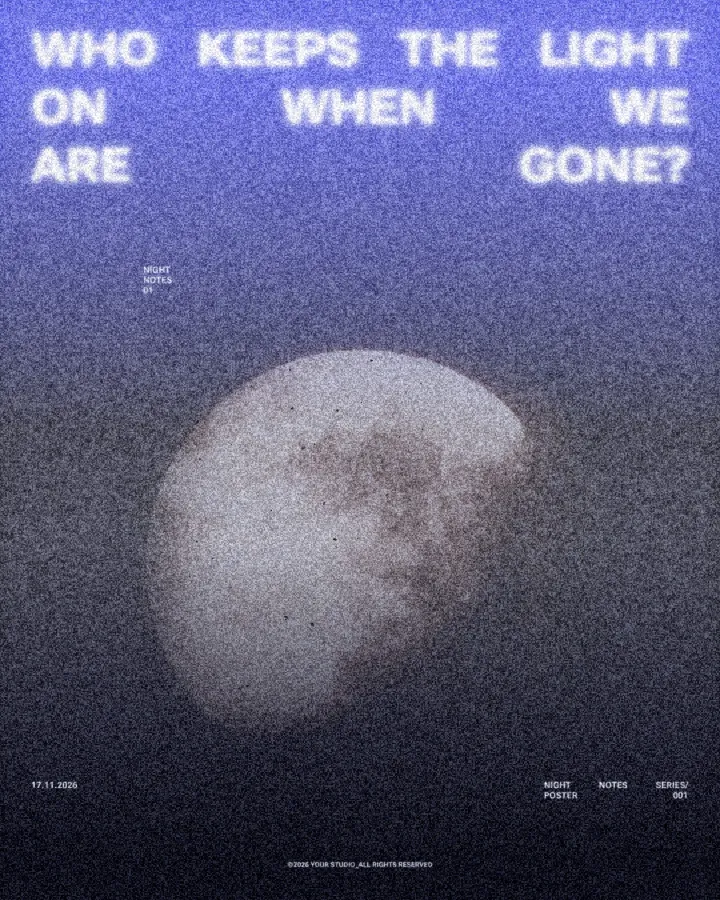
Warm, faded, a soft halo round the lights, grain and dust.
What it is
An analog film look makes a sharp digital photo feel as if it had been shot on a film camera and scanned years later. The colours shift warm and lose a little saturation, the blacks lift into a soft matte grey, bright highlights are held back, and a reddish glow — halation, the light that bounces back through the film base — blooms around the brightest areas. Grain runs through the mid-tones, and a few specks of dust sit on the scan.
Designers use it to take the coldness out of digital photography. A portrait with this treatment reads as personal and nostalgic rather than corporate, and photos from different phones and shoots begin to look like one roll of film.
Where it is used
It works for fashion and lifestyle posts, magazine and book covers, music and podcast artwork, wedding and event recaps, café and travel brands, and any campaign that wants to feel human and unhurried. It is kindest to portraits and to photos with light in them — a window, a sunset, a lamp — because the halation needs something bright to bloom around.
Made in Paletoo with this mix:

How to make it, step by step
Open your design and select the portrait. Here it is a summer magazine cover where a photo sits behind the tall letters of “STAY”.
Open the Effects tab and look under Mixes; press All to see every mix.
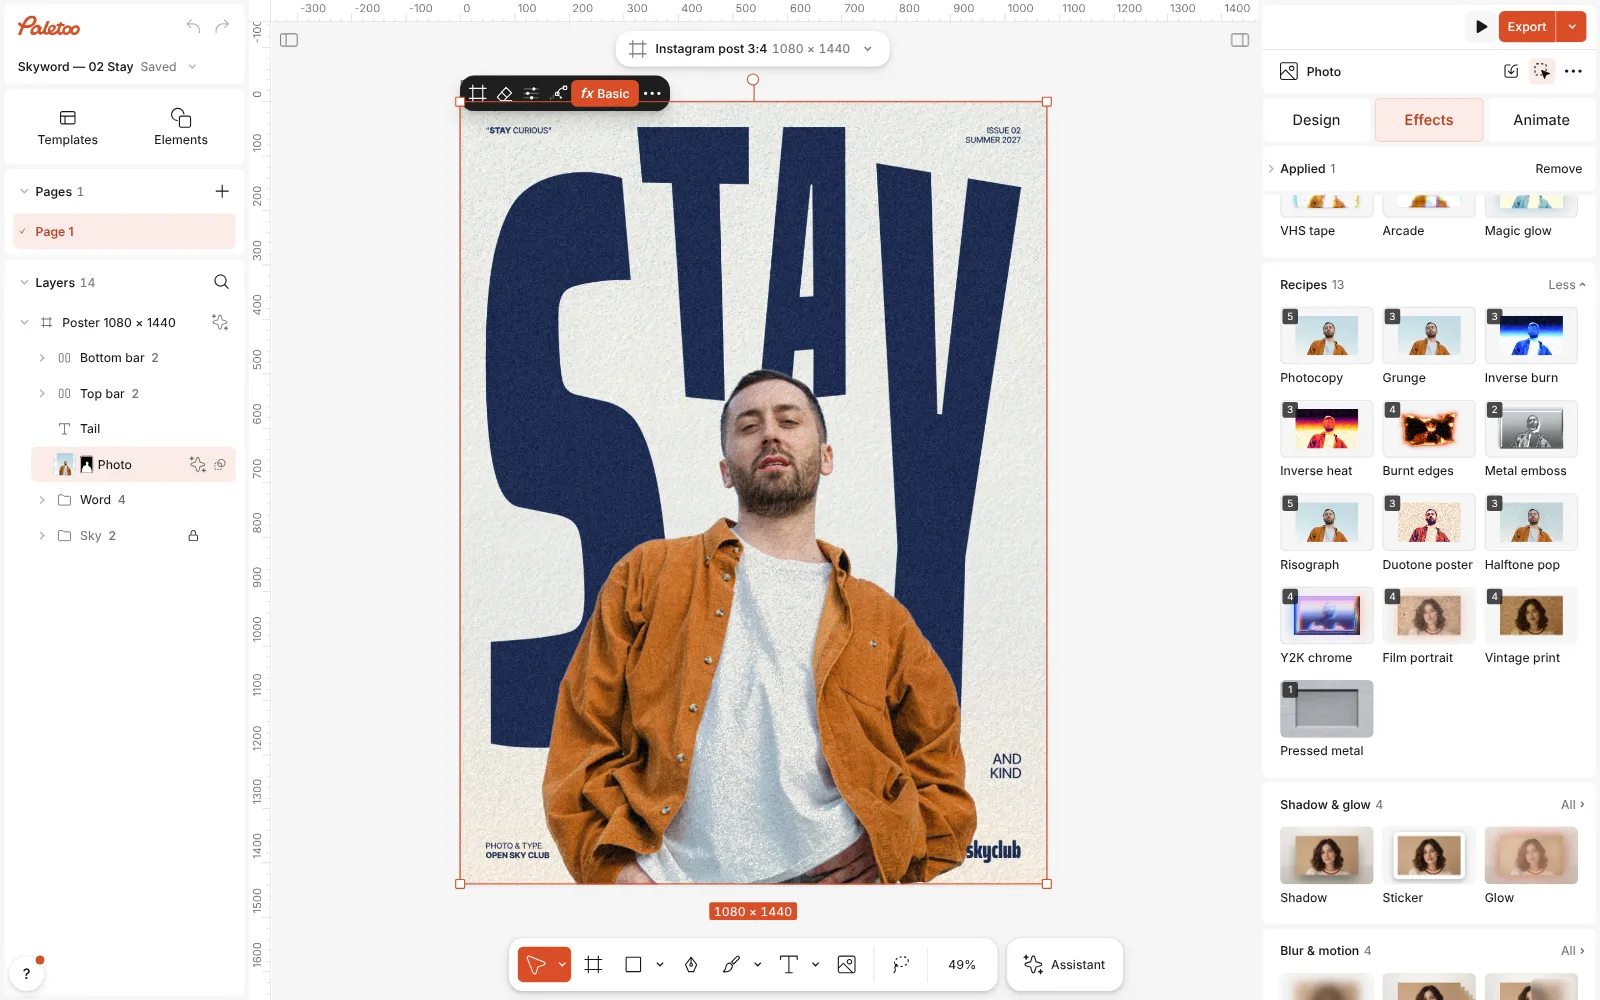
The magazine cover open in Paletoo, the photo selected and the Mixes open Press Film portrait. Four steps go on under Applied: Basic warms and fades the colours, Glow adds a red-orange halation round the lights, Grain with its Film preset adds clumped grain, and Dust & scuffs with its Scan preset scatters a little dust.
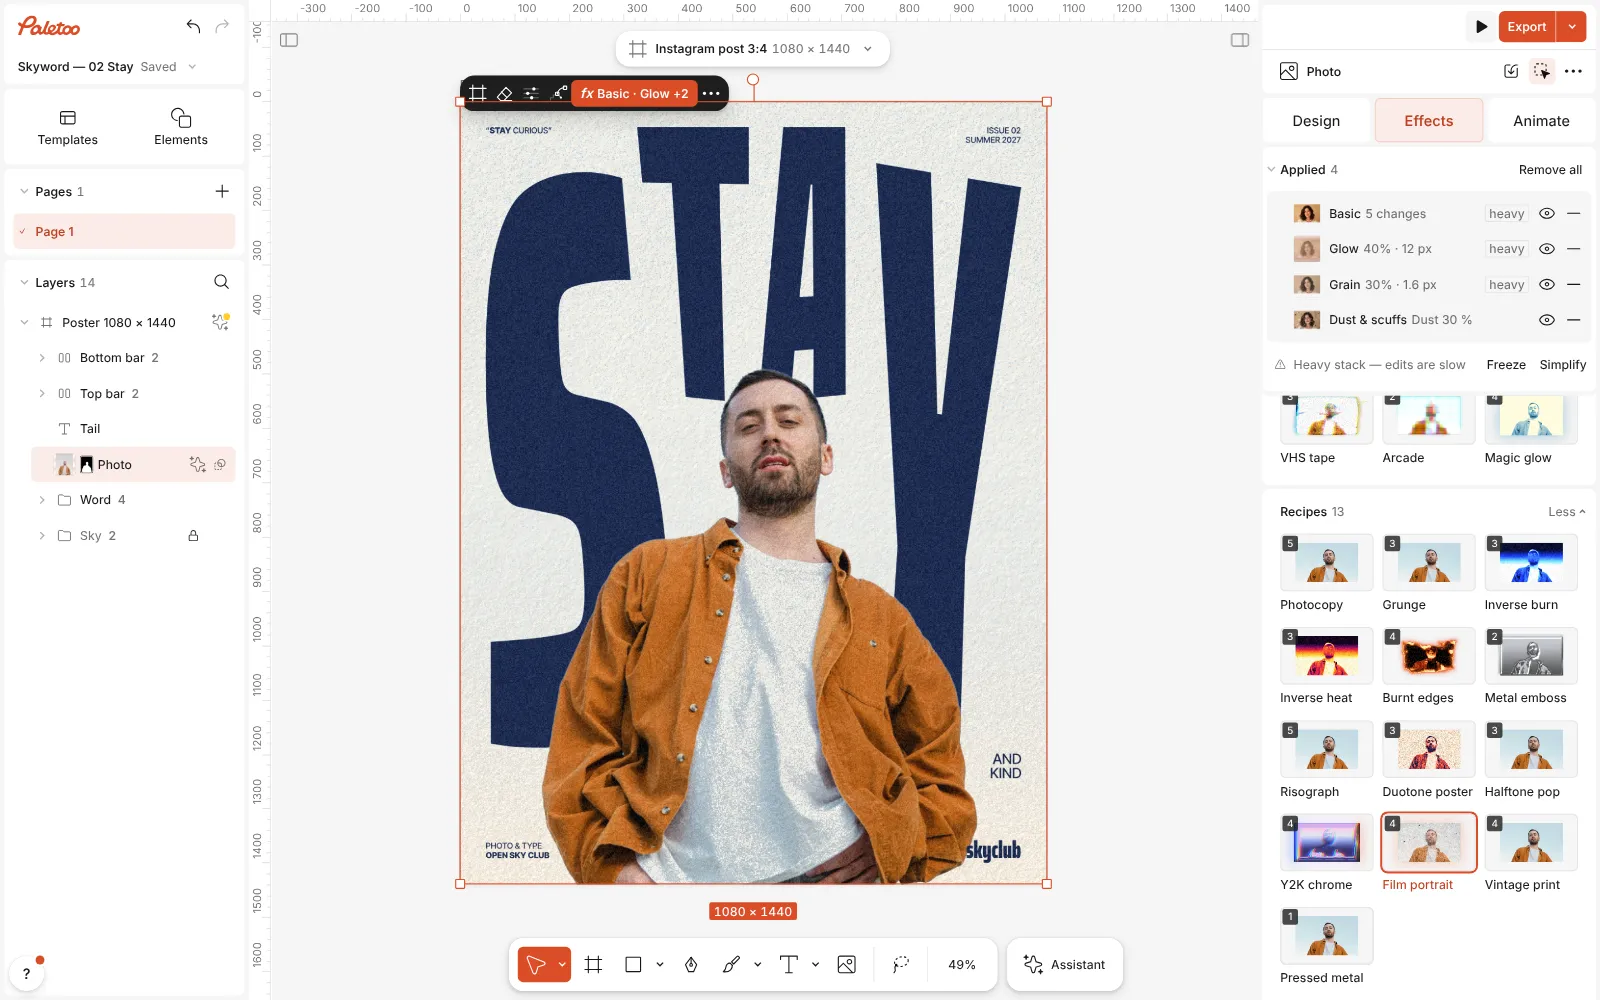
Film portrait pressed: four steps under Applied, the photo warm and faded with a soft halation Click the Basic row to open it. The mix moved five sliders: Temperature up for warmth, Contrast and Saturation down a touch, Highlights held back, and Fade lifting the blacks into a matte grey.
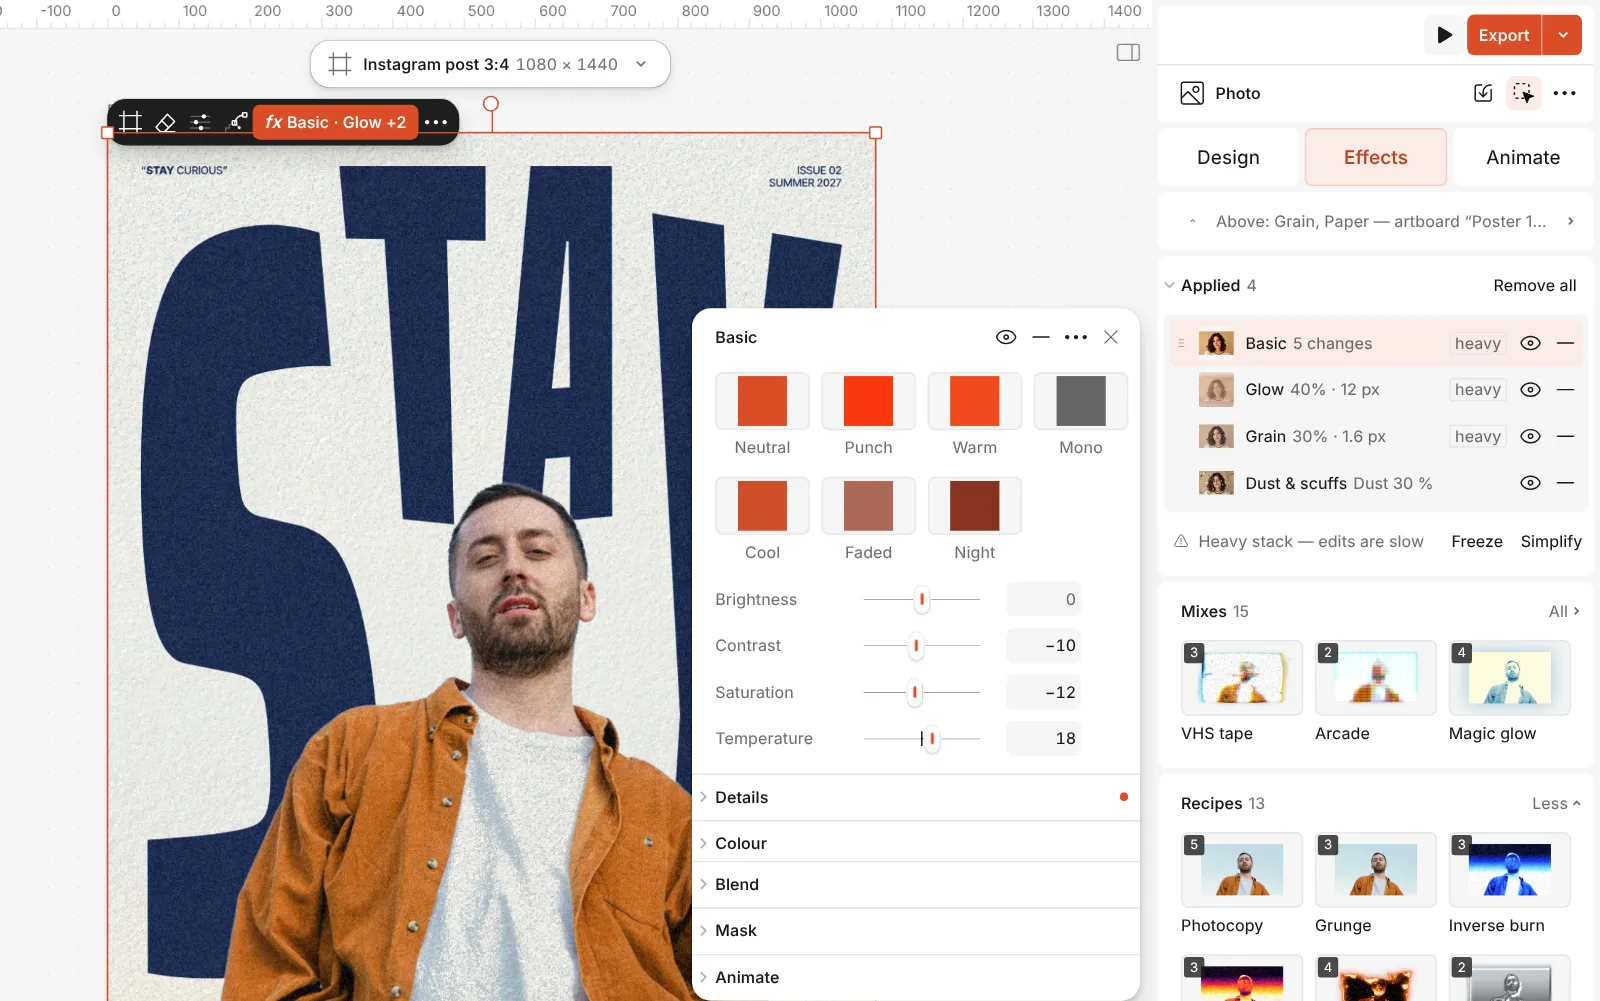
The Basic step open with its sliders, Temperature and Fade among them Open Glow to shape the halation: Brightness sets its strength, Spread how far it reaches, Colour its tint. In Grain, Density and Size choose the film stock.
Press Export. Swap the photo for another frame from the same shoot and it picks up the same film.
Watch it
The one-click mix
In Paletoo the whole stack is one mix, Film portrait. One click puts every step on the selected object, one undo takes them all off, and each step stays an ordinary effect you can change, reorder or remove.
Its steps: Basic Glow · Bloom Grain · Film Dust & scuffs · Scan
Open this mix in PaletooMake it your own
Fade and Temperature carry most of the look. More fade gives an older, sun-bleached print; less keeps the blacks rich, like fresh slide film. Warm the picture until skin looks sunlit, not orange — if faces turn too red, lower Temperature rather than Saturation, which would wash out the rest of the picture.
Halation should be felt, not seen. Keep the Glow soft and its Colour red-orange; raise Spread on a photo with a window or a sunset behind the subject, and lower Brightness on a bright studio portrait, where the glow would haze the whole face.
Grain is what sells it in print. Raise Density in Grain for a faster, rougher film, or Size for a bigger scan. Keep the dust in Dust & scuffs light: a handful of specks feels real, a storm of them feels like a filter.
Questions
Does it work on text?
Mostly. Basic, Glow and Grain work on text, but Dust & scuffs is made for pictures, shapes and the artboard, not text, so a heading gets the colour, glow and grain without the dust.
How do I make it black-and-white film?
Open Basic, pull Saturation all the way down and raise Contrast a little. Grain and dust stay; the Glow keeps its own colour, so set it to a light grey or turn that step off.
Will every photo end up looking the same?
Every photo moves in the same direction, which is the point for a series. Very different photos still need a nudge: adjust Temperature and Fade for each one until they sit together.
Can I take it off again?
Yes. Every step is live on top of the original: turn a step off to compare, or press undo once to take the whole mix off.
More effects
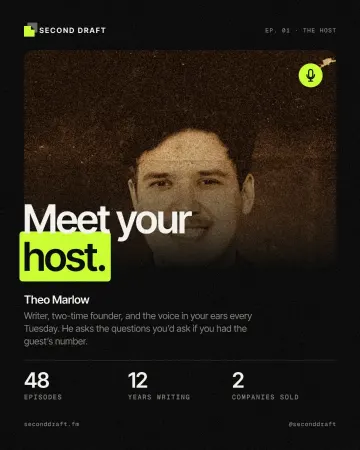
How to make a vintage sepia print effect
Sepia on yellowed, folded paper.
How to make a duotone effect
Two bold inks, punchy contrast and a fine poster grain.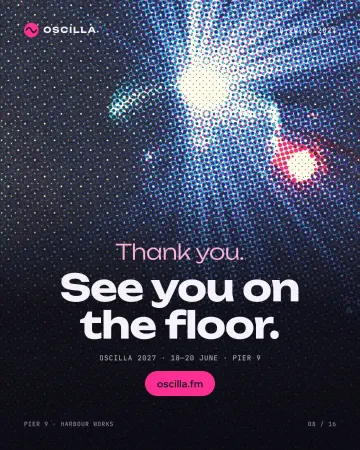
How to make a halftone effect
Comic-book CMYK dots, newspaper screens or one ink.
Read the overview: graphic design trends 2026
Make it online: Photo effects online · Poster templates
Try it on your own design
Paletoo opens in your browser, with no sign-up. Every effect here is live: change the picture or the words and the effect follows.
Open in Paletoo