Mockups without Photoshop: show a design on a real object
Phones, posters, clothing and packaging — your design laid on in perspective and light, with no PSD to open.
Mockups without Photoshop used to mean a compromise: a flat screenshot pasted onto a photo, or a monthly subscription to a mockup site. The real thing — a PSD with a smart object you double-click, paste into, save and close — gives beautiful results, but it assumes you own Photoshop, have the right file and enjoy the round trip every time the design changes.
Designers are tired of that trade. A recent r/FigmaDesign thread from a designer fed up with paywalled mockup tools drew hundreds of upvotes, and the replies read like a list of subscriptions people would gladly cancel. Yet clients still want to see the poster on a wall and the app in a hand, and a portfolio still lives on those pictures.
This guide covers what makes a mockup convincing, the tools people use and what each one costs you, and then the way in Paletoo: a coffee app’s story put into a phone, linked, so the mockup follows every edit.
Why mockups turn into a chore
A convincing mockup does three things: it lays the design on the object in perspective, it lets the object’s light and folds show through, and it keeps the design sharp. Photoshop smart objects do all three well. A good PSD carries a fitted warp, shadow and highlight layers in Multiply and Screen, sometimes a displacement map for fabric — which is why it is still the professional default.
The trouble is the loop around it. Every change of the design means opening the smart object, pasting or relinking, saving, closing and waiting for the PSD to update; with ten mockups in a presentation that is ten trips. The best packs are sold on marketplaces, free ones often carry licences that rule out commercial work, and a single file can weigh a hundred megabytes or more.
The options, and what they cost
Photoshop with smart objects gives the most control, for the price of a Photoshop subscription plus the mockup files. Online mockup generators such as Placeit put large libraries in the browser, usually on a subscription. Canva has mockups of its own, and newer design tools such as Kittl and Recraft have added them too; they are quick, and what is included depends on the plan.
In Figma, people use plugins or drop a frame into a device frame — clean for screens, flat for anything physical, since a frame does not bend the design round a mug or into the creases of a T-shirt. And the old trick of pasting a screenshot onto a photo works for a quick message but looks stuck on: no perspective, no light, no shadow falling across the design.
How to make a mockup look real
Pick a photo whose angle suits the design: a tall story wants a phone held upright, a wide deck wants a laptop or a tablet, a poster wants a wall. Match the light — a warm café photo makes a cold blue design look pasted on. On paper and fabric, let a good share of the photo’s shading through the design; on a lit screen, very little, because a screen glows on its own.
Keep the design live. Mockups are made to be redone — the client changes the headline, the price drops, the date moves — so the best setup is one where the mockup reads the design itself rather than a pasted copy. And mind the resolution: a mockup is only as sharp as its photo, so check the output size before it goes anywhere near a printer.
Made in Paletoo
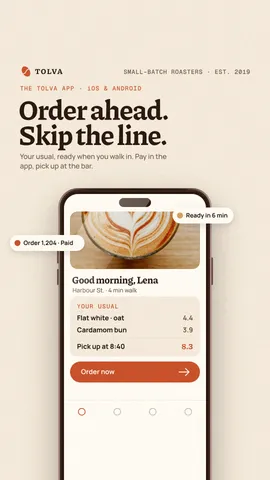
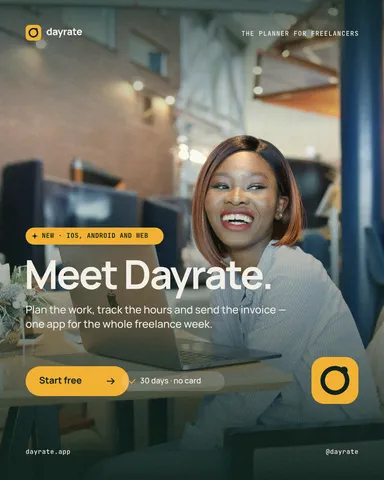
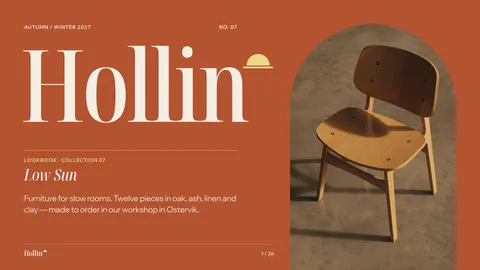
Every picture on this page was made in Paletoo — these three with the same steps on other templates:
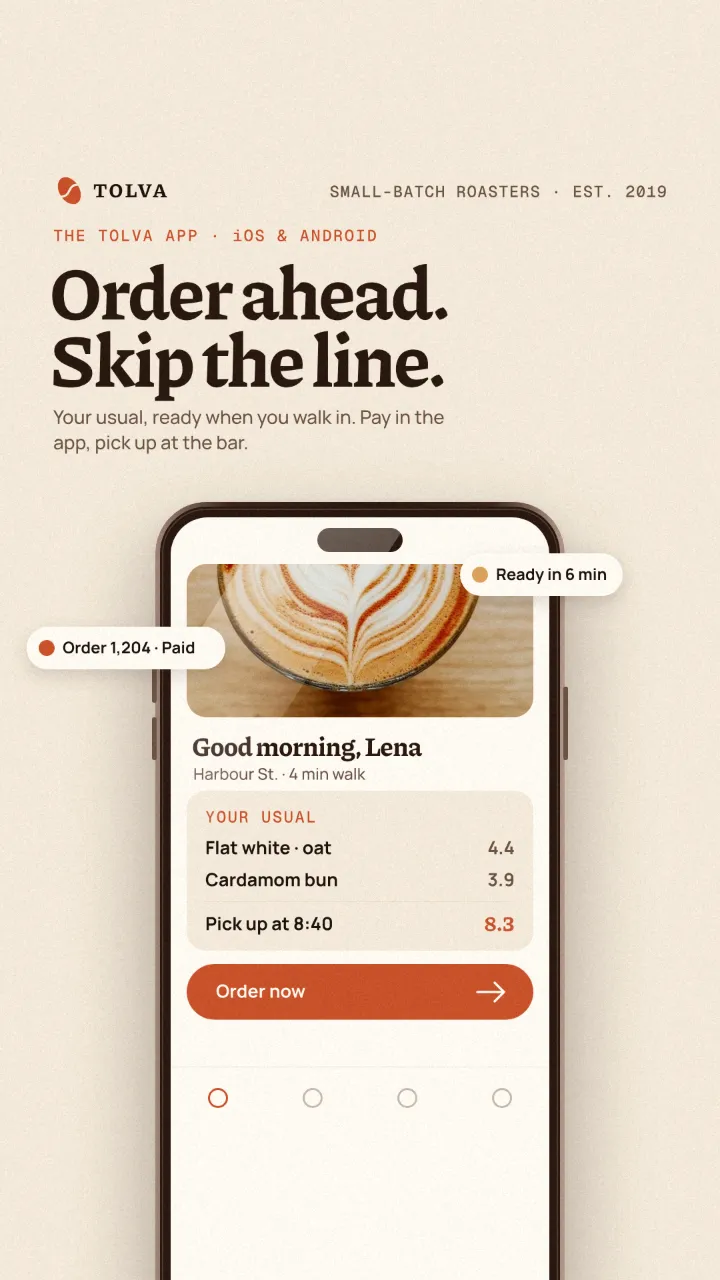
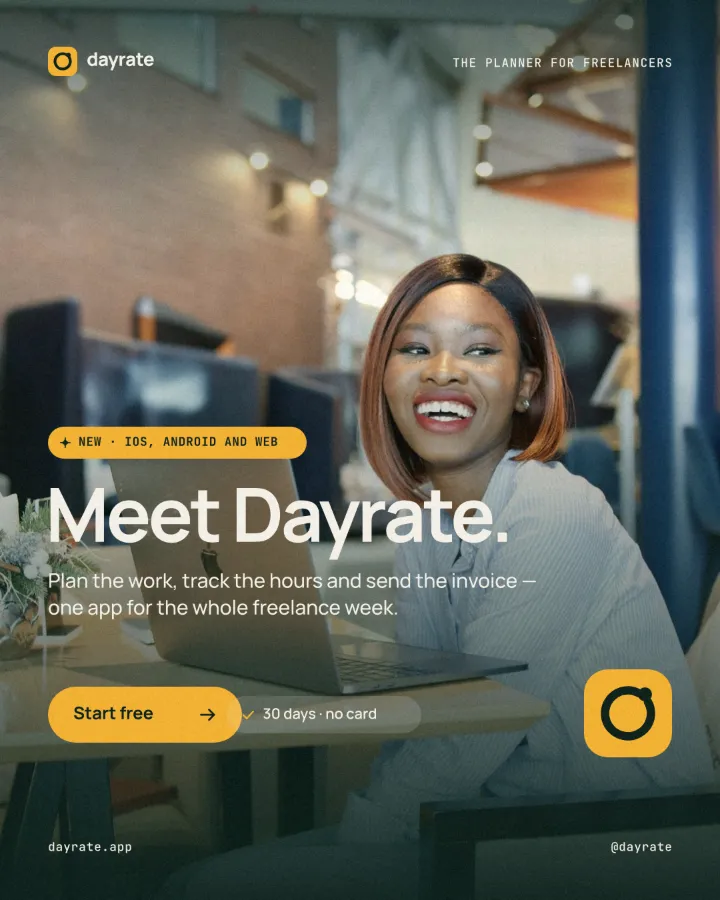
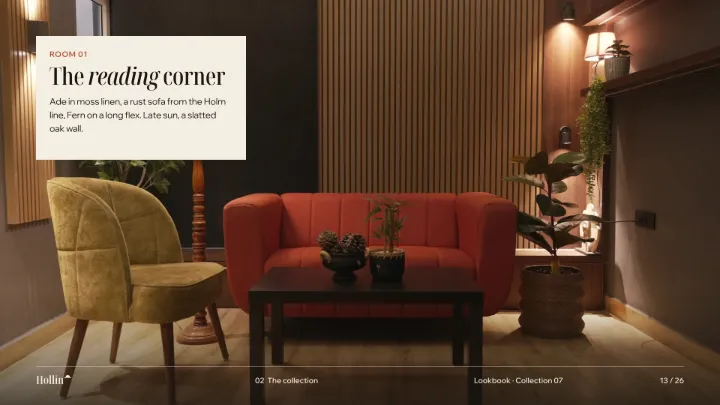
How to do it in Paletoo
«Open in Paletoo» opens this guide’s example — Tolva’s “Order ahead. Skip the line.” app story — as a new document of your own. Your own design works the same way: any artboard, a template or a photo.
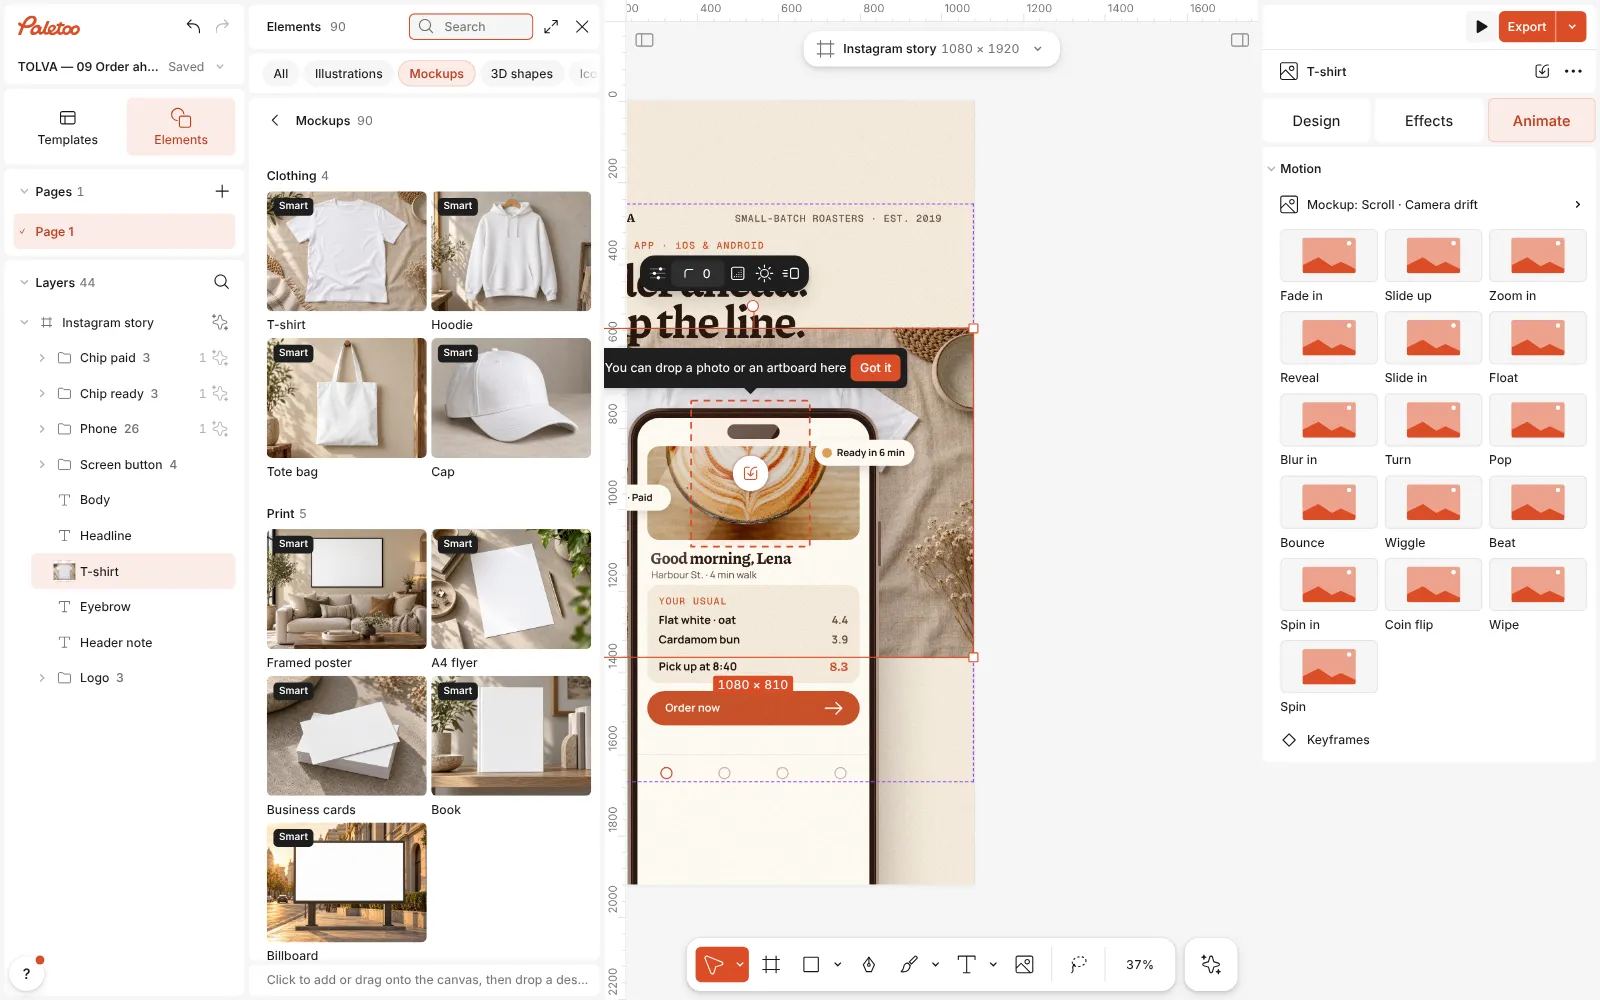
Press E to open Elements and go to Mockups. There are ten sets — devices, phones in a hand and in a studio, foldable and floating devices, print, street posters, clothing, objects and packaging, a coffee shop — and every one is free.
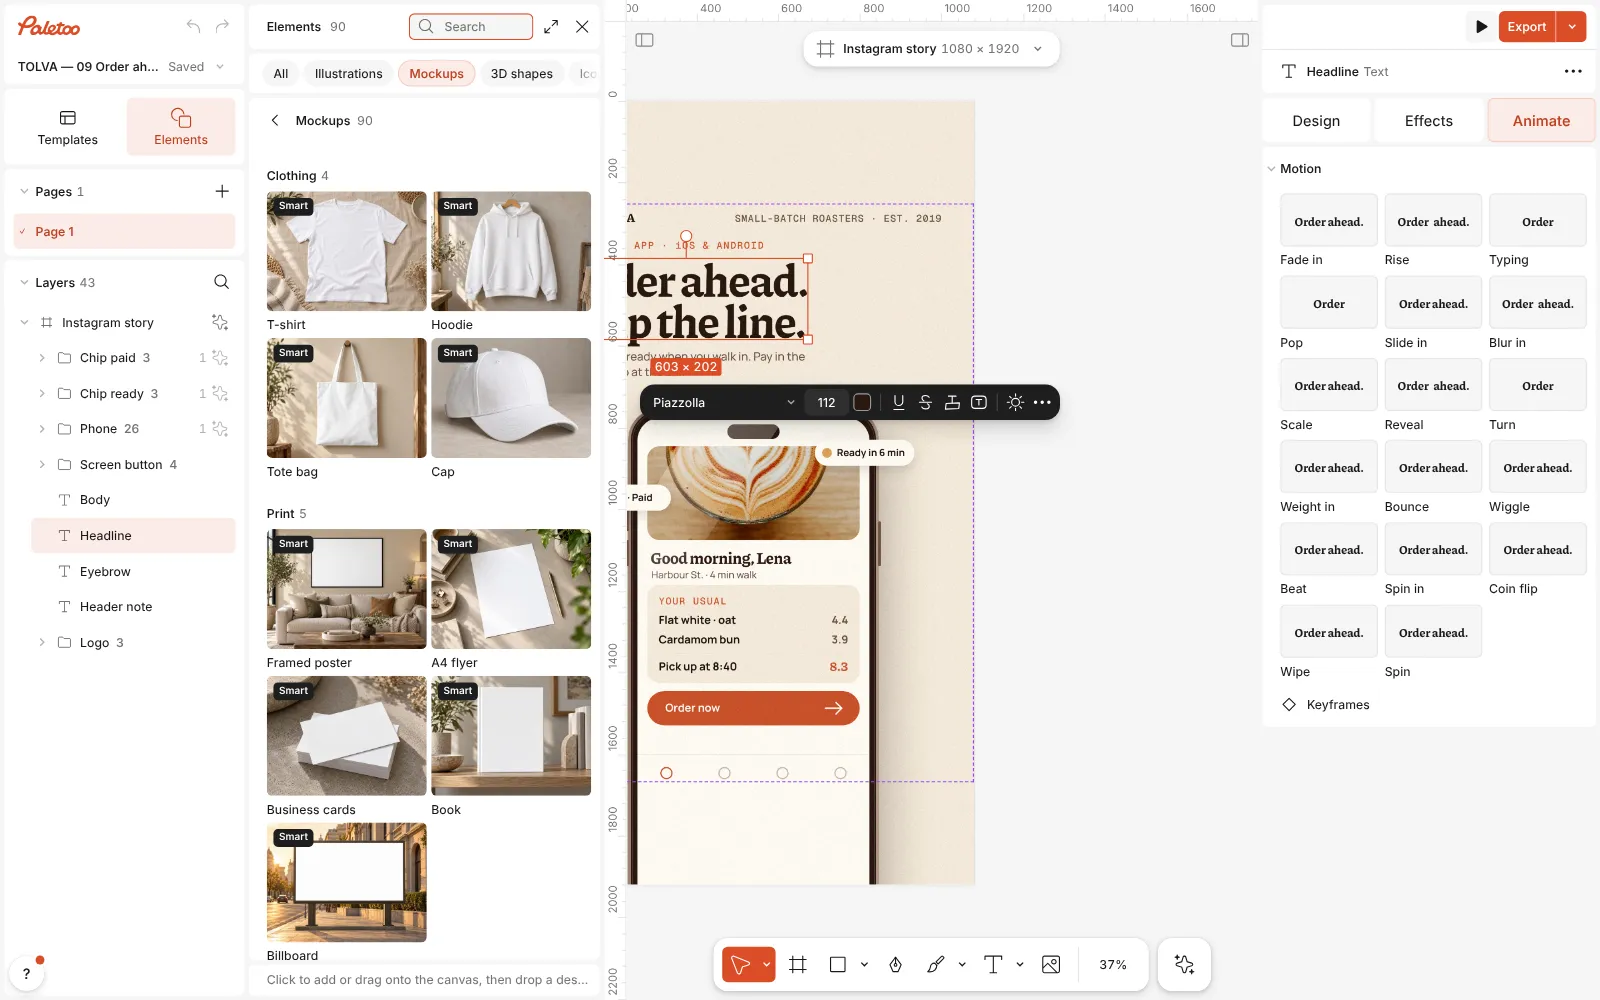
The coffee app’s story open in Paletoo, Elements open at Mockups with its sets of scenes Drag a mockup out onto the empty canvas beside the story; a phone held in a hand suits a 9 : 16 story. A click works too: it puts the mockup in the middle of the view, sized to the artboard there — handy when you have made an empty artboard for the scene.
A T-shirt mockup clicked onto the story: it lands sized to the artboard, its print area waiting for the design Fill it: drag the story artboard by its title onto the mockup’s screen, or click the screen and choose the story under Artboard from this document. The design is laid on in perspective and stays linked. With the mockup selected, the Design tab shows its Mockup section.
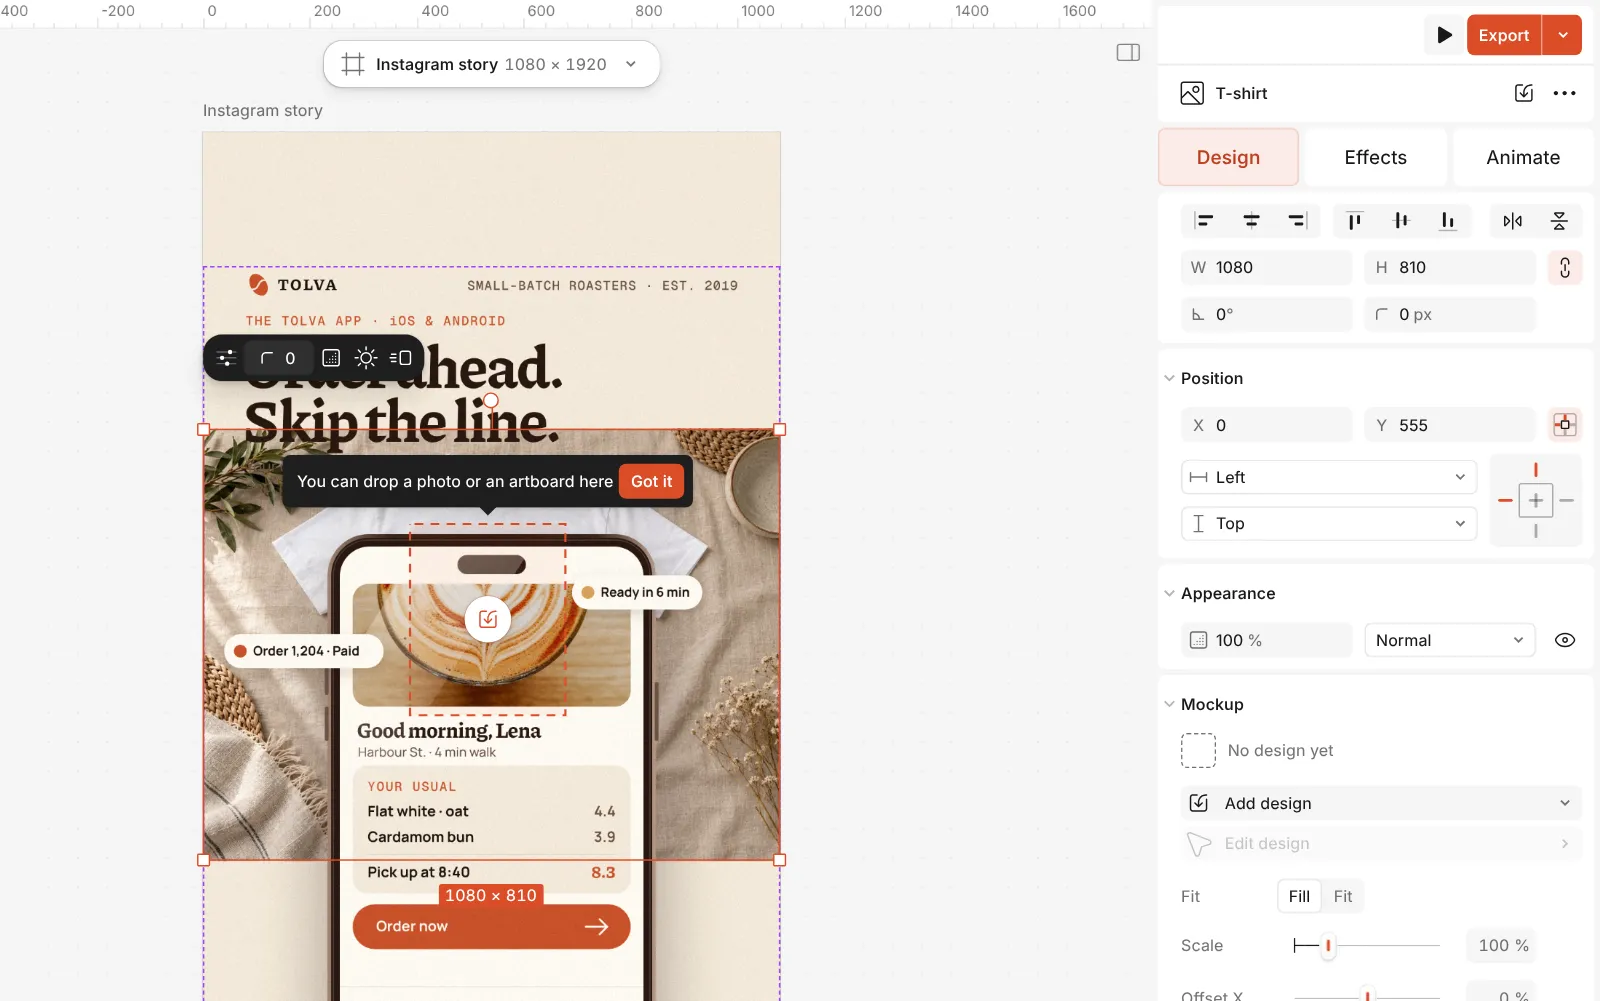
The Mockup section in the Design tab: the design, Fit, Scale, Offset and Shading The Fit row switches between Fill, which covers the print area and crops evenly, and the whole design inside it. Scale and Offset frame it by numbers; Edit design — or a double-click on the mockup — lets you drag, scale and turn it right on the photo.
Shading sets how much of the photo’s light and folds the design takes: a lot on a T-shirt or a poster on brick, little on a lit screen. The arrows beside the photo’s name swap the photo and keep the design; the tiles under them are the rest of its set.
Select the mockup and press Export: the selection exports on its own, as PNG or JPG — or put the mockup on an artboard of its own for a deck or a PDF. Change the story later and the mockup is already up to date.
Make it your own
Choose the scene by the design’s shape. A 9 : 16 story sits naturally in a phone in a hand or on a studio stand; a 4 : 5 post or a poster on a framed print or a street wall; a 16 : 9 deck on a laptop or a tablet. When the shapes differ, Fill crops the design evenly; Scale and Offset decide which part stays in view.
Shading is the difference between printed and pasted. Each photo starts at its own value; raise it until the creases of the fabric or the texture of the wall read through the colours, then back off a touch. For a tall design — a whole landing page — turn on Scroll the design and it scrolls down the phone screen and back; Camera drift moves the photo slowly in and out. Both play under the canvas and export as MP4, WebM or GIF.
Mind the size. Each mockup photo is 1448 × 1086 px: plenty for a post, a slide or a portfolio page, not enough for a large print — there, send the design itself. To show one design in several scenes, place a few mockups and link the same artboard to each: change the artboard once and every mockup follows.
Templates with this look
Questions
Do I need Photoshop or smart objects?
No. Everything happens in the browser: there are no PSD files and no smart objects to open and save.
Are the mockups free?
Yes. Every mockup in Elements is free to use and to export, and nothing you export carries a watermark.
Does the mockup update when I change my design?
Yes, when it holds an artboard: the link is live, so a change to the words or colours shows on the mockup at once. A photo you dropped in stays as it is until you replace it.
Can I use my own mockup photo?
Not as a smart mockup: those are Paletoo’s own photos, each with its print area measured. You can put a photo of yours into a mockup’s print area instead, such as a screenshot or a product shot.
Why does my design look cropped?
The Fit row is on Fill, which covers the print area and crops the design evenly. Switch it to fit the whole design inside, or frame it with Scale and Offset.
Make it online
- Mockup generatorShow your design on a phone, a poster, a T-shirt or a bag — free, with real light and folds, and no watermark.
- Remove background onlineCut the subject out of any photo in one click — on your own device, with no upload and no credits.
Free design templates: Poster templates · Team and speaker templates
Read next

A Canva alternative for designers who need real type and print files
Keep the speed of templates, and get back the controls a designer expects.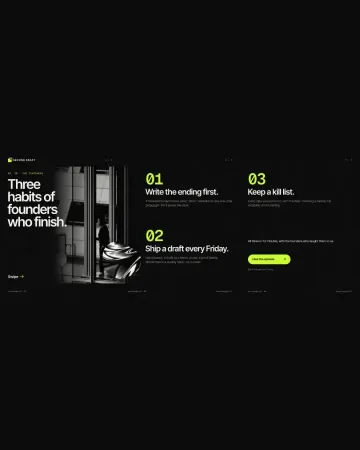
How to make a seamless Instagram carousel that lines up at every cut
One wide artboard, a picture that runs across the cuts, and a file for every slide.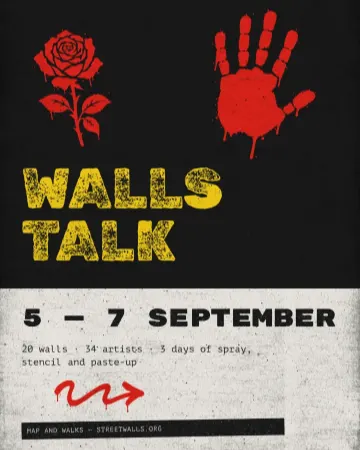
How to make a concert poster from a template
A ready-made gig flyer, your bands and your date, a file for print and one for social.
Try it on your own design
Paletoo opens in your browser, with no sign-up. Every effect here is live: change the picture or the words and the effect follows.
Open in Paletoo