How to make a photocopy effect in Photoshop — and in one minute
Toner blacks, copier grit, grey paper and a torn edge — then the same copy as one live mix.
A photocopy effect in Photoshop makes a photo look as if it went through an office copier: the greys drop out, shadows clog into solid toner, highlights burn out to bare paper, and grit and faint scan lines run through what is left. Tear the edge of the sheet and it looks cut from a flyer and pasted to a wall.
It is the language of punk flyers, zines, gig posters and streetwear drops, and it is back on album covers and social feeds that want to feel loud and hand-made rather than polished. It also rescues average photos: the copier throws away exactly the detail that made them look ordinary.
Photoshop’s Filter Gallery has the classic ingredients — Photocopy, Torn Edges and Grain — and this guide shows how to stack them properly, plus a torn paper edge made with the Lasso. Then the same copy in Paletoo: one mix, five live steps, every slider within reach.
The Photoshop way: Filter Gallery, Levels and a torn edge
This works in Photoshop 2025 and 2026; the Filter Gallery has looked the same for many years. Allow 20–30 minutes, more for a careful torn edge. You need a photo with a clear subject, black and white as your foreground and background colours, and the image in 8-bit mode — the Filter Gallery is not available for 16-bit images.
- Duplicate the photo with Ctrl + J (Cmd + J on a Mac), desaturate the copy with Ctrl + Shift + U, then right-click it and choose Convert to Smart Object so the filters stay editable.
- Press D to reset the colours to black and white. The Sketch filters draw with the foreground and background colours, so this choice is your toner and your paper.
- Open Filter › Filter Gallery and choose Sketch › Torn Edges. Set Image Balance around 20–25, Smoothness high (12–15) for clean toner shapes and Contrast low (5–10). Image Balance decides how much of the picture turns black.
- For a finer copy with outlined edges, choose Sketch › Photocopy instead: Detail sets how much survives, Darkness how heavy the toner is. Torn Edges gives the bolder, flatter cut most flyers have.
- Click the New effect layer button at the bottom right of the Filter Gallery and add Texture › Grain on top. Regular or Contrasty adds toner grit; the Horizontal grain type gives copier streaks. Keep the intensity low, then click OK.
- Add Layer › New Adjustment Layer › Levels above. Raise the black Output Level to about 25 for slightly faded toner, and lower the white one to about 225–235 for the grey of copier paper.
- For the torn paper edge, take the Lasso (L) and draw a loose, jagged outline around the part of the picture you want to keep, then press Q for Quick Mask.
- While the Quick Mask is on, run Filter › Filter Gallery › Brush Strokes › Spatter to roughen the outline, then press Q again to turn it back into a selection.
- Put the photo and the Levels layer in a group (Ctrl + G) and add a mask with Layer › Layer Mask › Reveal Selection. A slightly off-white paper layer behind, with a soft drop shadow, makes the edge read as paper.
- Export with File › Export › Export As.
The Filter Gallery still makes a convincing copy, and Torn Edges in particular is the reference for this look — Paletoo’s own Torn edges step is modelled on the same three controls. The cost is in the handling. The gallery is a modal window, it needs an 8-bit image, every tweak on a Smart Object re-runs the whole stack, and the toner colour depends on whatever your foreground colour happened to be. The torn edge is a mask you drew by hand: swap the photo and the mask, the balance and often the Levels need redoing.
Made in Paletoo
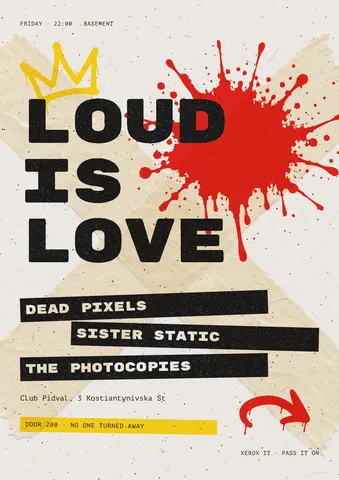
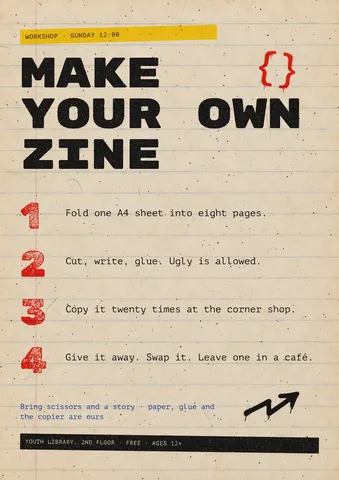
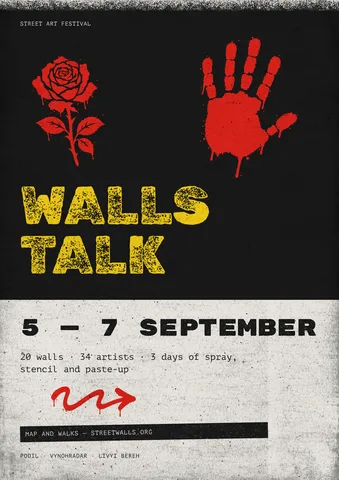
Every picture on this page was made in Paletoo — these three with the same steps on other templates:
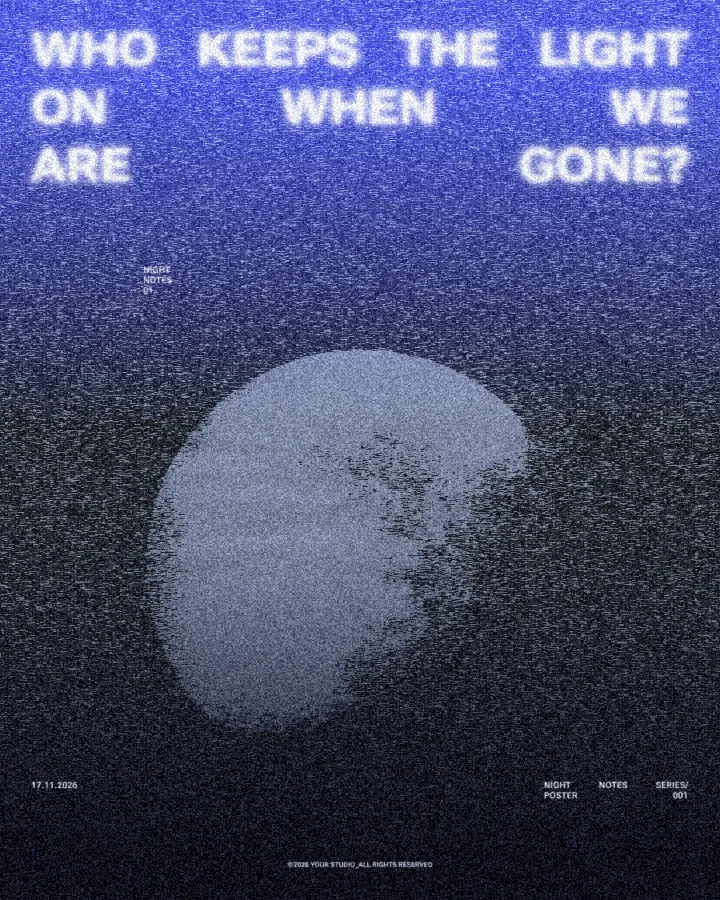
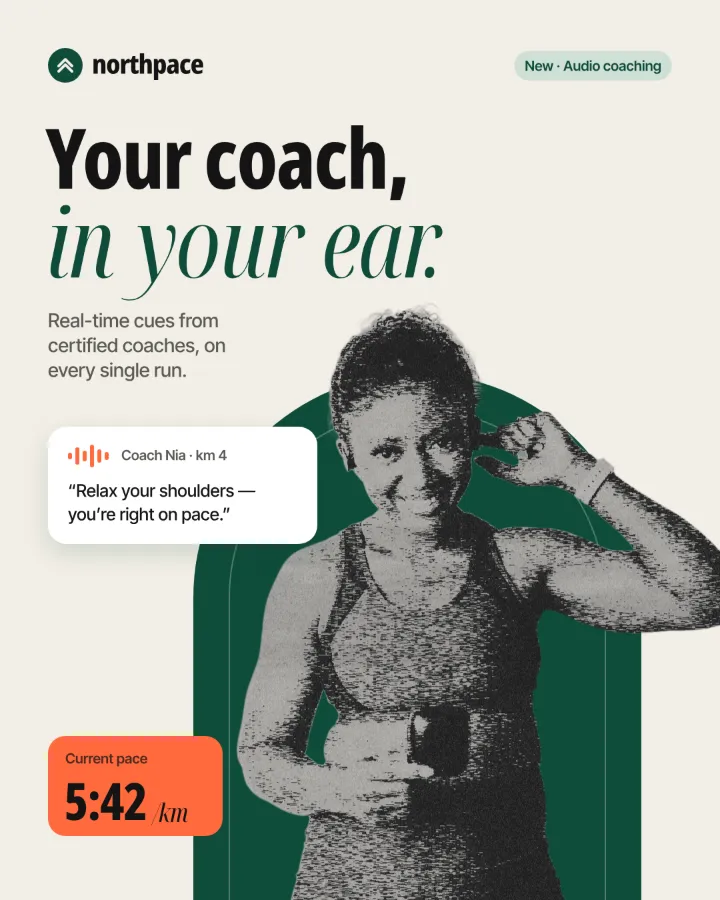

The one-minute way in Paletoo
Open the design in Paletoo — here the podcast post with the host’s portrait — and click the photo to select it. Faces and objects on a plain background copy best.
Open the Effects tab in the right panel, go to Mixes and press All to show every mix, then find Photocopy among the print looks.
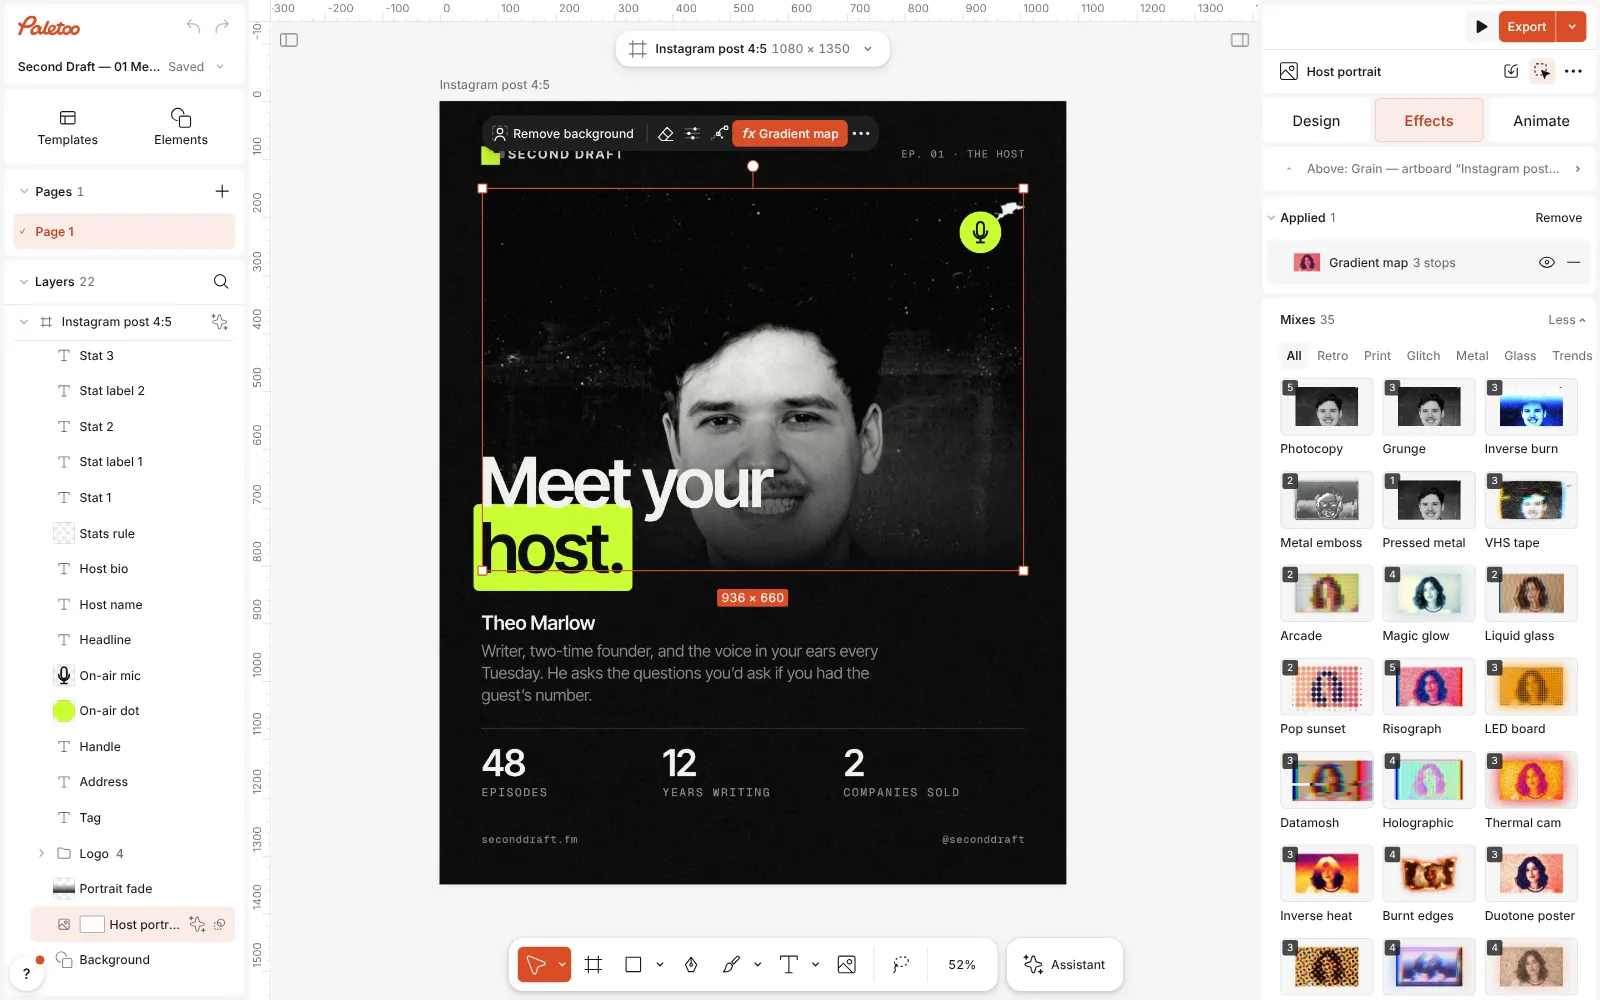
The podcast post open in Paletoo, the host’s portrait selected and every Mix shown in the Effects tab, Photocopy in view Press Photocopy. Five steps go on under Applied, top to bottom: Basic drains the colour (your Desaturate), Torn edges on its Photocopy preset cuts the picture into toner and paper, Grain runs grit through the greys, a Texture lays copier streaks across the sheet, and Levels settles on dense toner and light grey paper.
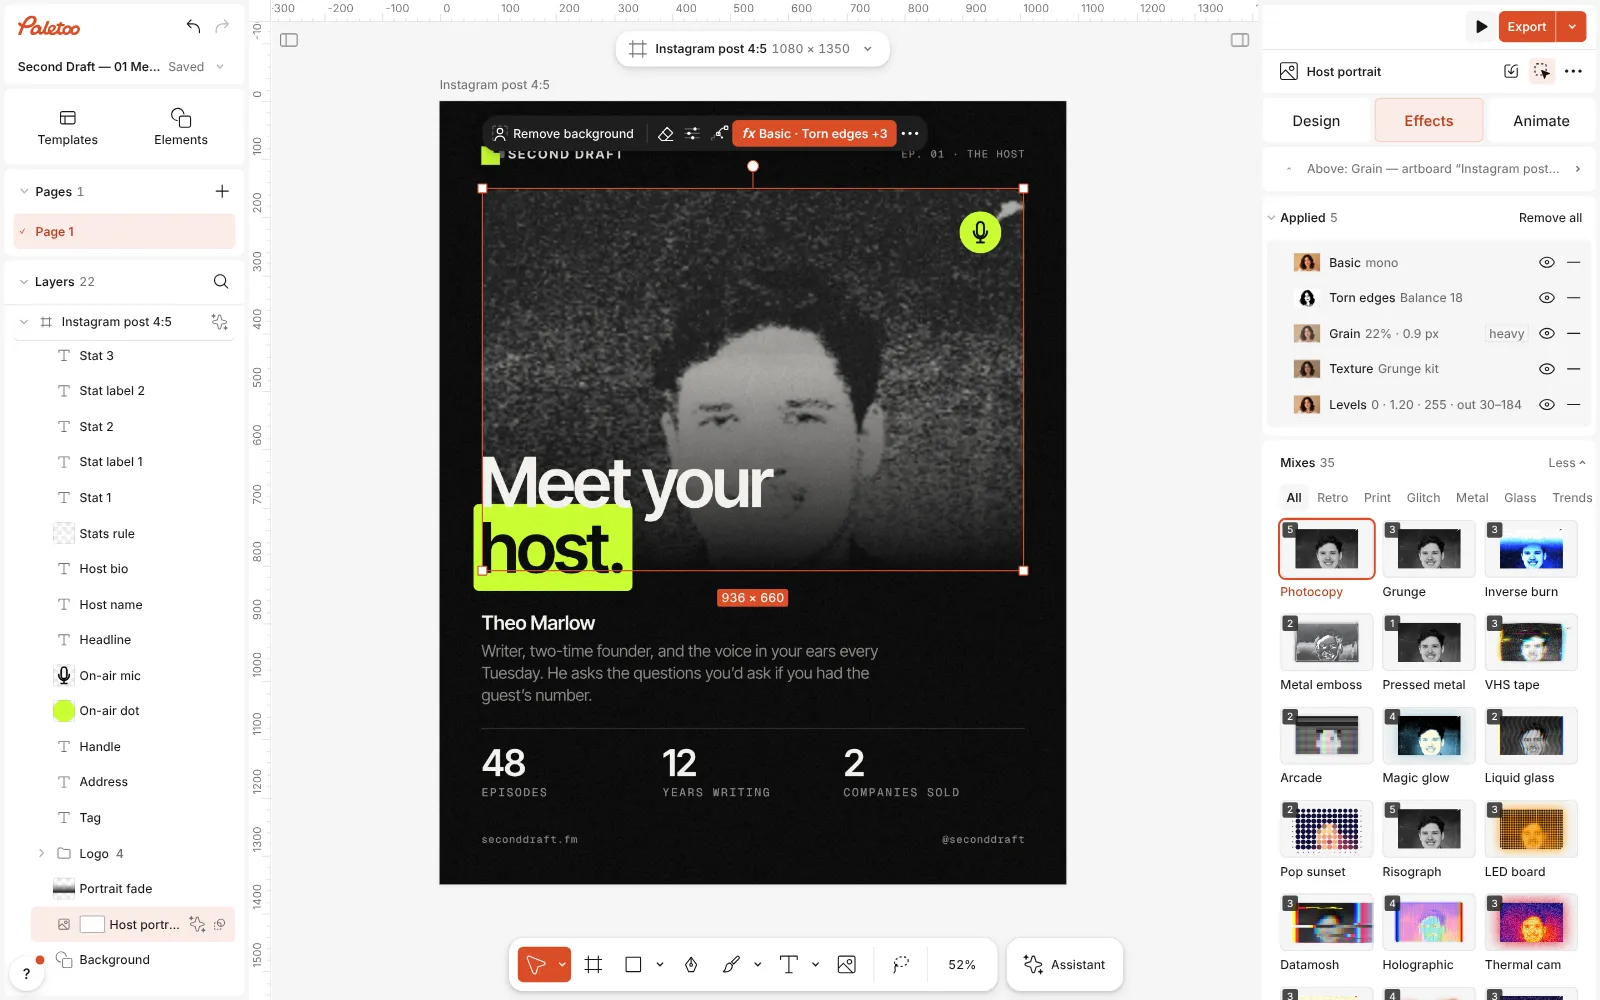
Photocopy pressed: Basic, Torn edges, Grain, Texture and Levels under Applied, the portrait turned into toner on grey paper Click the Torn edges row to open it. Its main controls are Photoshop’s three plus the grit: Image balance (0–50) decides how much turns to toner, Smoothness (1–15) rounds or roughens the cut, Contrast (1–25) hardens it, and Grain sets the toner grit. Its presets — Torn, Photocopy and Grunge — are three starting points.
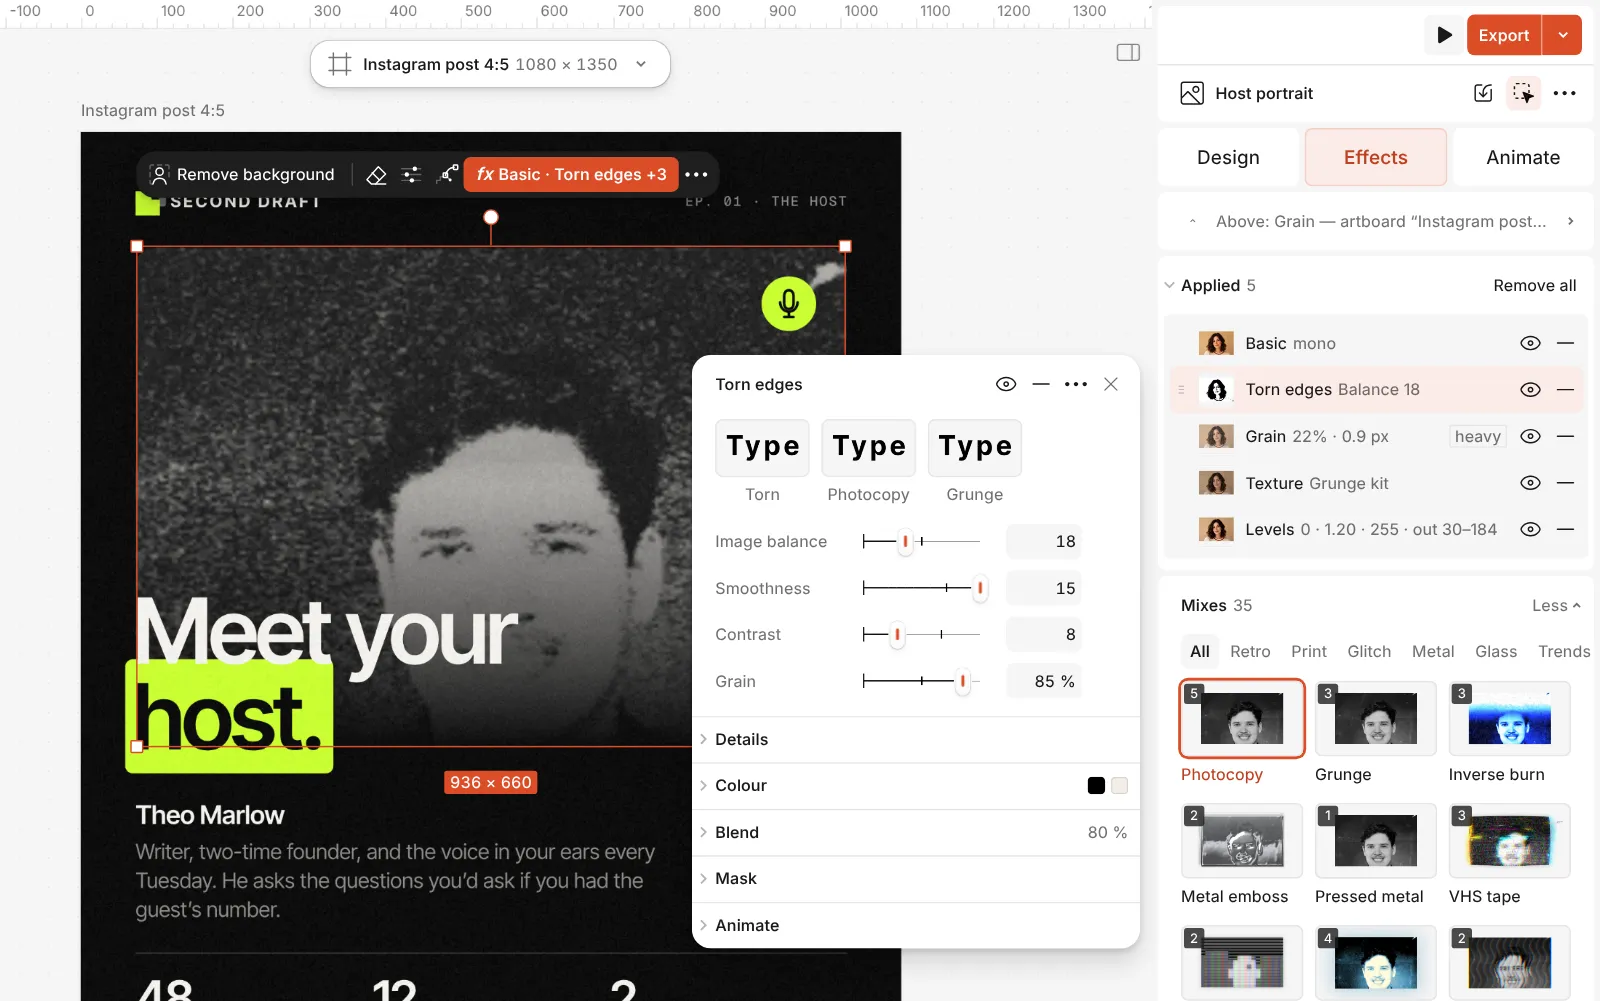
The Torn edges step open: its Torn, Photocopy and Grunge presets and the Image balance, Smoothness, Contrast and Grain controls Open Details for Grain size, Scan lines and Seed, and Colour for Ink and Paper — the toner and the sheet, set in the step itself rather than through your foreground and background colours.
Press Export and pick PNG, JPG or PDF. Replace the photo later and the copy is drawn again on the new one, with the same settings.
The one-click mix
Its steps: Basic Torn edges · Photocopy Grain Texture · Copier lines Levels
Open this mix in PaletooMake it your own
The control that matters most is Image balance in the Torn edges step. Lower it and only the deepest shadows print, for an airy, overexposed copy; raise it and the subject fills in like a cheap copier on its darkest setting. The mix sets 21. Judge it on the face or the main shape, not on the background.
If the copy looks too clean, raise Grain and Scan lines in the same step — the grit gathers in the greys, where real toner breaks up. If the edges look jagged, keep Smoothness high; for a harsher copy, raise Contrast. The Levels step at the bottom sets the final tones: its white output decides how grey the paper is, its black output how faded the toner.
For a coloured flyer, keep the toner dark and change the paper: set Paper under Colour to a pale yellow, pink or green. Turn the Texture step’s Amount down if the streaks compete with the type. Then put clean, sharp letters on top — the contrast between perfect type and a rough copy is what makes it look designed rather than broken.
Templates with this look
Questions
Where is the Photocopy filter in Photoshop?
Filter › Filter Gallery › Sketch › Photocopy, next to Torn Edges in the same folder. If the Filter Gallery is greyed out, set Image › Mode › 8 Bits/Channel.
Why does the photocopy come out in strange colours?
The Sketch filters use the foreground and background colours. Press D for black and white before you open the Filter Gallery.
Does Paletoo tear the outline of the photo too?
The Torn edges step tears the edge between toner and paper inside the picture, as Photoshop’s filter does; the photo keeps its own frame. For the look of a copy stuck down on a page, the Tape collage mix adds tape at the corners.
How do I make the copy less dirty?
Lower Grain and Scan lines in the Torn edges step and turn the Texture step down or off. The toner cut stays; the dirt goes.
Is it free?
Yes. The effects, the templates and export are free and carry no watermark. Credits are only for AI image generation and materials.
Make it online
- Photo effects onlineGive a photo a film, print or glitch look in one click — and keep every step editable afterwards.
- Poster makerMake a poster from a template that already has the layout right, then export a print-ready PDF or an image for screens.
Free design templates: Poster templates
Read next
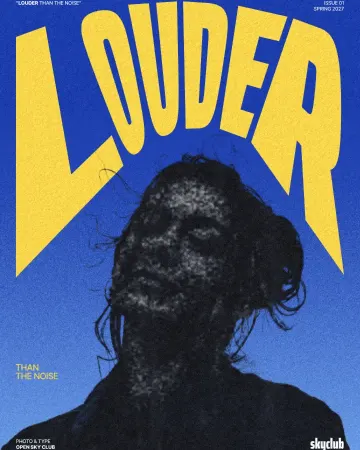
How to make a photocopy effect
Dense toner blacks, greys in scan lines and grey copier paper, from any photo.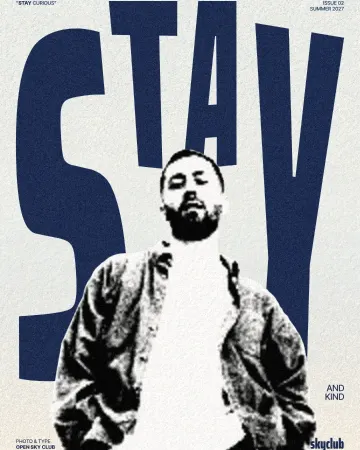
How to make a torn edges effect, like Photoshop’s Torn Edges
Ink and paper, split at a ragged, grainy edge.
How to make a grunge effect with torn edges
Pure black and white, a ragged torn edge and spatter in the shadows.
Try it on your own design
Paletoo opens in your browser, with no sign-up. Every effect here is live: change the picture or the words and the effect follows.
Open in Paletoo