How to make a halftone effect in Photoshop — and in one minute
Color Halftone, a Bitmap screen and a Smart Object — then the same dots as one live mix.
A halftone effect in Photoshop turns a photo into a printer’s screen: a grid of dots that are large in the shadows and tiny in the highlights, so that from a distance they blend back into tones. Print it in four colours and you get the comic-book, pop-art look; print it in one ink and you get a photo from an old newspaper.
People search for it because the look is everywhere again — gig posters, editorial covers, merch, social campaigns that want every picture to feel printed and part of one set. Photoshop has had the tools for decades and they still work, but they were built for prepress, not for trying ten versions of a poster in an afternoon.
This guide gives you both routes. First the Photoshop way, step by step, with the settings that matter and the places where it fights back. Then the same look in Paletoo: one mix on the photo, every dot still adjustable, in about a minute.
The Photoshop way: Color Halftone on a Smart Object
This works in Photoshop 2025 and 2026, and the filters involved have not changed in many versions. Plan on 15–30 minutes the first time, less once you have recorded an action. You need a photo with clear light and shadow, and ideally a scan of newsprint or cheap paper to sit under the dots.
- Open the photo and check its size in Image › Image Size. Color Halftone measures its dots in pixels, so the same setting gives big dots on a 1080 px post and tiny ones on a 6000 px camera file. Settle the final size first.
- Duplicate the photo layer with Ctrl + J (Cmd + J on a Mac), right-click the copy and choose Convert to Smart Object, so the filter stays editable.
- Double-click the Smart Object’s thumbnail to open its contents, add Layer › New Adjustment Layer › Curves for an S-curve and Layer › New Adjustment Layer › Vibrance for saturation, then save and close it. Adjustment layers placed above the Smart Object would act after the dots, not before them.
- Back in the main file, choose Filter › Pixelate › Color Halftone. Set Max. Radius — it runs from 4 to 127 pixels; try 8–12 on a 1080 px post. Leave the screen angles at their defaults (108, 162, 90 and 45); in an RGB file only the first three channels are used.
- Click OK and judge the result at 100 % zoom. At other zoom levels a fine screen shimmers into moiré, which makes the dots hard to read on screen.
- Double-click the small sliders icon to the right of Color Halftone in the Layers panel to open its blending options. Lower the opacity, or set the mode to Multiply or Overlay, to let some of the photo back in.
- For the newsprint, place a paper scan with File › Place Embedded, move it above the photo and set its blend mode to Multiply. Desaturate it a little so it does not tint the inks.
- For a one-ink screen instead, work on a copy of the file: Image › Mode › Grayscale, then Image › Mode › Bitmap with Method set to Halftone Screen. In the next dialog set Frequency in lines per inch, Angle (45° is the classic) and Shape — Round, Elliptical, Line, Square, Cross or Diamond.
- Bitmap mode has no layers and no colour, so convert back through Image › Mode › Grayscale and Image › Mode › RGB Color, drag the result into your design and set it to Multiply over a coloured background.
- Export with File › Export › Export As at 100 % size. Scaling a halftone after the fact softens the dots or adds moiré.
It works, and the Bitmap screen is still one of the most faithful single-ink halftones you can make on a computer. The friction is everywhere around it. Color Halftone draws round dots only and measures them in pixels, so a new size means a new filter run. The Bitmap route flattens the file and drops colour and layers, which is why it always happens on a copy. The Smart Object keeps Color Halftone editable, but the contrast that shapes the dots lives inside another file, and every change re-renders the whole thing. Swap the photo and you start again from step one.
Made in Paletoo
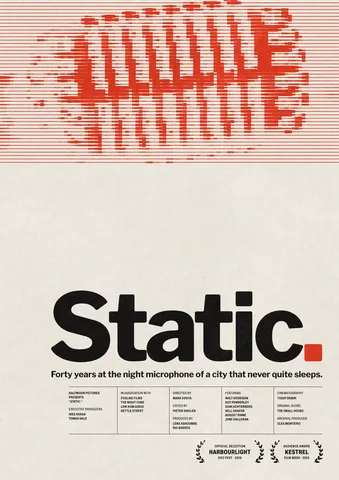
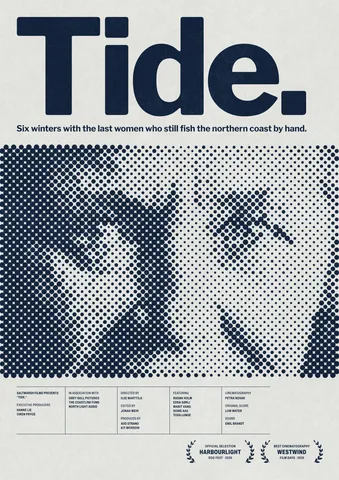
Every picture on this page was made in Paletoo — these three with the same steps on other templates:
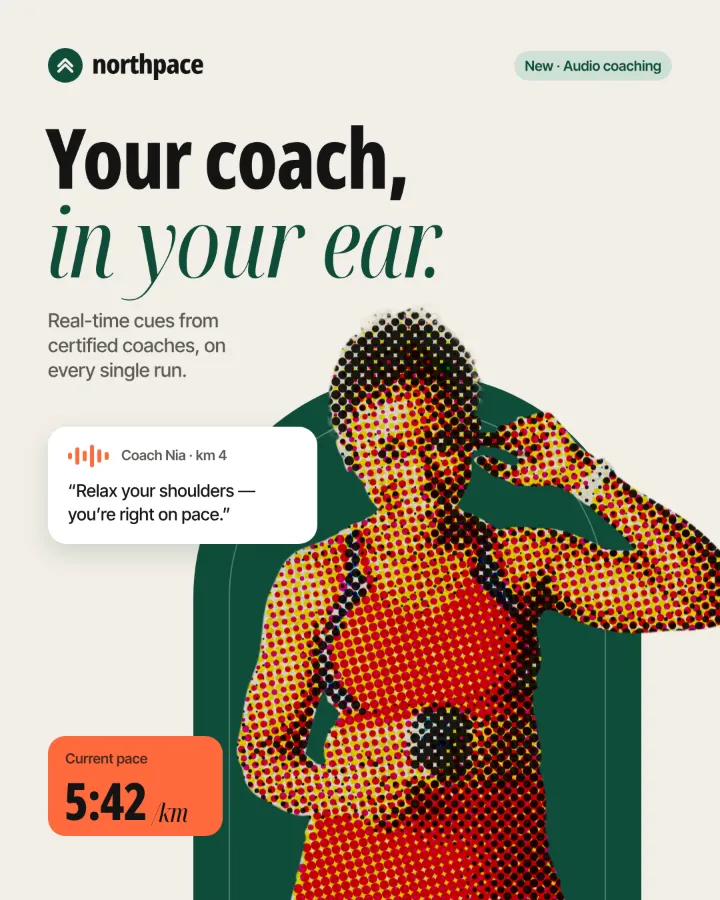
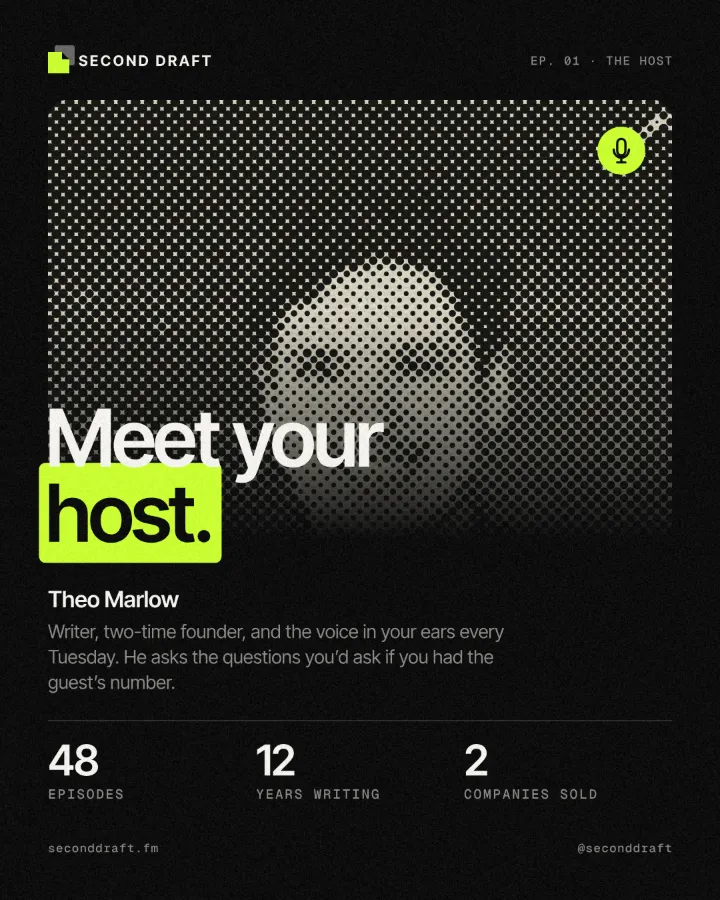
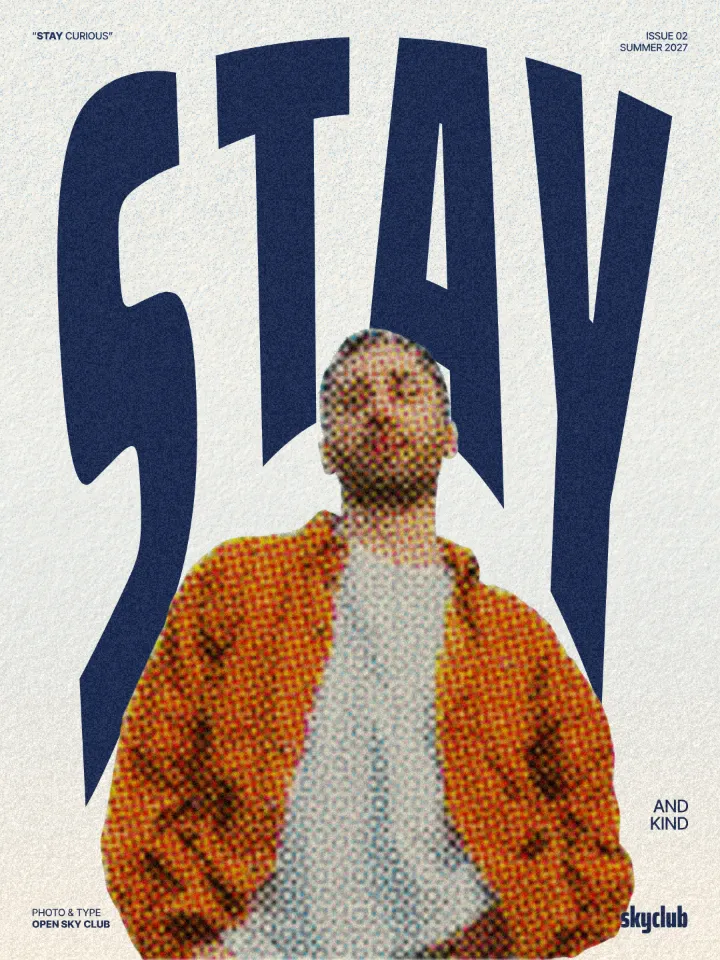
The one-minute way in Paletoo
Open the design in Paletoo — here the night poster with the moon — and click the photo to select it. Halftone reads best on a subject with clear light and dark, and the lit side of the moon against a black sky is about as clear as it gets.
Open the Effects tab in the right panel. Find Mixes and press All next to it, so every mix is on show, then scroll to the Halftone pop card.
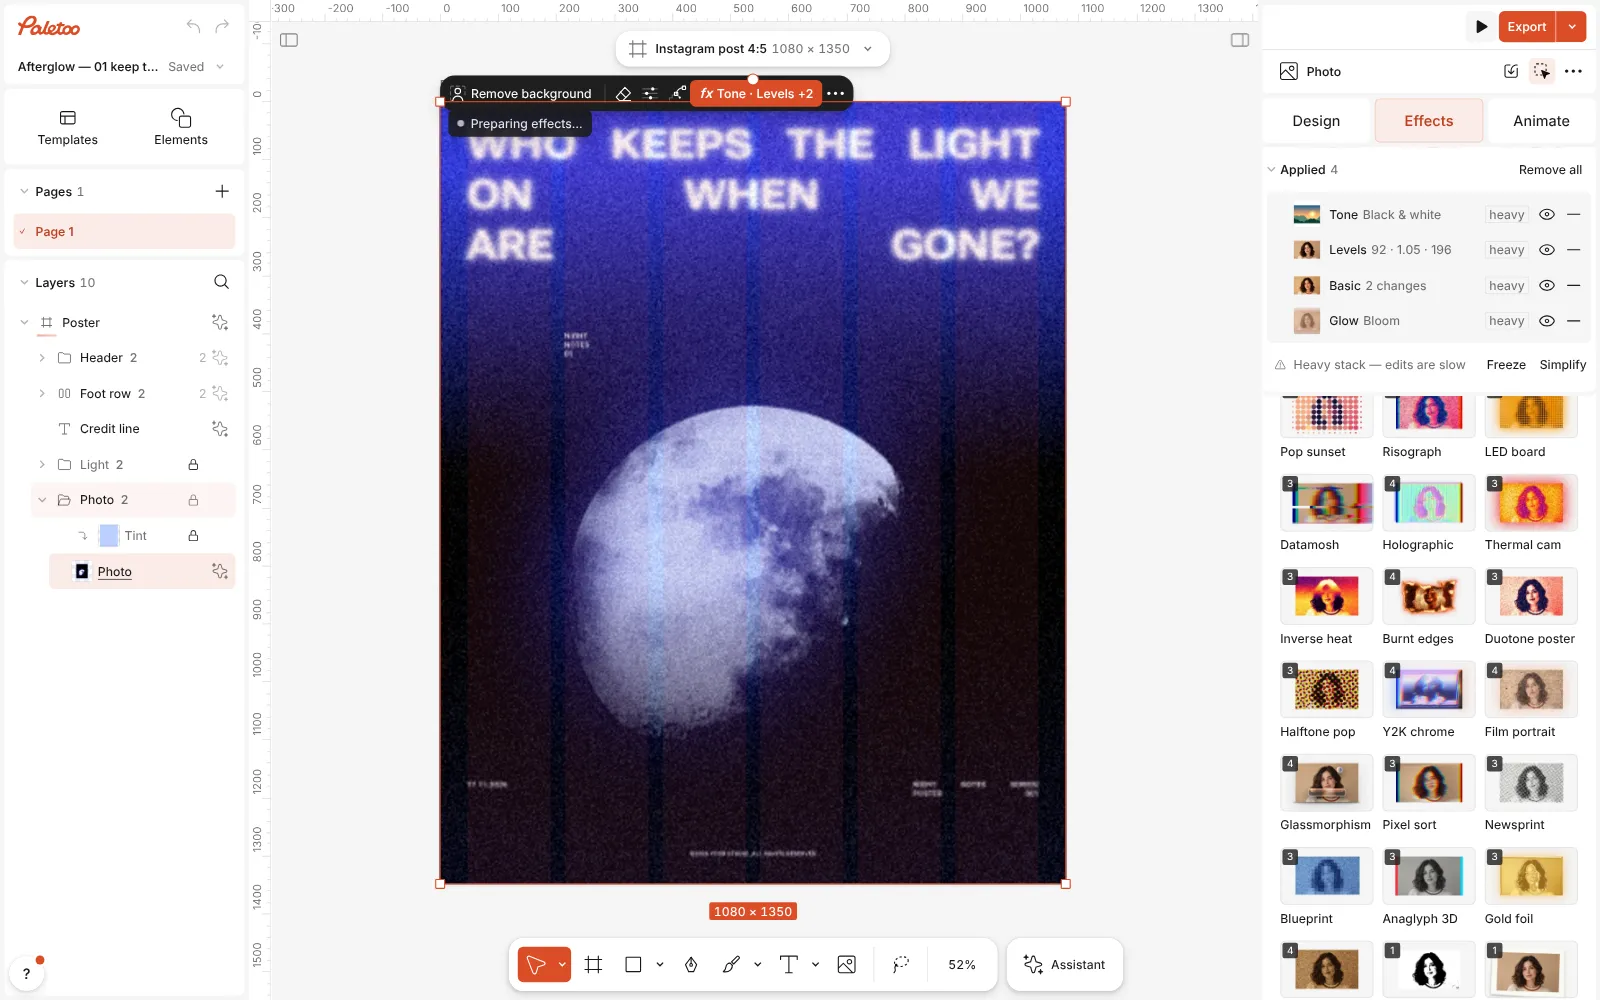
The night poster open in Paletoo, the moon photo selected and every Mix shown in the Effects tab, Halftone pop in view Press Halftone pop. Three steps appear under Applied, in the order they run: Basic raises contrast and saturation (the Curves and Vibrance layers), Halftone prints the photo as four CMYK screens on its Pop art CMYK preset, and Texture lays newsprint over it. That is the whole Photoshop stack, already in the right order, on the original photo.
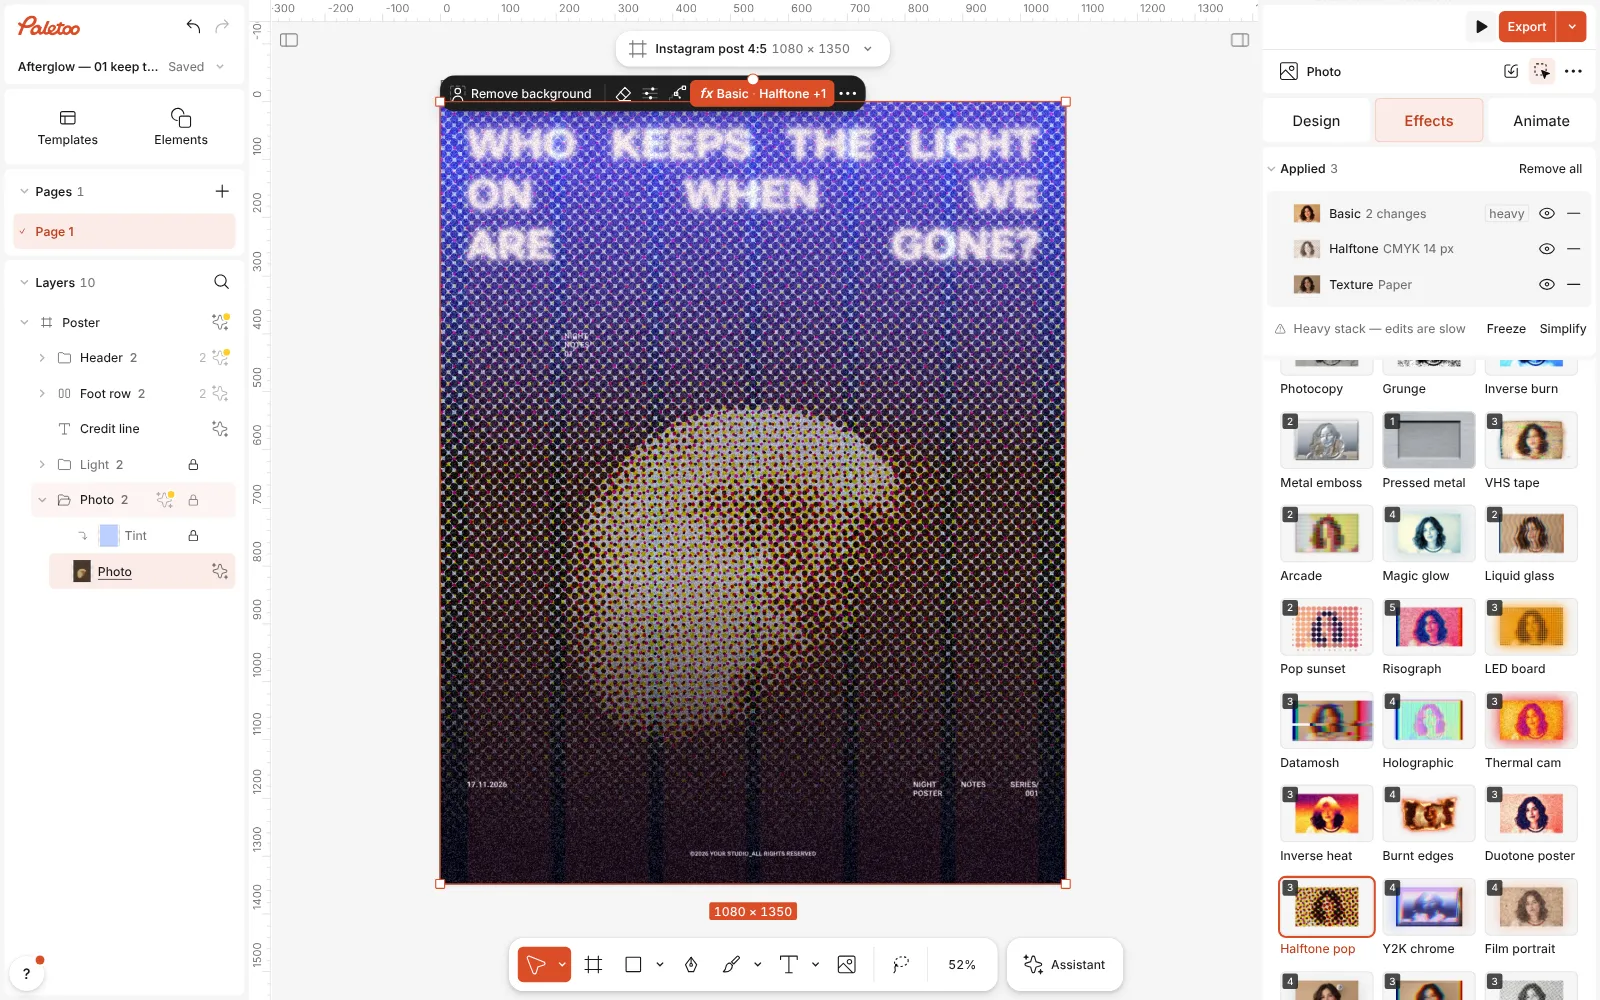
Halftone pop pressed: Basic, Halftone and Texture listed under Applied, the moon printed in CMYK dots Click the Halftone row to open it. Its presets sit at the top. Below them Screen switches between CMYK and One ink, Size sets the dot pitch from 2 to 60 px of the design, Angle turns the screen, and Shape chooses Dots, Lines or Grid — the shapes the Bitmap route gives you, without leaving colour.
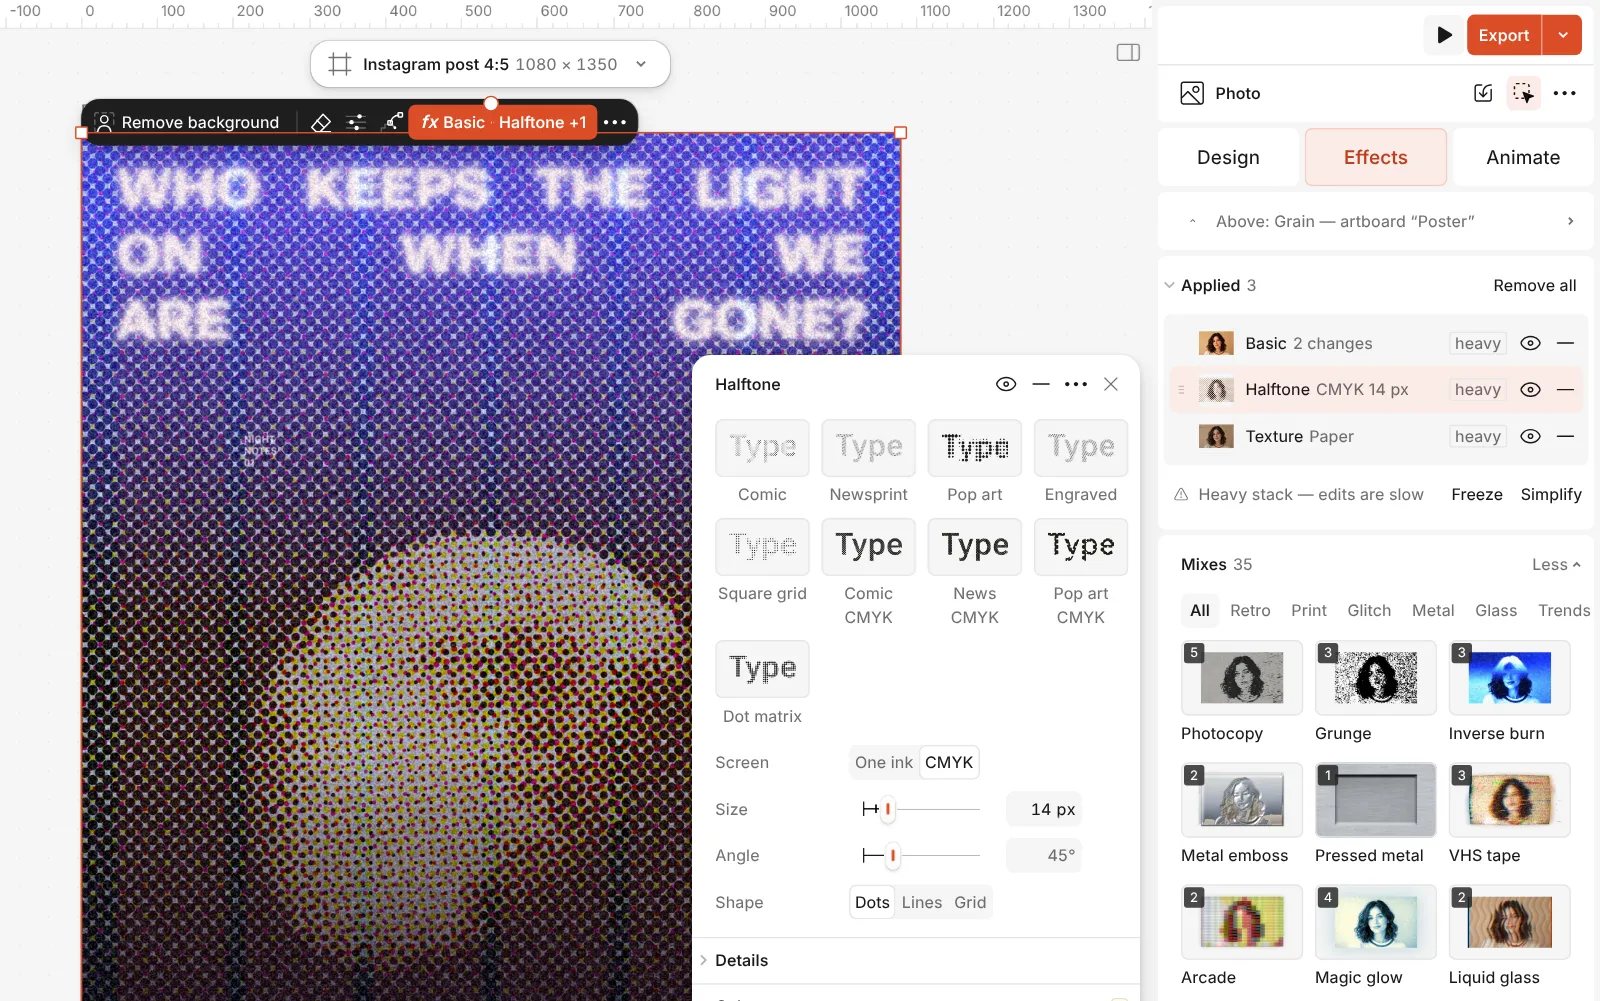
The Halftone step open: its presets, then Screen, Size, Angle and Shape Open Details under them for Misregistration, which slides the colour plates apart like a cheap press, and Weight, which makes every dot fatter or thinner. The Paper colour behind the dots is under Colour.
Press Export and pick PNG, JPG or PDF. The dots are drawn at the export’s own size, so they stay round and sharp in a large print file — no resizing first, no moiré from scaling.
The one-click mix
Its steps: Basic Halftone · Pop art CMYK Texture · Newsprint
Open this mix in PaletooMake it your own
Choose Size for the viewing distance, not for the screen in front of you. A poster seen across a room takes dots of 14–20 px; a post seen on a phone wants 6–10 px, or faces stop reading. The mix uses 14, which suits a 1080 × 1350 post with one large subject. Decide at 100 % zoom — at other zoom levels any screen can shimmer.
For the newspaper look, set Screen to One ink, pick a near-black ink and turn Angle to 45°. In one-ink mode Follows appears under Colour: Dark grows the dots in the shadows, as a press does, and Light grows them in the highlights, which is the one to use for a light subject on a dark background.
Keep Misregistration low: the mix’s 15 % gives the plates a little life, while 40 % and more looks like a 3D picture without the glasses. If the page feels busy, lower the Amount of the Texture step before you touch the dots. Pressing the same mix on every photo of a campaign gives them one screen and one paper, which is half of what makes a series look designed.
Templates with this look
Questions
What is the best way to make halftone in Photoshop?
Color Halftone (Filter › Pixelate) for colour dots, and Image › Mode › Bitmap with Halftone Screen for a single-ink screen with a choice of dot shapes. Most designers run the first on a Smart Object and keep the second for print work.
Why are my Color Halftone dots so small?
Max. Radius is measured in pixels, so on a large camera file even a big radius looks fine. Reduce the image to its final size first, then run the filter.
Can I make the halftone in one colour?
In Paletoo, set Screen to One ink in the Halftone step and pick the ink. In Photoshop, use the Bitmap route, or run Color Halftone on a grayscale copy, where it works on a single channel.
Does the effect change my original photo in Paletoo?
No. The three steps are live effects on top of the photo: switch a step’s eye off to compare, or replace the picture and the dots are drawn again on the new one.
Is it free?
Yes. The effects, the templates and export are free and carry no watermark. Credits are only for AI image generation and materials.
Can I start from the poster in the pictures?
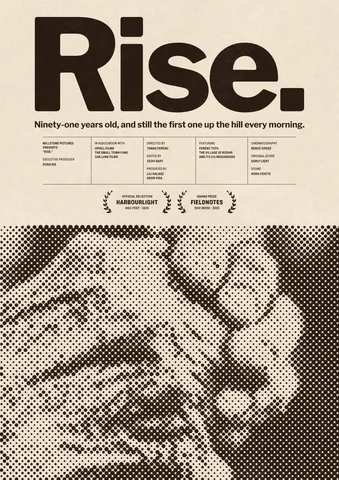
Yes. Open in Paletoo on this page opens the night poster with Halftone pop already on the moon, ready to edit.
Make it online
- Duotone, halftone and glitch photo effects onlineThree of the strongest looks for a photo, each one click away and every step still yours to tune.
- Photo effects onlineGive a photo a film, print or glitch look in one click — and keep every step editable afterwards.
Free design templates: Poster templates
Read next
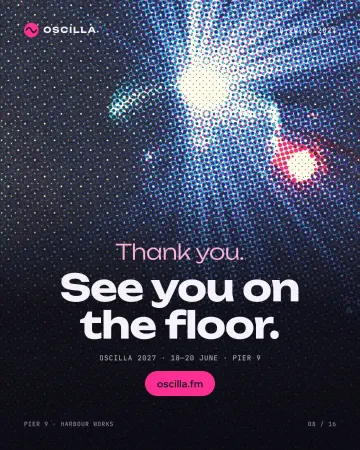
How to make a halftone effect
Comic-book CMYK dots, newspaper screens or one ink.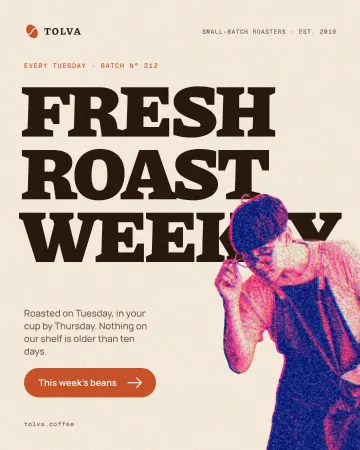
How to make a risograph effect in Photoshop — and in one click
Two inks, a coarse screen and a slight misprint: the Photoshop recipe, and the Mix that does it live.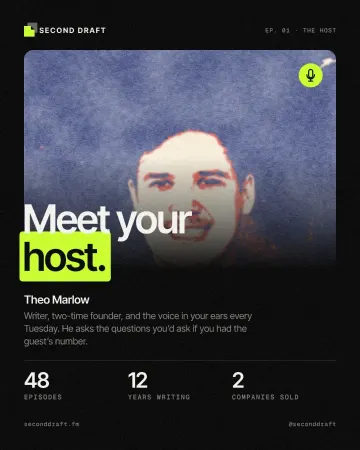
How to make a screen print effect
Three flat inks, a coarse dot and screens out of register.
Try it on your own design
Paletoo opens in your browser, with no sign-up. Every effect here is live: change the picture or the words and the effect follows.
Open in Paletoo