How to warp text and put it on a path in Photoshop — and in one minute
Three Photoshop ways to bend a headline, and one Warp section that keeps the words live.
Warped text is type that leaves the straight baseline: it arcs over a logo, follows the line of a hill, swells like a flag or runs along a curve you draw. When people ask how to warp text in Photoshop they usually mean one of two things — text on a path, where each letter stands on a curve, or an envelope warp, where the whole word is bent like rubber.
Photoshop does both, in different places and with different rules. This guide shows its three routes honestly — Warp Text, type on a path and the Transform warp grid — with what each is good at. Then it shows the Paletoo way, where a path and a mesh grid are two kinds of the same Warp section on a live text layer, so you can switch between them without rebuilding anything.
The Photoshop way
Everything below is in Photoshop 2025 and 2026 and has been there for many versions. Allow 5 minutes for a preset warp and 10–20 for text on a hand-drawn path. You need a type layer and, for a path, the Pen or Ellipse tool.
- For a quick arch or flag, select the type layer, pick the Type tool (T) and click Create warped text in the options bar, or choose Type › Warp Text.
- Choose a Style — Arc, Arch, Bulge, Flag, Wave, Rise and the rest of the fifteen — then set Bend and, if you need them, Horizontal and Vertical Distortion. The text stays editable, and the same dialog changes the warp later.
- For text along a curve, draw the curve first: the Pen tool (P) with Path chosen in the options bar, or the Ellipse tool (U) in Path mode for a circle.
- Take the Horizontal Type tool (T) and hover over the path until the cursor changes to the type-on-a-path cursor, then click and type. The letters now stand on the path.
- Switch to the Path Selection tool (A) to drag the start and end markers along the path. Drag across the path and the text flips to the other side; Baseline Shift in the Character panel lifts the line off the curve.
- For a free-form bulge, convert the type first: Layer › Smart Objects › Convert to Smart Object. Then Edit › Transform › Warp, choose a Grid in the options bar — 3 × 3, 4 × 4, 5 × 5 or Custom — and drag its points and handles.
- Press Enter to commit. To change the words later, double-click the Smart Object thumbnail, edit the text in its own document and save it: Photoshop applies the warp again to the new words.
- Only when you need to edit the letter outlines by hand, use Type › Convert to Shape. From then on it is a vector shape, not type.
Each route is solid, and all three can keep the words editable. The friction is that they live apart: Warp Text has fixed styles, the free grid needs a Smart Object and a second document to change the words, and type on a path is its own tool, with markers that are easy to flip by accident. A designer opening the file later has to work out which of the three was used before touching it.
Made in Paletoo
Every picture on this page was made in Paletoo — these three with the same steps on other templates:

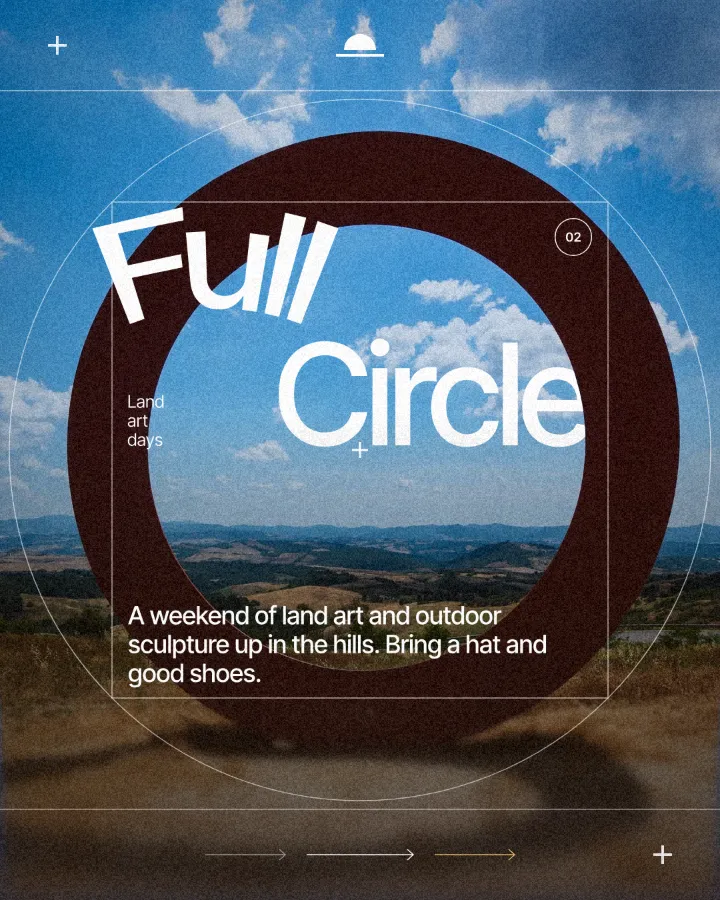

The one-minute way in Paletoo
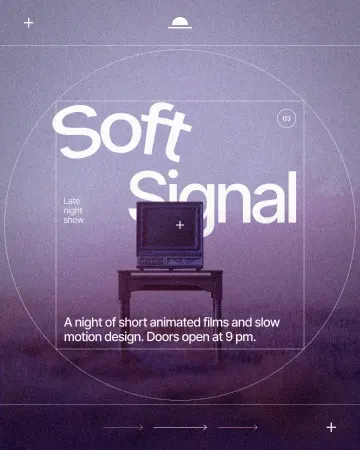
Open your design and select the headline — in this guide, the word “Soft” on a late-night film post. The “Open in Paletoo” button on this page opens that document with the path already on it.
In the Design tab, scroll to the text’s Warp section. Its menu reads None while the text is straight.
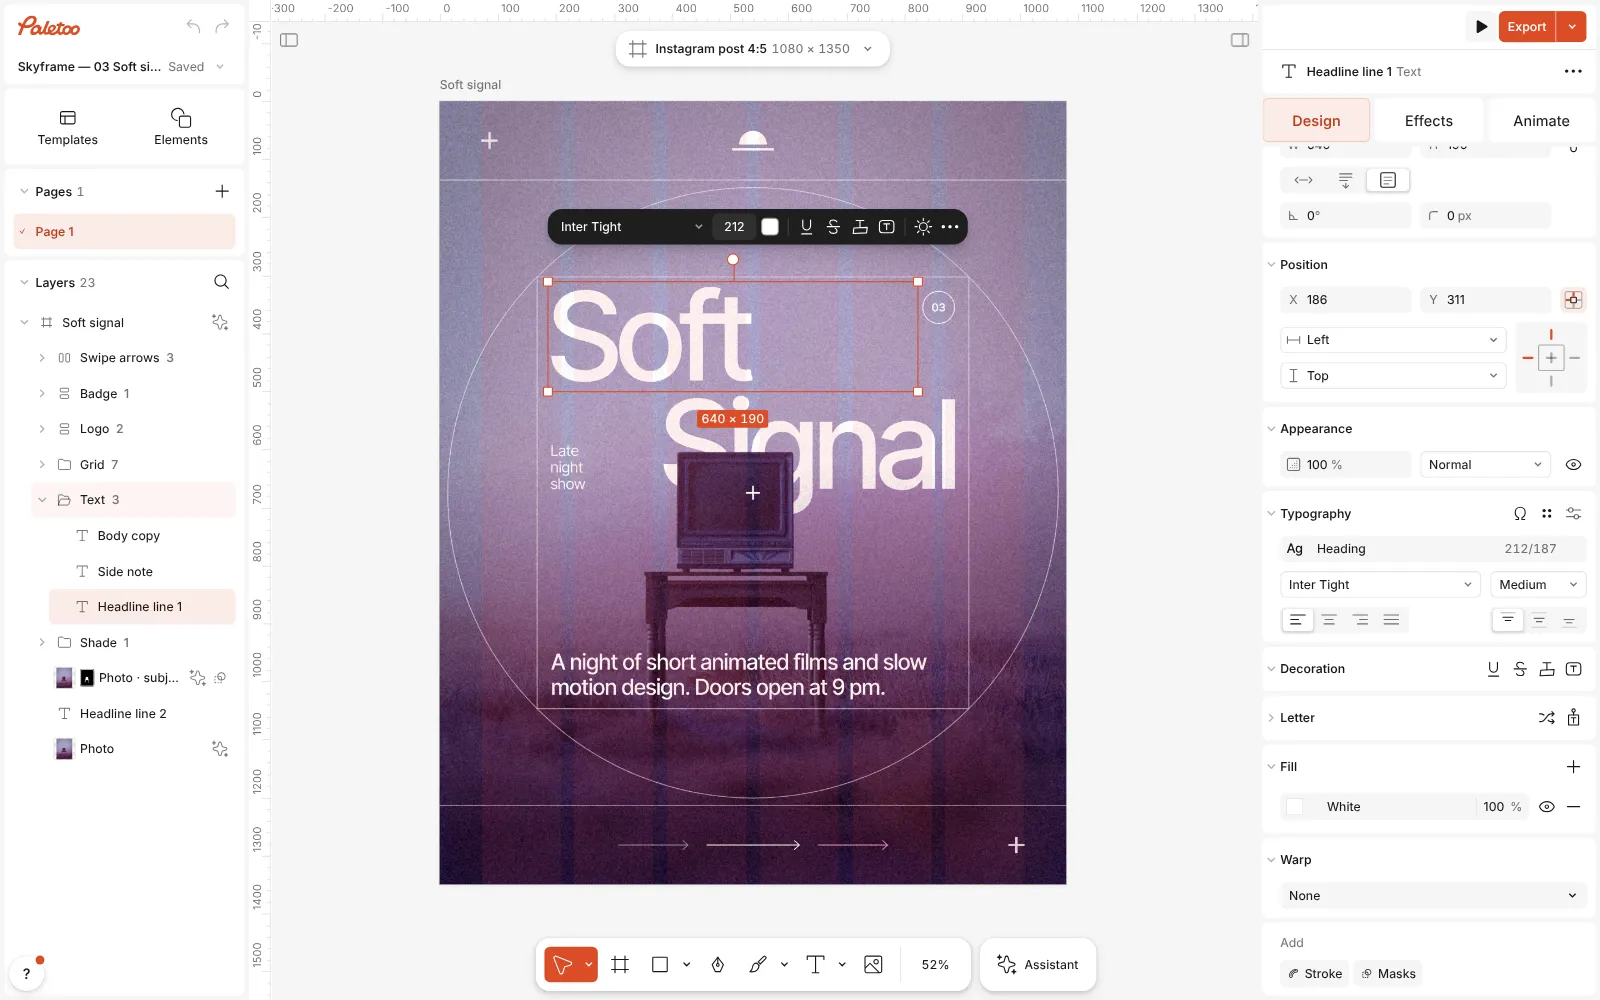
The late-night film post open in Paletoo, the word “Soft” selected and the Design tab scrolled to its Warp section Open the menu and choose On path. Paletoo draws a gentle arch under the words, a little longer than the line, and shows its two end points and their handles on the canvas.
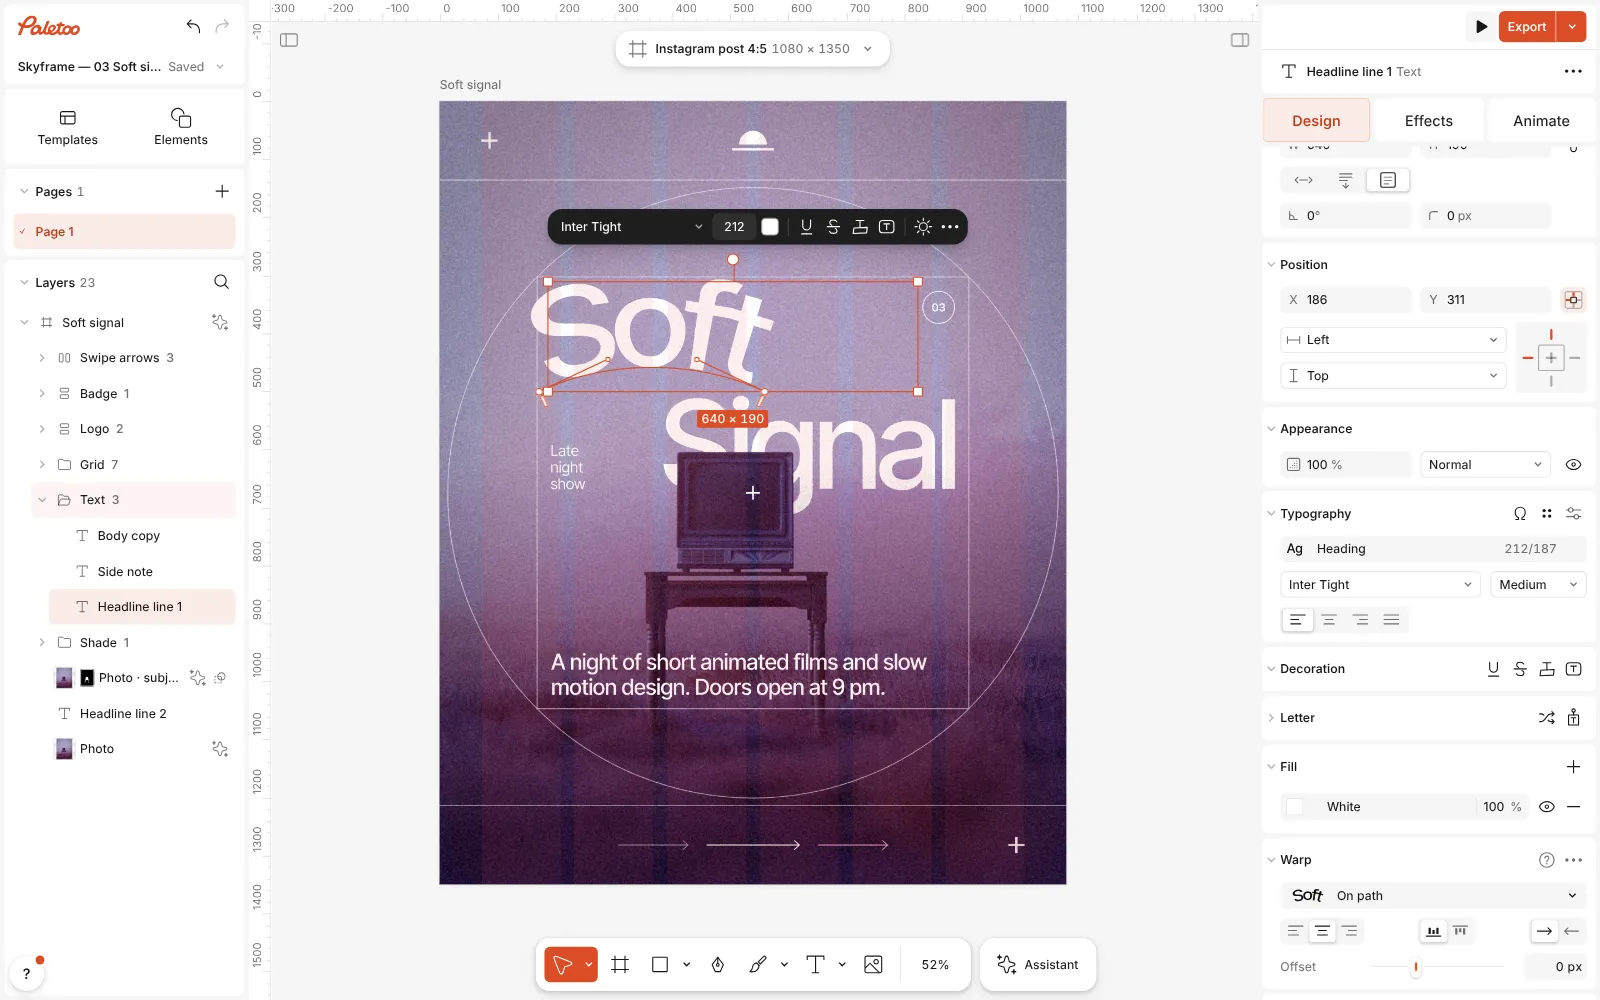
Warp set to On path: the starting arch drawn under “Soft”, its end points and handles on the canvas Bend the path right there on the canvas: drag a point or a handle, double-click the path to add a point, ⌥-click a point to remove it. The two brackets on the path mark where the words begin and end.
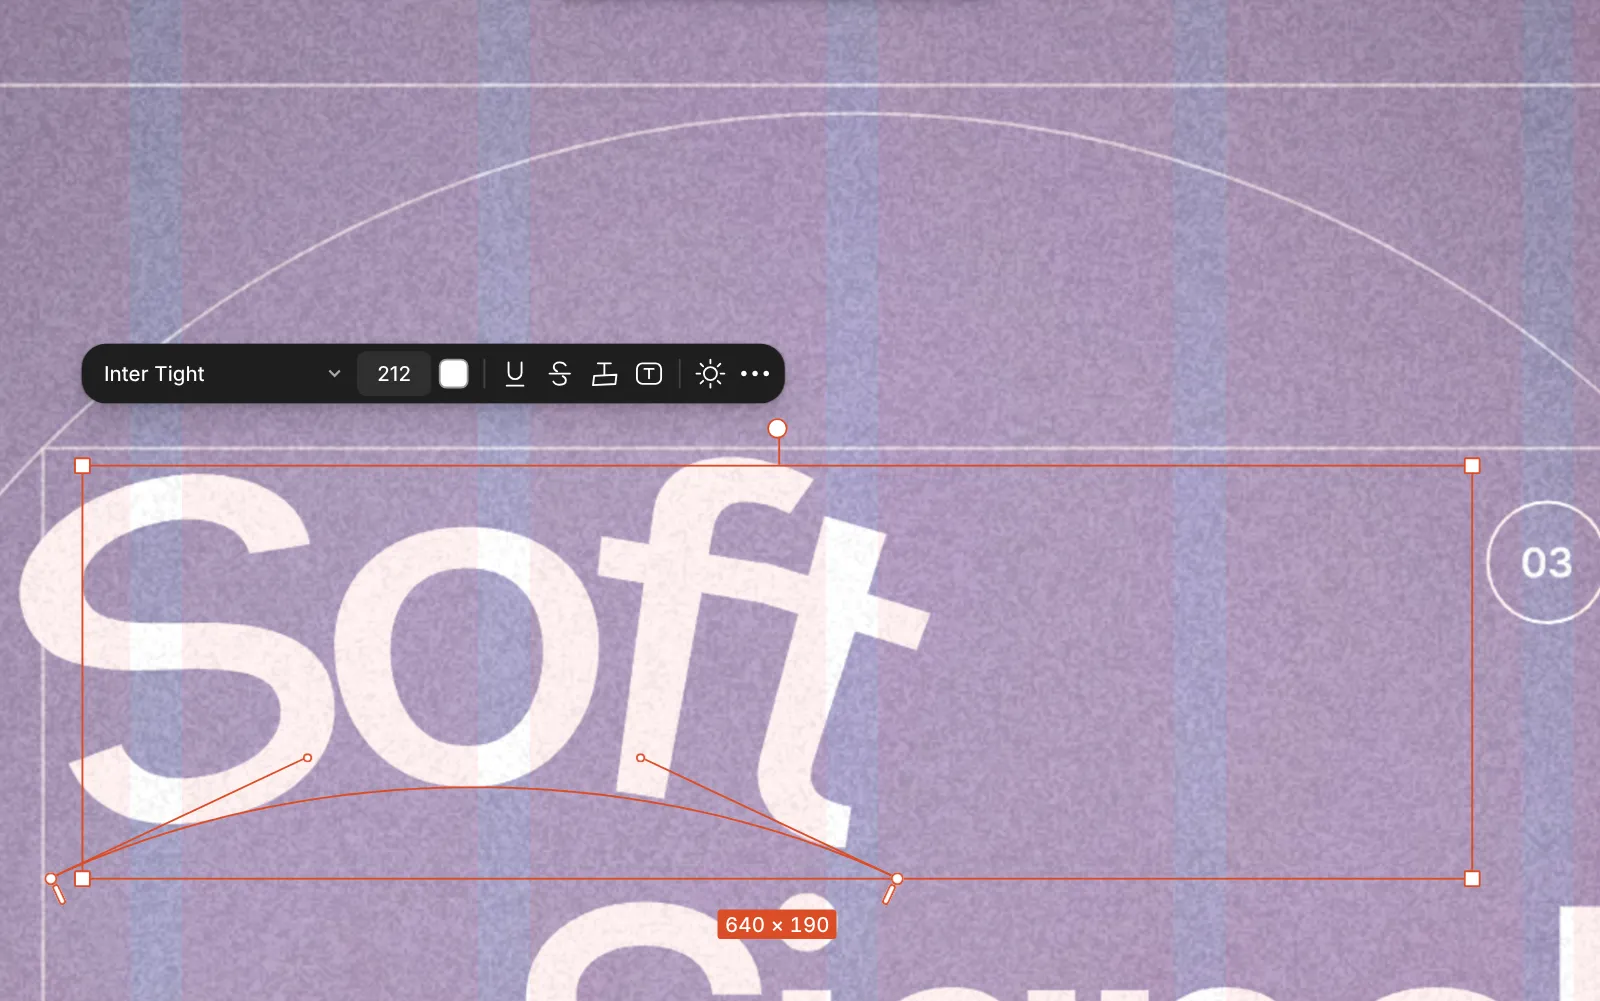
Close up: “Soft” on its curve, with the path’s points, handles and the start and end brackets Back in the section, Align puts the line at the Start, Centre or End of the path, Side sets it On top of the path or Under it, and Offset lifts it off. Warp options holds Add point, Delete point and Reset path.
Want the other kind of warp — the word bent like rubber rather than walked along a line? Choose Grid in the same menu: a mesh appears over the letters and its points and handles pull them, much like Photoshop’s custom warp, but on live text. Arc, Wave and Perspective are the quick presets.
Double-click the text to change the words; they flow along the same path. Then press Export.
Make it your own
Think like a sign painter: one smooth curve beats a wiggle. Most headlines need only the two end points; pull their handles out long and level and the arch stays even. Add a point only where the line really turns, from rising to falling, and keep its two handles in a straight line so the curve passes through without a corner. Reset path brings back the starting arch when a curve gets out of hand.
Watch the spacing in tight bends. On the outside of a curve letters drift apart; on the inside they crowd. Setting the line Under the path swaps which side they sit on, and opening up the bend helps more than any letter spacing. Offset moves the whole line away from the path without changing the curve — useful when the path traces something in the photo and the type should ride just above it.
Choose the kind by the job. On path follows a shape: a horizon, a ribbon, the rim of a cup. Grid changes the letters themselves: swelling, squeezing, a word wrapped around an object. For a word all the way round a circle, pick Arc and its Circle preset. Whatever you pick, the font, the size and the words stay editable, so try the headline in two or three kinds before you settle.
Questions
What is the difference between Warp Text and type on a path in Photoshop?
Warp Text bends the whole block of type into a preset envelope such as Arc or Flag. Type on a path places each letter on a curve you draw with the Pen or Ellipse tool.
How do I warp text in Photoshop without rasterising it?
Warp Text and type on a path keep the type layer editable. For a custom grid, convert the type to a Smart Object first; you edit the words inside it and the warp is applied again.
How do I put text on a circle?
In Photoshop, draw a circle with the Ellipse tool in Path mode and click on it with the Type tool. In Paletoo, choose Arc in the Warp menu and its Circle preset.
Can I change the words after the text is on a path in Paletoo?
Yes. The path belongs to the text layer, so new words, a new font or a new size flow along the same curve.
Does the warp survive export?
Yes. PNG, JPG and SVG exports show the warped text exactly as it looks on the canvas.
Make it online
- Text effects onlineChrome, gold foil, emboss, cut-out letters, outlines and warps — and the words stay editable text.
- Logo makerBuild a wordmark or a badge from real type and shapes, and take it away as a sharp SVG or PDF.
Free design templates: Social media post templates · Brand guidelines templates
Read next
How to put text on a path that stays editable
Type along a curve you shape on the canvas; the words stay live.
How to warp text on a mesh without rasterising it
Pull a grid over a headline; the words stay editable.
Kinetic typography trend 2027: bold type that moves, even on a poster
Big, bold type that moves — or looks as if it just did.
Try it on your own design
Paletoo opens in your browser, with no sign-up. Every effect here is live: change the picture or the words and the effect follows.
Open in Paletoo