How to make a glitch effect in Photoshop — and in one minute
Split RGB channels, sideways slices and broken blocks — then the same break as one live mix.
A glitch effect in Photoshop imitates digital failure: the red, green and blue channels slide apart, bands of the picture jump sideways, blocks of pixels appear where the data broke, and a smear of colour trails behind. It is the look of a corrupted video file or a stream dropping frames, done on purpose and placed with care.
Glitch keeps coming back in music artwork, game and esports announcements, tech launches and fashion editorials, because it reads instantly as digital, fast and slightly dangerous. Used on one hero image with clean type around it, it gives a layout energy without adding a single word.
In Photoshop the look is usually built by hand from three or four classic tricks. Below is that build, step by step, with what each part adds. Then the same result in Paletoo as one mix, with the split, the slices, the blocks and the trail all still adjustable.
The Photoshop way: channels, the Wave filter and slices
These steps work in Photoshop 2025 and 2026 and in many versions before them. Expect 20–40 minutes for a convincing result, most of it spent nudging slices until they fall in the right places. Start with your photo on its own layer and a dark or plain background behind it.
- Duplicate the photo layer twice with Ctrl + J (Cmd + J on a Mac), so you have three identical layers.
- Double-click the top copy beside its name to open Layer Style › Blending Options. Under Advanced Blending, untick G and B in Channels so only R is left. Open the middle copy the same way and leave only B.
- Pick the Move tool with V, select the top copy and nudge it left with the arrow keys — Shift + arrow moves 10 px at a time. Nudge the middle copy to the right. Red and cyan fringes appear along every edge.
- Merge what you see into a new layer with Ctrl + Shift + Alt + E, and convert that layer to a Smart Object for the next filter.
- Choose Filter › Distort › Wave. Set Type to Square, Number of Generators to 1–5, a long wavelength and a small amplitude, and Scale to 100 % horizontal and 1 % vertical, so bands of the picture only move sideways. Choose Repeat Edge Pixels for the edges and press Randomize until the bands look right.
- For slices you place yourself, stamp another copy, draw a thin band with the Rectangular Marquee (M), lift it onto its own layer with Ctrl + J and drag it sideways with the Move tool while holding Shift. Repeat for five to ten bands of different heights.
- For broken blocks, select a few rectangles on a stamped layer and apply Filter › Pixelate › Mosaic with a cell size of about 10–20 squares.
- Add a trail if you want one: duplicate the figure a few times, offset each copy a little further, colour them with a Color Overlay layer style and lower their opacity step by step.
- Check the whole thing at 100 % zoom, then export with File › Export › Export As.
The channel trick is clever and stays editable: you can nudge the copies again at any time. Most of what follows it is not. Stamped layers, hand-moved slices and Mosaic patches are plain pixels, so a new photo or a new crop means starting again, and the Wave filter, even as a Smart Filter, is a random roll you re-roll rather than a setting you tune. It also takes care to stop the damage landing across the eyes. For one hero image that is fine; for a series of posts, or a version that moves, it adds up quickly.
Made in Paletoo
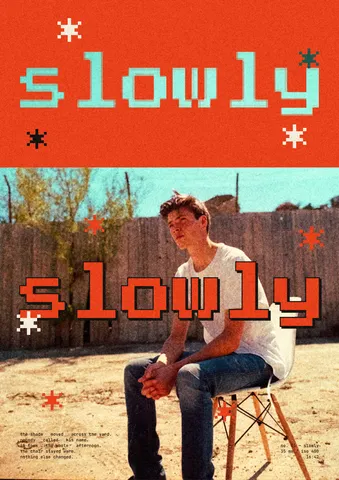
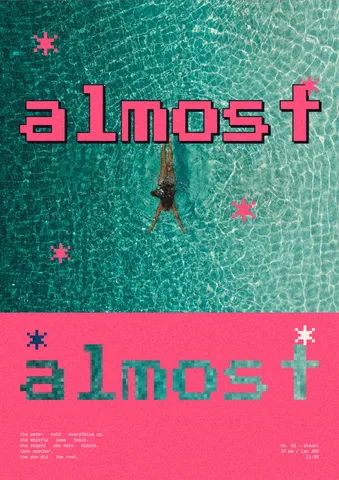
Every picture on this page was made in Paletoo — these three with the same steps on other templates:
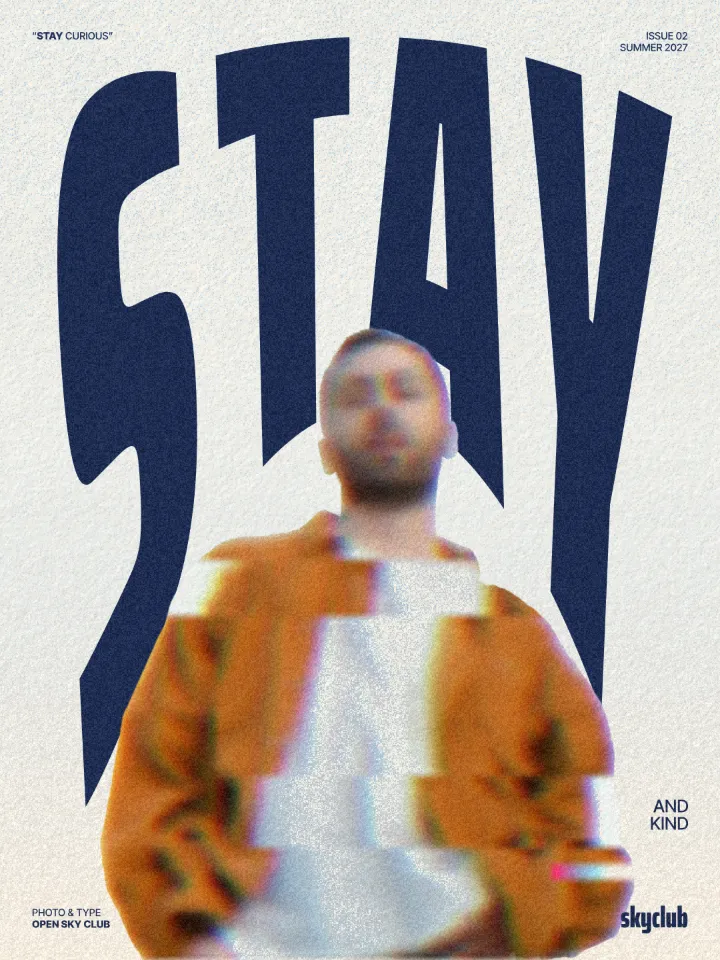
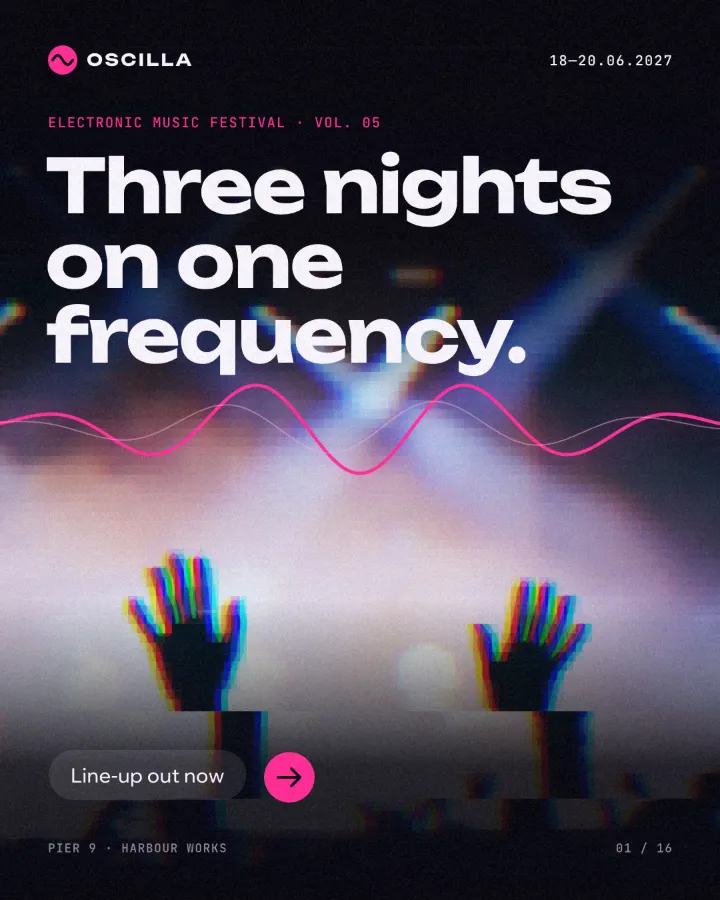
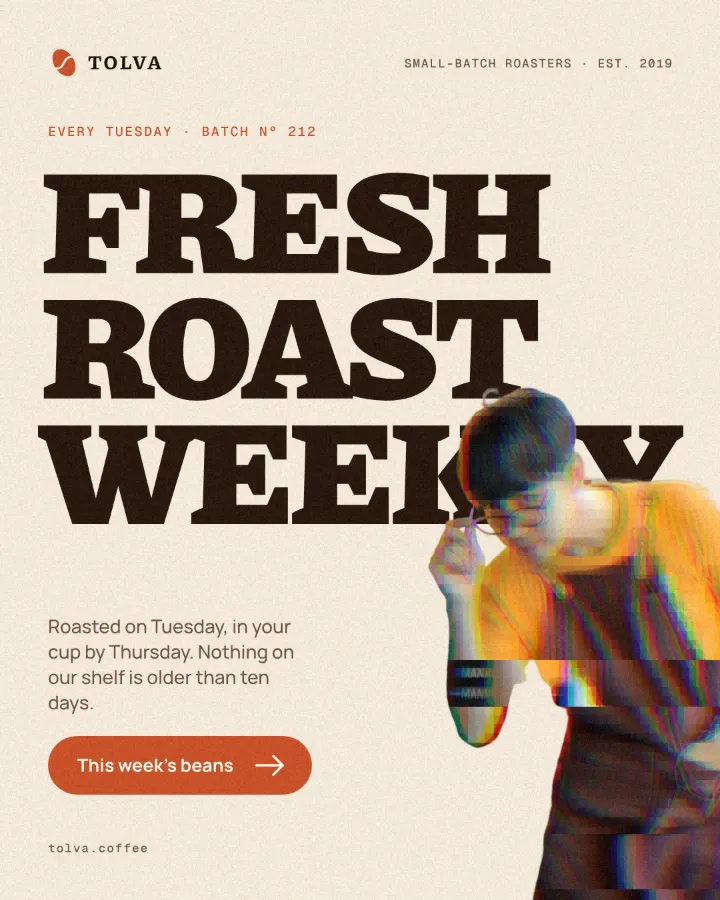
The one-minute way in Paletoo
Open the design in Paletoo — here the running-app post with the coach cut-out — and click the photo to select it. Faces and figures make the strongest glitches, because the eye notices exactly where they break.
Open the Effects tab in the right panel. Under Mixes, press All to show every mix and find Datamosh. The single glitch effects live further down under Glitch & glass, if you ever want to build your own stack.
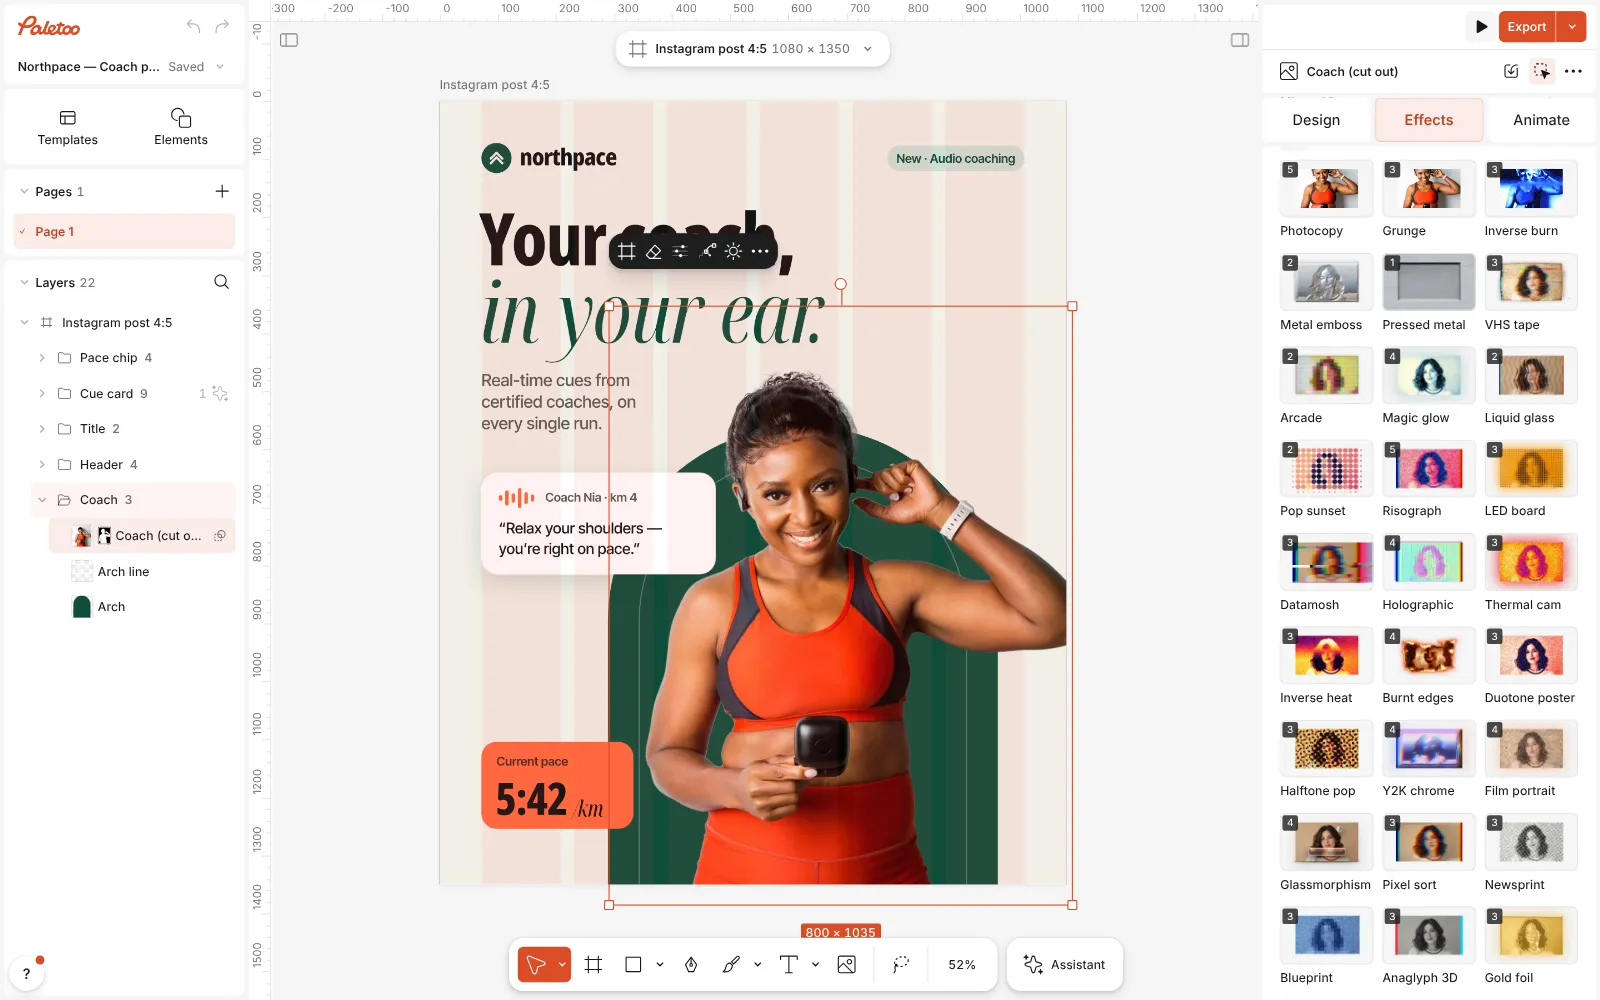
The running-app post open in Paletoo, the coach selected and every Mix shown in the Effects tab, Datamosh in view Press Datamosh. Three steps go on under Applied: Pixel on its Blocky preset breaks part of the picture into blocks, Colour split on Broken signal tears the colour channels apart and slices the image sideways, and Echo drags a pink-to-cyan trail behind the figure. The channel trick, the Wave filter, Mosaic and the trail, in one press.
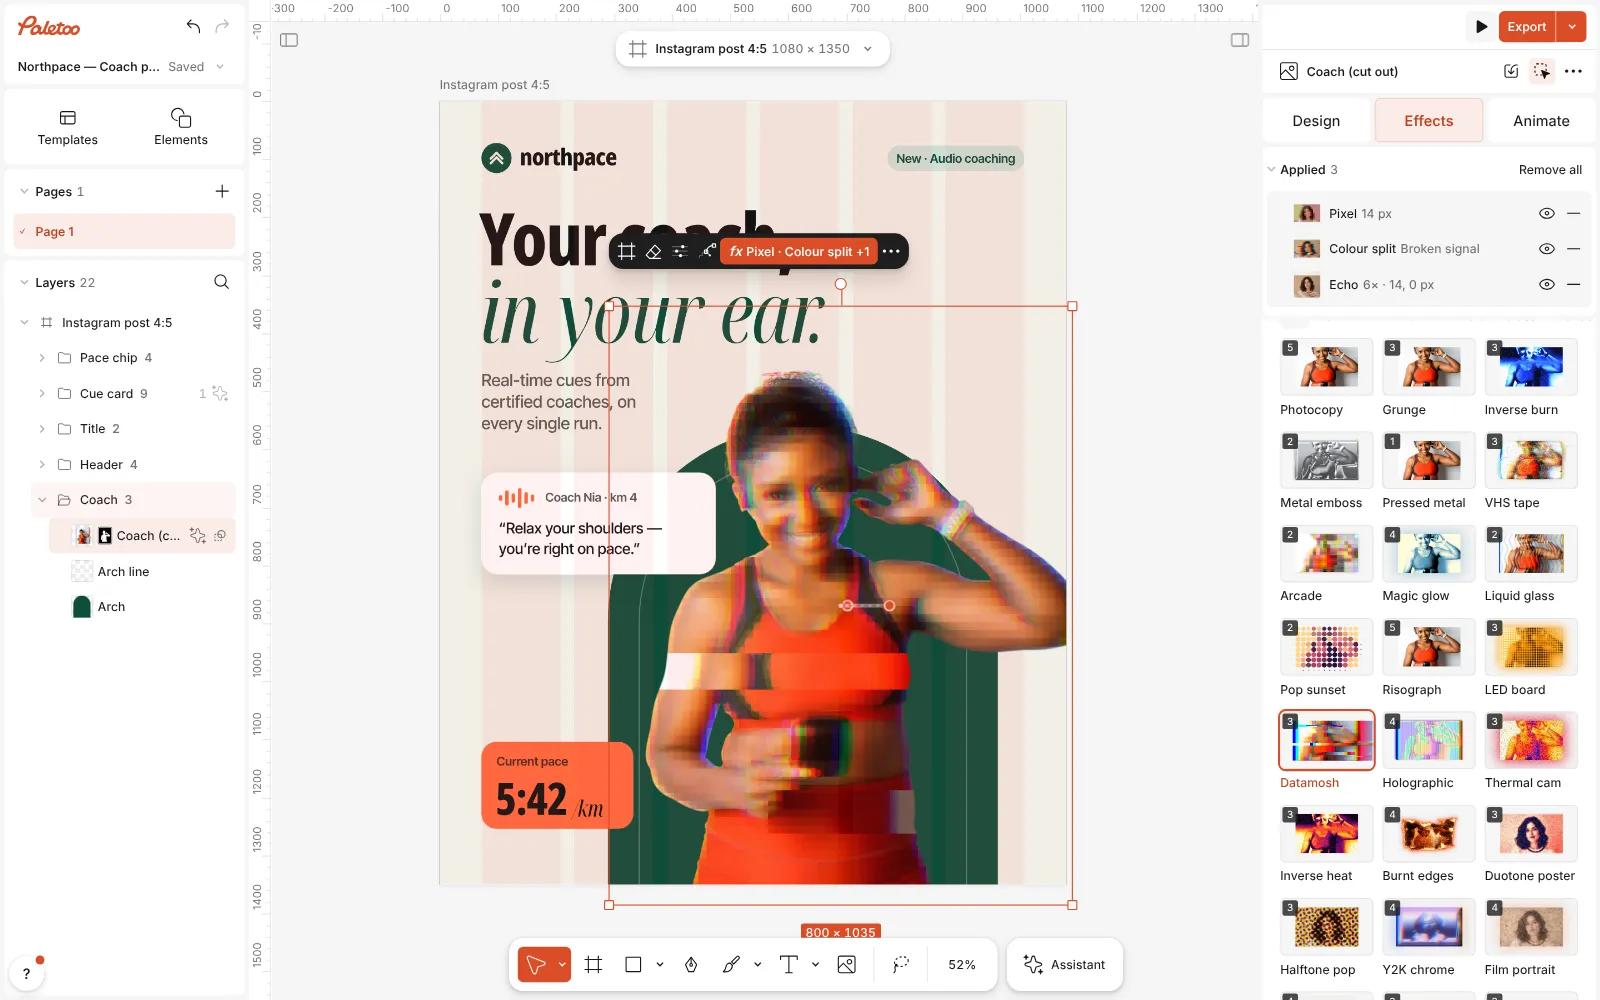
Datamosh pressed: Pixel, Colour split and Echo under Applied, the coach broken into blocks, slices and a colour trail Click the Colour split row to open it. Distance pulls the channels apart (0–80 px), Glitch sets how broken the slices are, Angle turns the direction of the split, and Split as chooses whether the colours part like printed Ink or like screen Light — Auto picks by the object’s own tone.
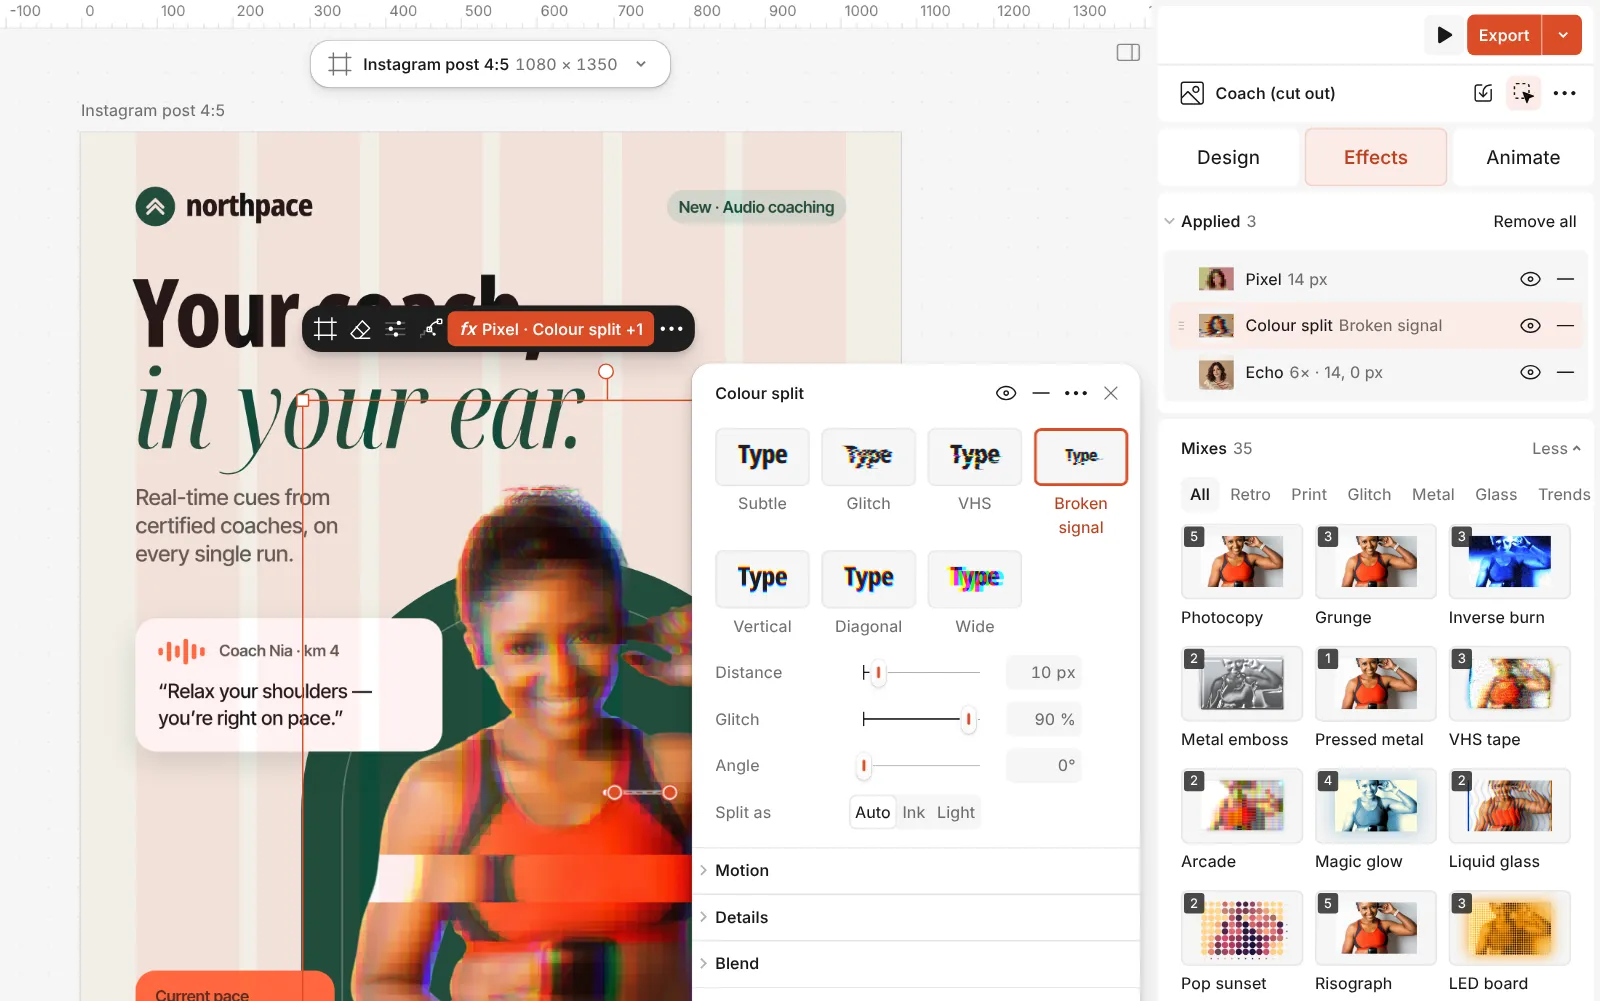
The Colour split step open: its presets and the Distance, Glitch, Angle and Split as controls Open Details for the slices: Slices sets how many bands there are (2–60), Slice shift how far they jump, Noise lines adds thin smeared rows, and Seed rolls a new pattern with the same settings. Keep rolling until no cut runs across the eyes — then the number keeps it there.
Press Export. A PNG or JPG gives you the still; export the design as MP4, GIF or WebM and the slices re-cut twelve times a second on a two-second loop that repeats cleanly.
The one-click mix
Its steps: Pixel · Blocky Colour split · Broken signal Echo · Trail
Open this mix in PaletooMake it your own
Leave part of the picture whole. The Pixel step is mixed in at 55 %, so its blocks only half cover the photo; lower that further with Amount in the step’s Blend section, or raise its Size for fewer, bigger blocks. The contrast between clean and broken is what makes the eye read a glitch rather than noise.
For a clean, modern RGB shift with no slices, keep Colour split and set Glitch to 0: the plates part neatly, like a print slightly out of register — its Subtle preset is exactly that. For a heavier break, raise Slice shift towards 150 px and drop Slices to 6–8, so fewer, wider bands jump further.
Match the trail to the design. In the Echo step, Copies sets how long the trail is and Fade how quickly it dies away; its two colours sit under Colour. Your brand’s accent and its opposite on the colour wheel usually look better than the default pink and cyan.
Templates with this look
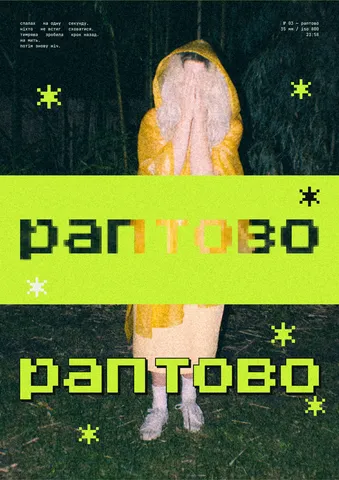
Questions
Is there a one-click glitch filter in Photoshop?
The glitch look in Photoshop is usually built by hand: RGB channels split through Blending Options, the Wave filter for sideways bands and Mosaic for blocks. Many designers record those steps as an action or buy one ready-made.
How do I shift RGB channels in Photoshop?
Duplicate the layer, open Blending Options and untick two of the R, G and B boxes under Advanced Blending, then nudge the copy with the Move tool. Each copy shows only the channels left ticked.
Can I animate the glitch?
In Paletoo the slices move by themselves in a video export, and every number of the Colour split step can also be keyed in its Animate section. In Photoshop you would build the frames on the Timeline by hand.
How do I keep the cuts off the face?
Change Seed in the Colour split step until the slices fall elsewhere, or lower Glitch so fewer bands break. A fixed Seed gives the same slices every time you open the file.
Is it free?
Yes. The effects, the templates and export, video included, are free and carry no watermark. Credits are only for AI image generation and materials.
Make it online
- Duotone, halftone and glitch photo effects onlineThree of the strongest looks for a photo, each one click away and every step still yours to tune.
- Photo effects onlineGive a photo a film, print or glitch look in one click — and keep every step editable afterwards.
Free design templates: Poster templates
Read next
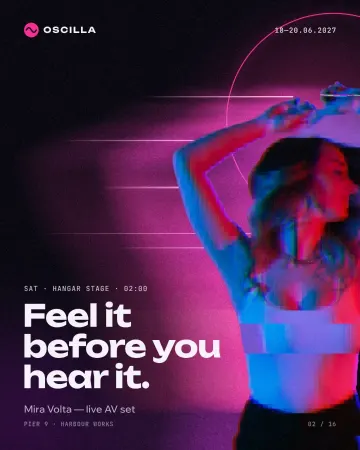
How to make a glitch effect
Blocky pixels, torn colour channels and a smeared trail.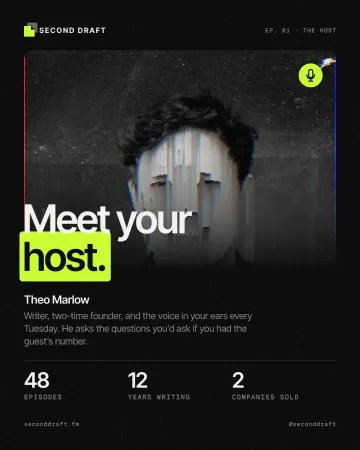
How to make a pixel sorting effect
Mid-tones and lights sorted by brightness into falling streaks.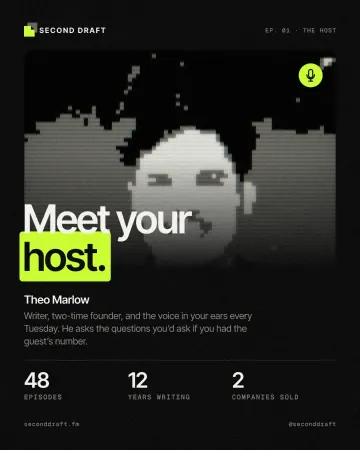
Y2K pixel art trend 2027: 8-bit, LED boards and CRT screens
Chunky pixels, a few hard colours and the glow of an old screen.
Try it on your own design
Paletoo opens in your browser, with no sign-up. Every effect here is live: change the picture or the words and the effect follows.
Open in Paletoo