Free tools5 min readFreeUpdated 2026-11-12
How to enhance photo quality online for free, without AI guesswork
A grey, yellowed or dark photo made clear in one press, then larger — and you can see every change.
By Paletoo’s designers · every step done in Paletoo
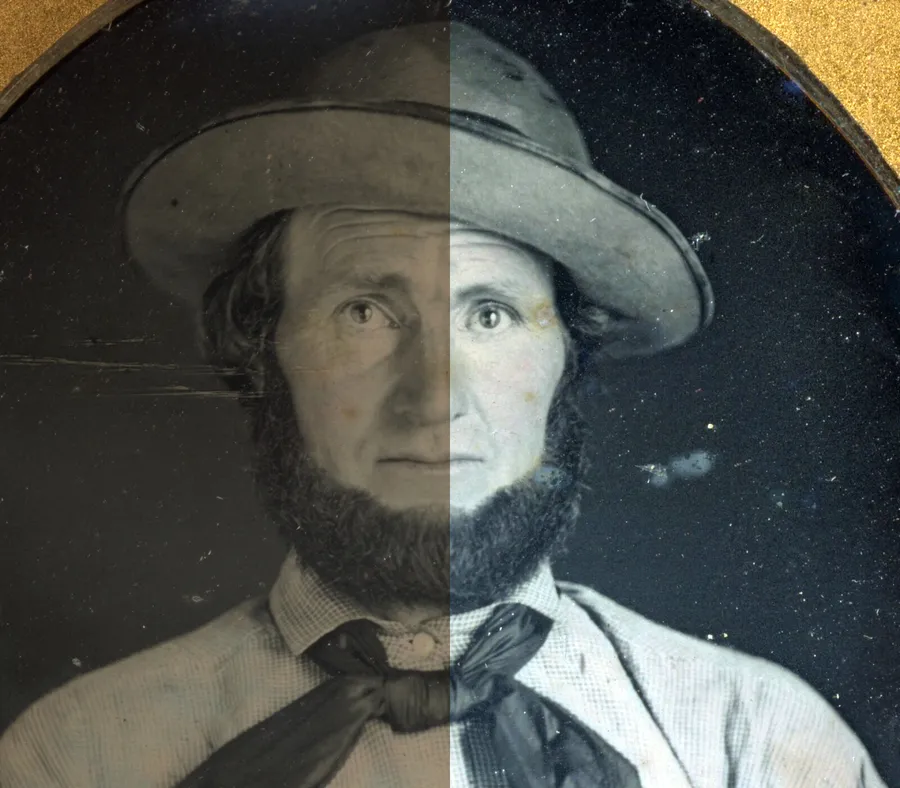
To enhance a photo’s quality online for free, fix two different things in order: first the tones — the grey veil, the colour cast, the shadows that hide everything — and then the size, if the file is too small for where it is going. In Paletoo the first is one press of Auto enhance, which adds an editable Levels step, and the second is Upscale, which makes the photo two or four times larger on your own device. Neither needs an account, and nothing is uploaded.
This guide does it on a portrait from 1879, a museum scan that has faded to a brown-grey. It explains what “enhance” can and cannot do, why a one-press levels fix beats an AI “unblur” for most photos, and how to get a file that is sharp at the size you print it.
What “enhance” actually means
Most photos that look “bad” have a tonal problem, not a resolution problem. Their darkest pixels are dark grey instead of black, their lightest are light grey instead of white, and one colour channel is stronger than the others, so everything leans yellow, pink or blue. An old print fades exactly like that; so does a phone photo taken in a dim room or under warm light.
The classic fix, the one Photoshop calls Auto Tone and Pixelmator Auto Enhance, is to measure the photo and stretch each colour so its darkest pixels become black and its lightest white. That one move restores contrast and takes out the cast at the same time, because each channel is stretched on its own. It invents nothing: every pixel stays where it was, only its brightness changes.
Why not let AI “unblur” it
AI enhancers that promise to sharpen a blurry face do something different: they paint in detail that a model thinks should be there. On a small, soft photo the result can look impressive at first glance, and wrong at the second — new eyelashes, smoothed skin, a different shape of the mouth. For a family photo, a product or an archive, that is not the same person or object any more.
So use AI where it is honest about what it does. Paletoo’s Upscale is an AI model that runs on your device and adds pixels with detail rather than blur when you enlarge, but it does not claim to fix focus. If a photo is out of focus, it stays out of focus; if it is dull, Auto enhance makes it clear without inventing anything.
How big does the photo need to be
For screens, 1080 to 2000 pixels on the long side is enough for a post, a story or a website. For print, aim for about 300 pixels per inch at the printed size: an A4 page wants roughly 2480 × 3508 px, a 10 × 15 cm print about 1180 × 1770 px. If your photo is smaller, upscale it ×2 or ×4 before you export; Upscale stops at 8192 px on a side.
When Auto enhance changes nothing
If the photo already reaches a full black and a full white in every colour, there is nothing to stretch, and the editor says so instead of pretending. That photo’s problem is elsewhere: the mood, the exposure of the face, the white balance of a scene that is meant to be warm. Then work by eye with Curves or the Basic step on the Effects tab — or keep the photo as it is. Not every photo needs enhancing.
Made in Paletoo
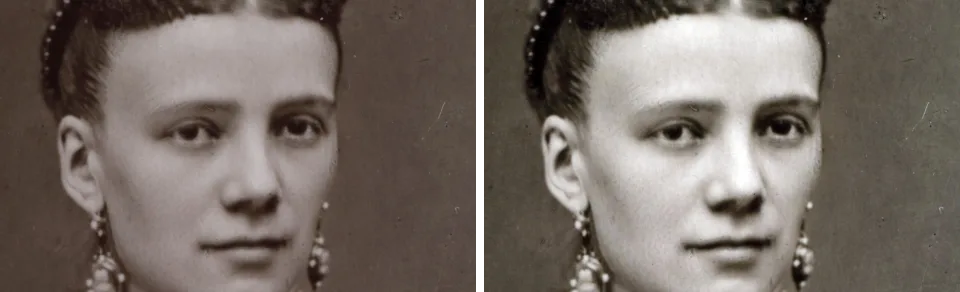
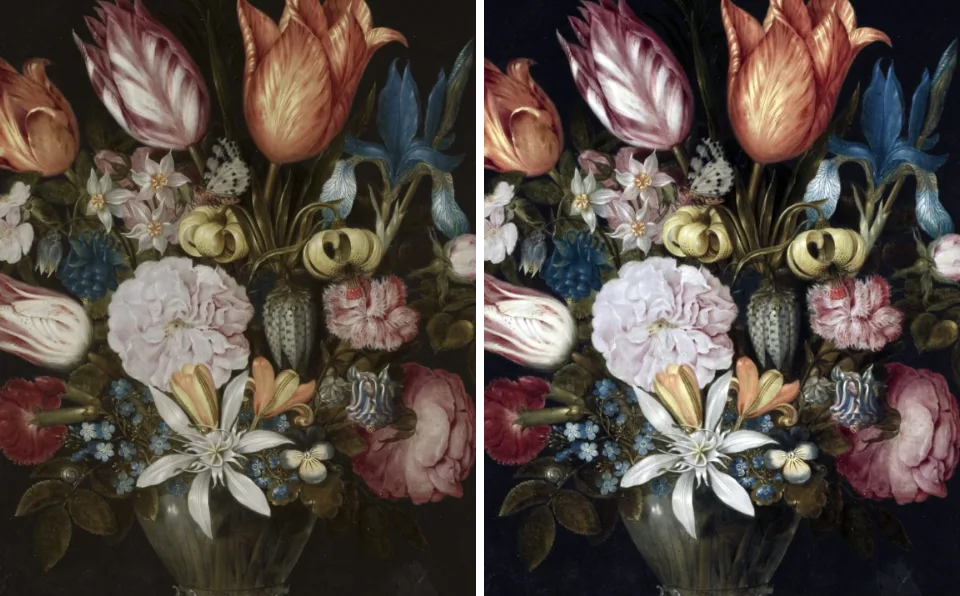
Every picture on this page was made in Paletoo — these three with the same steps on other templates:
Make it free in Paletoo
Press “Open in Paletoo” to open the faded 1879 portrait as your own document, or press Open file… and choose your photo. Click the photo to select it.
Press Ctrl K and choose Auto enhance from the picture’s suggestions. The photo gets its blacks and whites back and loses the brown cast in one step.
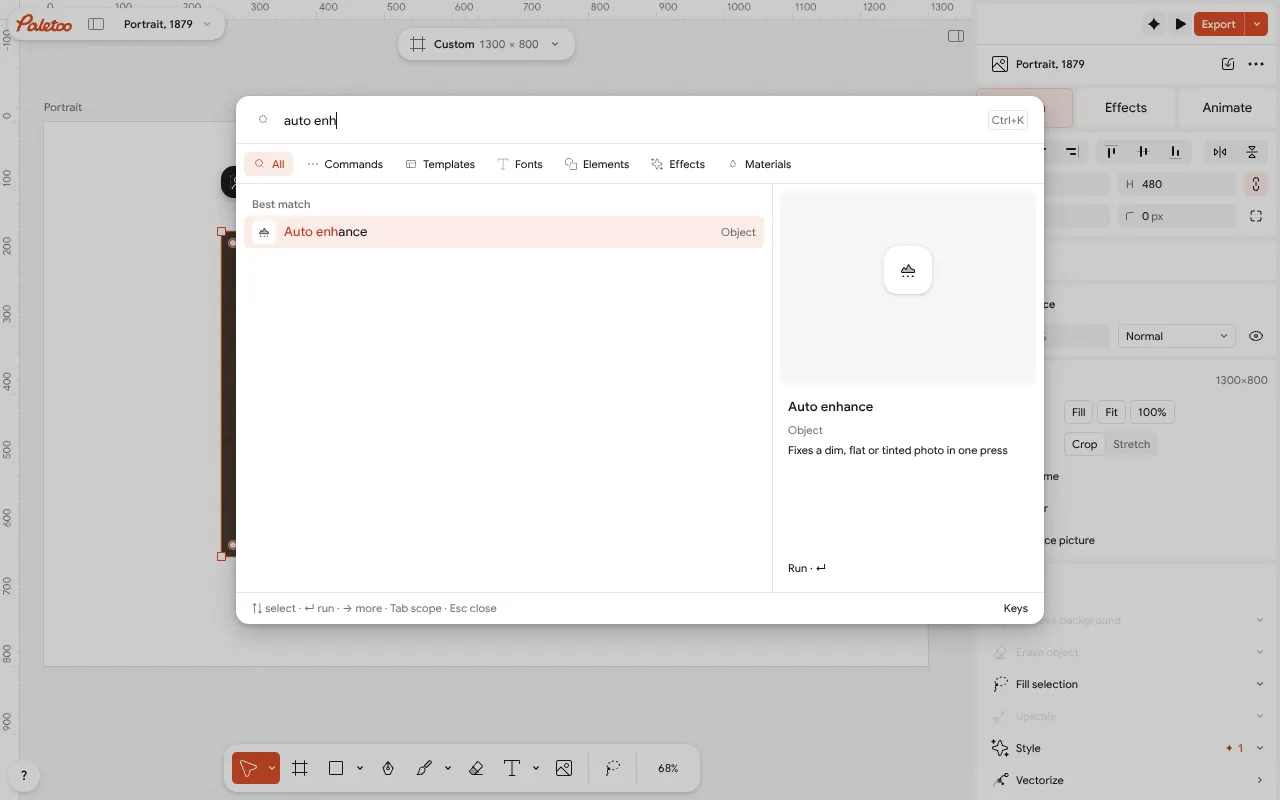
⌘K open on the faded portrait: Auto enhance among the picture’s suggestions Open the Effects tab. Under Applied is one Levels step with Auto pressed: that is everything Auto enhance did. Open it to move the black, white or middle point yourself, or remove it to compare.
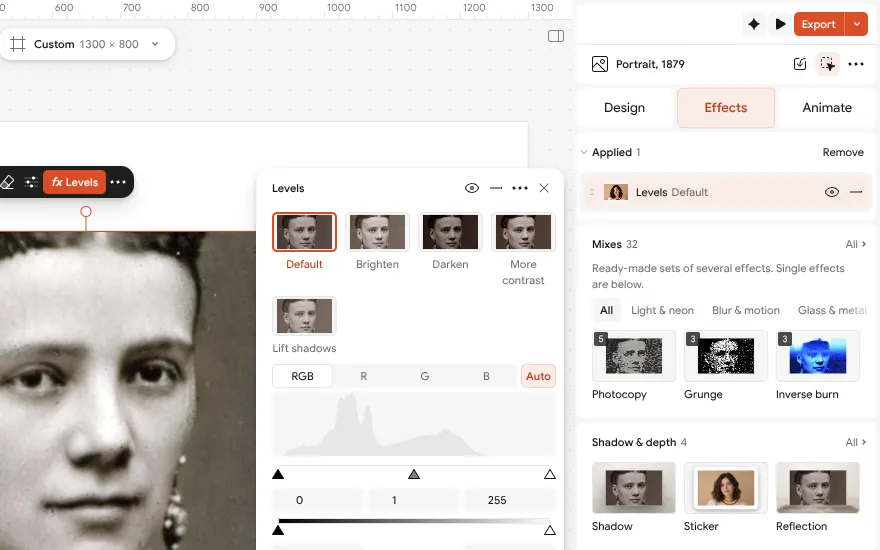
The Levels step that Auto enhance added, opened on the Effects tab, with Auto pressed If the file is small, go back to the Design tab, open the AI section and press Upscale. Choose ×2 or ×4; the model downloads once and then runs on your device.
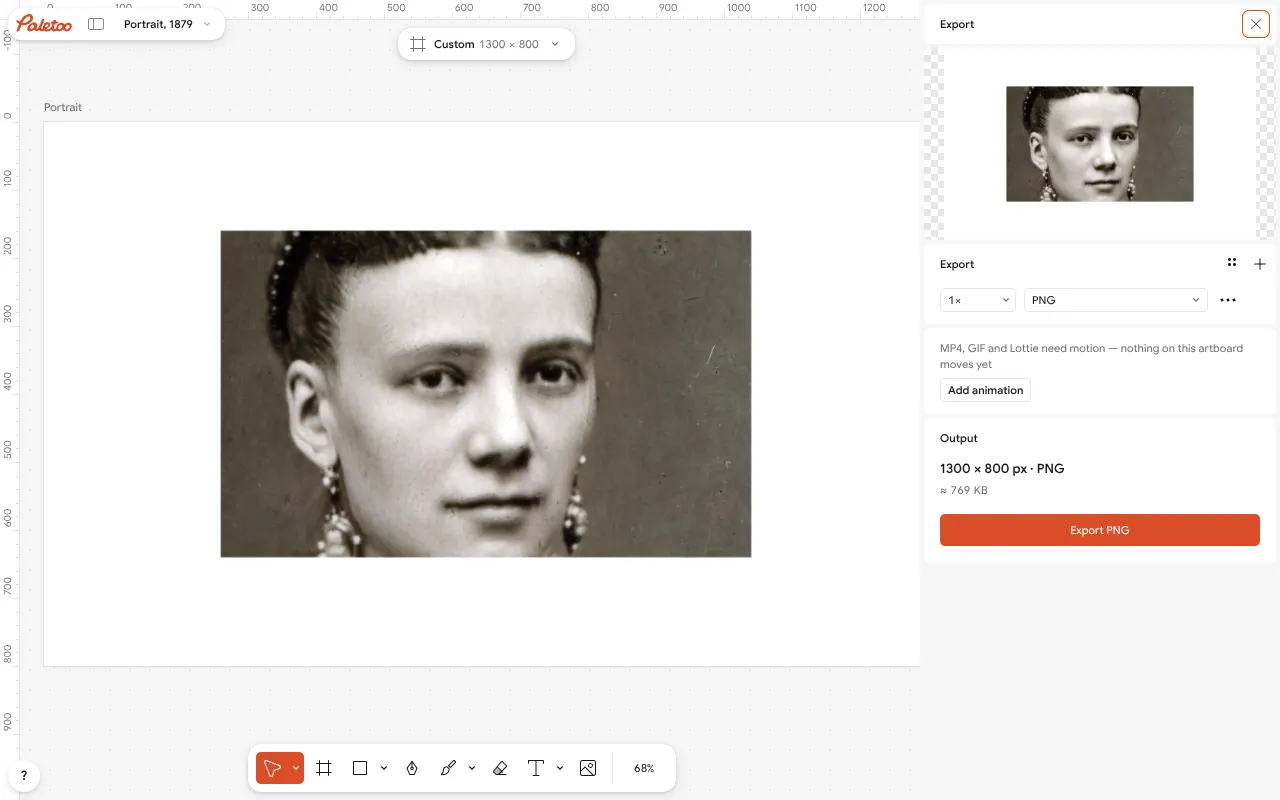
The Export window beside the enhanced portrait: the format and the size in pixels Look at the photo at 100 % before you trust it. Where the enhanced version is too harsh, drag the black point of Levels back a little; where it is still flat, try the Curves step on top.
Press Export (Ctrl Shift E) and save a JPG for photos, a PNG if it has transparency, or a WebP for the web. There is no watermark and no account needed.
Make it your own
If the enhanced photo looks too contrasty, open Levels and move the black point a few steps left. Auto clips only 0.1 % of the pixels, so the change is small and safe.
If a photo is meant to be warm — a sunset, candlelight — Auto will cool it. Press Auto again to undo the stretch for one channel at a time, or take the step off and use the Basic step’s temperature instead.
Upscale before you crop for print, not after: Upscale works on the whole picture, and cropping a larger file keeps more pixels where you need them.
Questions
How can I enhance a photo online for free?
Open it in Paletoo, select it, press Ctrl K and choose Auto enhance. It fixes contrast and colour cast in one editable step; Upscale then makes it 2× or 4× larger on your device. Both are free, with no sign-up and no watermark.
Does Auto enhance use AI?
No. It measures the darkest and lightest pixels of each colour and stretches them to black and white. It adds an ordinary Levels step, so you can see and change what it did.
Can I fix a blurry photo?
Not honestly. Sharpening and upscaling make a sharp photo crisper and larger, but a photo that is out of focus has no detail to recover; AI tools that promise to fix it paint new detail in.
Is my photo uploaded?
No. Auto enhance reads the pixels in your browser and Upscale runs on your device, so the photo stays on your computer or phone.
How do I enhance an old scanned photo?
Scan it at 600 dpi or more, open it, run Auto enhance to bring back the blacks and remove the yellow, and crop away the border. Upscale only if you need a bigger print than the scan allows.
Make it online
- Photo enhancerFix a dull, grey or yellowed photo in one press, then make it two or four times larger — free, in your browser, nothing uploaded.
- Remove background onlineCut the subject out of any photo in one click — on your own device, with no upload and no credits.
- Photo effects onlineDrop in a photo, press one mix — film, print or glitch — and download it in a minute; every step stays editable afterwards.
Free design templates for posts, stories and posters: Team and speaker templates · Poster templates
Try it on your own design
Paletoo opens in your browser, with no sign-up. Every effect here is live: change the picture or the words and the effect follows.
Open in PaletooOpens this design as your own copy — every layer and effect editable, free.
Read next
- 01
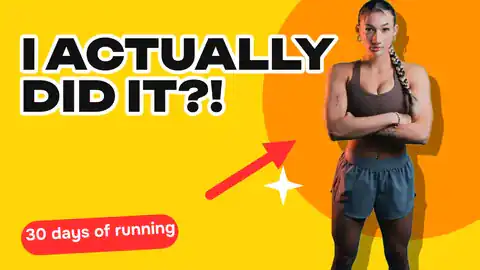 How to remove a background from a photo for free, without uploading itA clean cut-out, made on your own computer or phone, ready for a thumbnail, a poster or a shop.
- 02
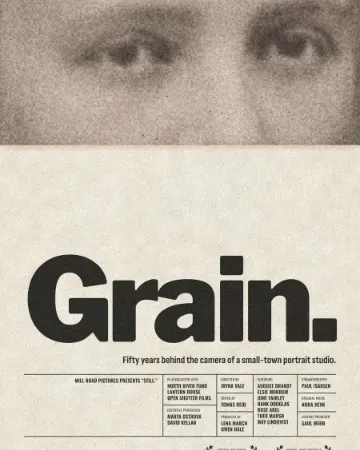 How to give a portrait an analog film lookWarm, faded, a soft halo round the lights, grain and dust.
- 03
 Print-ready PDF: bleed, crop marks and CMYK, freeEverything a printer means by “print-ready”, and a checklist before you send the file.